Skip to content

Painted Botanical Bookmark

Paint a few broad leaves on a paper strip, dry it flat and attach it to a backing. Test the paint and paper combination before making the finished bookmark.

Size
Suggested bookmark: 2 × 7 in (5.1 × 17.8 cm); test the paper and paint before cutting the final piece.
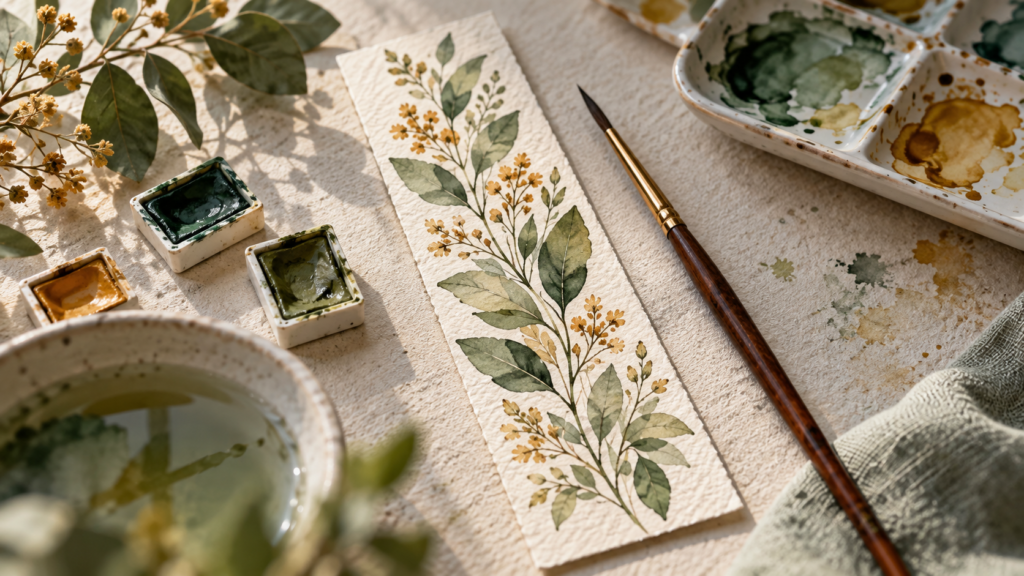
Watercolor botanical bookmark with brush and paints

Materials

  • Watercolor or mixed-media paper — Choose paper suited to the paint you plan to use.
  • Watercolor or acrylic paint — Use the product as directed.
  • Backing cardstock — For mounting the painted sheet.
  • Adhesive — Test for warping on a paper offcut.

Tools

  • Paintbrush — One medium brush is enough for broad leaves.
  • Water container — For rinsing watercolor brushes.
  • Scissors or paper trimmer — Trim after the paint is dry.
  • Pencil — Optional light sketch for the leaf placement.

Steps

  1. Prepare a paper sample

    Test the paint on an offcut and let it dry. Check whether the paper curls or the color spreads beyond the intended area.

  2. Sketch the motif

    Mark a stem and a few broad leaves lightly. Leave blank space around the edges.

  3. Paint the leaves

    Apply color in simple shapes, leaving gaps between leaves. Add a second color only after the first layer is dry.

  4. Dry and trim

    Let the painted sheet dry flat, then trim it to the chosen bookmark dimensions.

  5. Mount the bookmark

    Attach the painted paper to backing cardstock with adhesive tested on an offcut. Let the assembled piece dry flat.

This project uses a small leaf motif painted on paper and mounted to cardstock. The suggested 2 × 7 in size is adjustable. Paper and paint combinations can behave differently, so test an offcut before painting the finished strip.

Keep the design simple

Use a stem and a few broad leaves so the motif remains readable at bookmark size. Leave a margin around the paper for trimming and mounting.

Dry before mounting

Let the painted sheet dry flat before trimming. Test adhesive on a scrap of the same paper; some combinations can curl or show through.

Finish the edges

Mount the painted piece to backing cardstock and let it dry under a flat weight if the adhesive instructions allow. Trim the backing to match the painted sheet.

This project is a general plan. Materials, dimensions and construction details may need adjustment for your tools and supplies.

Questions

What paper should I use for a painted bookmark?

Choose paper intended for the paint medium and test it first. Check whether it curls or the color spreads after drying.

Should I paint before cutting the bookmark?

Either order can work. Painting a larger sheet gives room to trim around the motif after it dries.

How do I keep the bookmark flat?

Let the paint dry flat, test the adhesive on an offcut and let the mounted layers dry according to the adhesive instructions.