Skip to content
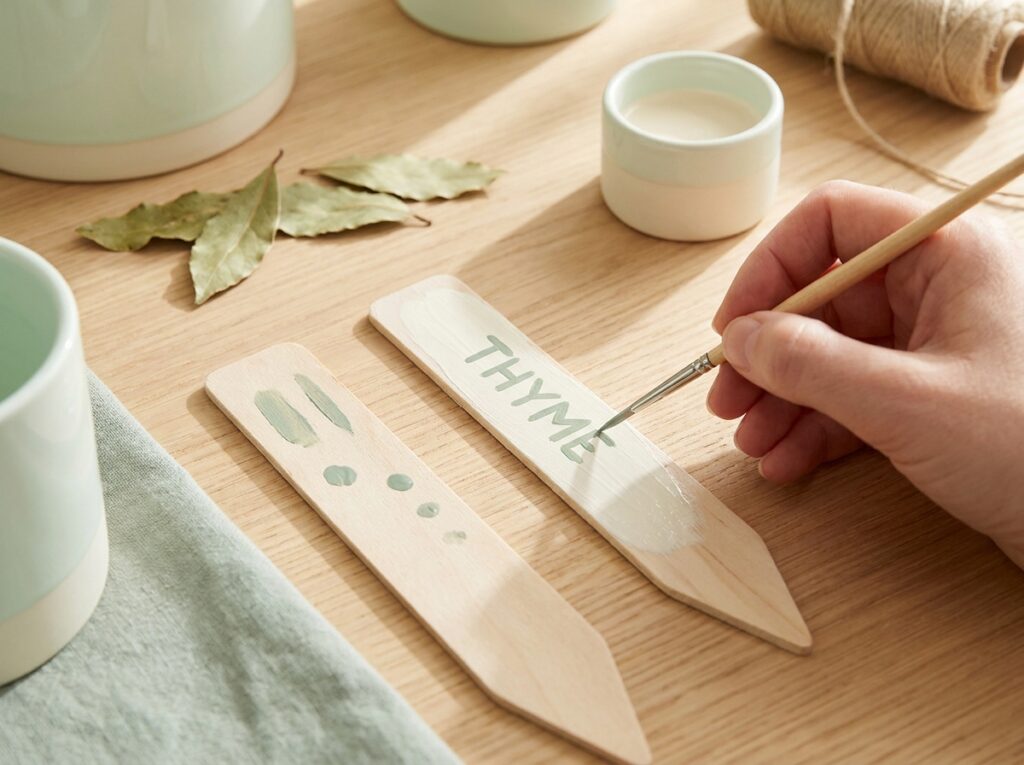
Pre-cut wooden plant markers painted with simple botanical icons

Painted Wooden Plant Markers

Paint wooden plant markers with readable labels, keeping the writing above the soil line and using finishes according to their product labels.

Size
Use pre-cut markers sized to the pots or garden bed.

Materials

  • Pre-cut wooden markers — Choose smooth, unfinished pieces.
  • Acrylic paint — Check suitability for the intended use.
  • Outdoor-rated clear finish — Use only if markers will be exposed to weather.
  • Pencil — Plan icon or lettering before painting.

Tools

  • Fine and medium brushes — For simple shapes and lettering.
  • Palette or scrap card — Mix small amounts of paint.
  • Fine sandpaper — Use only if the wood needs smoothing.
  • Protective table cover — Keep paint off the work surface.

Steps

  1. Prepare the wood

    Check each blank for splinters and rough edges. Smooth them lightly with fine sandpaper, working with the grain, then remove dust with a dry cloth. Keep sanding dust away from food and wash your hands before handling paint.

    Illustration: wooden marker blanks being smoothed and dusted before painting.
  2. Plan readable labels

    Write each plant name on scrap paper at the size you intend to use. Mark the soil line on the wooden blank and keep the lettering above it. If the name is long, use two short lines rather than squeezing letters against the edges.

    Illustration: pencil layout places a short plant name above the marked soil line.
  3. Apply the base and lettering

    Use the paint's label for suitable surfaces and drying between coats. Apply a thin base coat, let it dry as directed, then add the plant name with a fine brush or pencil guide. Test the lettering on a spare blank before repeating it.

    Illustration: first coat and a legible plant name painted on a wooden marker.
  4. Add an outdoor finish only if suitable

    Check that the clear finish is intended for outdoor use and is compatible with the paint. Test it on the spare marker first; some finishes darken colors or make lettering run. Keep the soil end uncoated unless the label explicitly allows that use.

    Illustration: compatible clear finish applied above the soil line on a painted marker.
  5. Let the markers cure

    Leave the markers undisturbed for the drying or curing period on the product label. Do not place a tacky marker in a pot. Set it beside the plant name, with the painted area above soil, and replace it if the coating peels or the writing becomes unreadable.

    Illustration: finished plant markers placed beside herb pots with labels visible above the soil.

Use pre-cut markers that fit the pot or bed. Decide which end will enter the soil, then keep the plant name and painted decoration above that line. A short label is easier to read from the path than a long note written in small letters.

Before painting the full set, test the base coat, lettering and clear finish on one spare blank. Wood absorbs paint unevenly, and a finish can change the color or make pencil marks harder to cover. Follow the paint and finish labels for surface preparation, drying and outdoor use.

Keep the part that goes into soil uncoated unless the product label says that finish is suitable for that use. Do not place a marker in edible plants if its coating or paint instructions rule out contact with soil or food-growing areas.

Step images are illustrations. They show one possible sequence; fit and tool settings depend on your materials and equipment.

Questions

Can I use indoor acrylic paint outdoors?

Check the paint and finish labels. Outdoor exposure may require products rated for it.

Should I write plant names before painting?

Plan the lettering first, then test your brush or marker on a scrap of the same wood.

Can these markers touch edible plants?

Keep paints and finishes from contacting edible parts of plants; follow all product safety labels.