Skip to content

Removable Pantry Jar Labels

Measure the flat label area on each container, cut simple text labels from compatible removable vinyl and test one before making the full set.

Size
Suggested label area: 2 × 3 in (5.1 × 7.6 cm); adjust to each container.
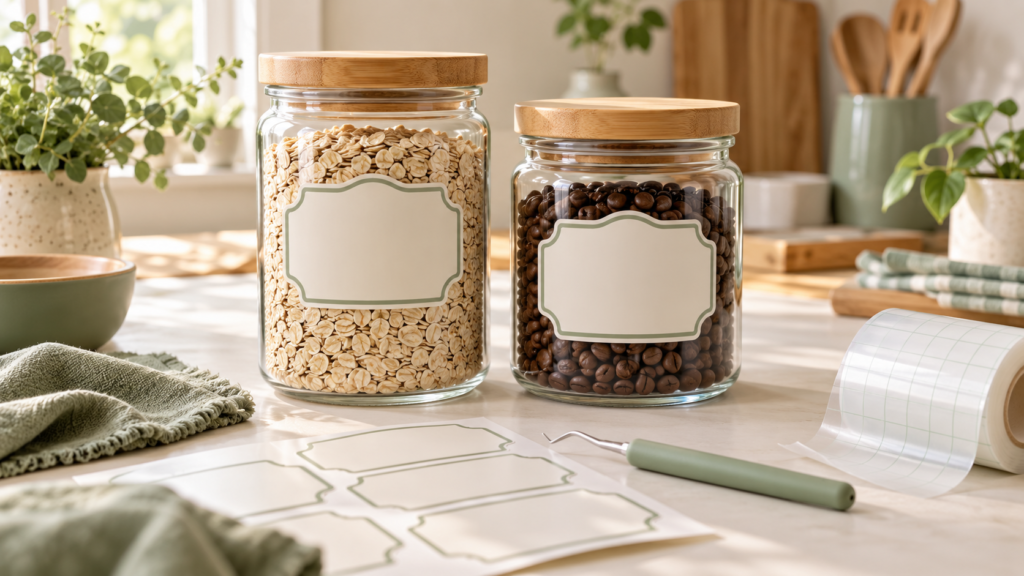
Clear pantry jars with removable blank labels beside vinyl crafting tools

Materials

  • Removable adhesive vinyl — Check the product instructions for the intended surface.
  • Transfer tape — Use a type recommended for the selected vinyl.
  • Clean cloth — For preparing the outside surface.

Tools

  • Cutting machine — Use a setting listed for the exact vinyl.
  • Weeding tool — For removing excess vinyl around letters.
  • Ruler or measuring tape — Measure each flat container area.
  • Scraper — For burnishing transfer tape and vinyl.

Steps

  1. Measure the containers

    Measure the flat area where each label will sit. Keep the design away from corners and curves.

  2. Create readable labels

    Choose short names and a letter size that remains legible at the planned width. Make the labels separately if jar sizes vary.

  3. Cut and weed

    Cut a small test label first using the vinyl maker's settings. Weed the excess material while leaving the letters on the liner.

  4. Transfer and apply

    Use transfer tape suited to the vinyl. Clean and dry the outside of the container, align one edge and burnish from the center outward.

  5. Check care instructions

    Follow the vinyl and container manufacturers' guidance for washing. Remove the label before washing if the product is not rated for that use.

This project uses removable vinyl for labels placed on the outside of storage containers. The suggested 2 × 3 in label is only a starting size; measure each container and follow the instructions for the vinyl you buy.

Plan a readable set

Use one font and a consistent placement for the set. Short labels fit more easily than long ingredient names. Check the letters at actual size in the cutting software before cutting.

Test the surface and transfer

Cricut’s vinyl guidance recommends a clean, dry surface, a small test cut and transfer tape chosen for the vinyl type. These instructions are brand-specific; follow the instructions for your own material.

Keep the label on the outside

Do not assume removable vinyl is dishwasher-safe or suitable for food contact. Check the vinyl and container care instructions. Apply labels to the outside of jars and remove them before washing if required.

This project is a general plan. Materials, dimensions and construction details may need adjustment for your tools and supplies.
Questions

Can removable vinyl label a glass jar?

It may adhere to a clean, dry glass surface, but test a small label first and check the vinyl maker's instructions.

Can the labeled jar go in a dishwasher?

Only if both the vinyl and jar instructions allow it. Otherwise remove the label before washing.

Does removable mean it leaves no residue?

Not in every condition. Removal depends on the vinyl, surface and time in place; check the product directions and test first.

Sources