Skip to content
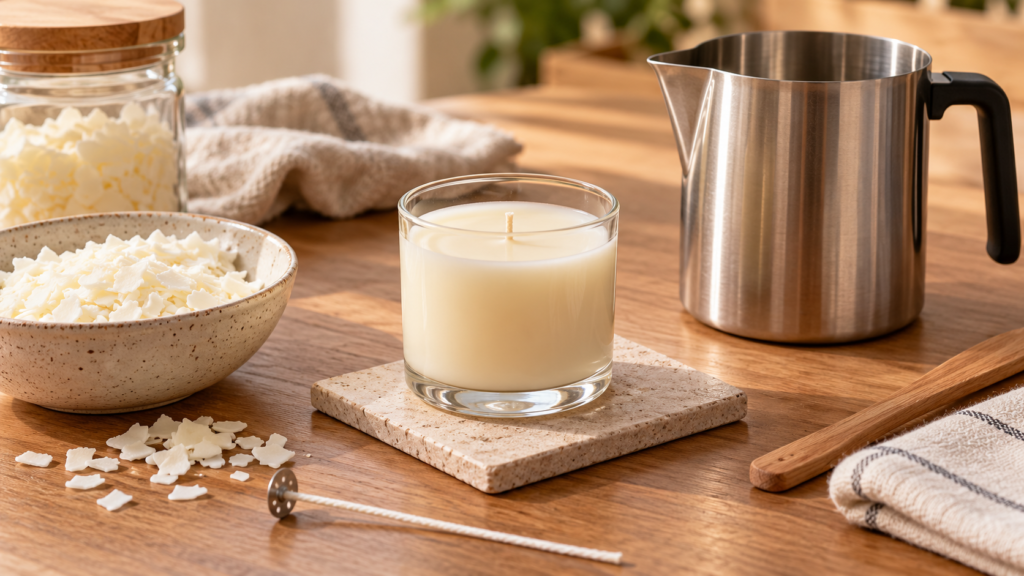
Unlit small container candle with a centered wick and candle-making kit supplies

Small Container Candle from a Candle-Making Kit

Make a small container candle with the wax, wick and vessel supplied by the kit, following its temperature and cooling instructions.

Size
Use the container size and wax quantity specified by the kit.

Materials

  • Candle wax from a kit — Follow the maker's instructions for the specific wax.
  • Pre-tabbed wick — Use the size and type specified for the container.
  • Candle-rated container — Do not substitute an ordinary drinking glass.
  • Wick sticker or holder — Use the attachment method supplied with the kit.

Tools

  • Dedicated pouring pitcher — Keep candle-making equipment separate from food preparation.
  • Thermometer — Use only if the kit instructions call for one.
  • Heat-resistant work surface — Protect it from hot wax.
  • Protective gloves — Use according to the kit's safety guidance.

Steps

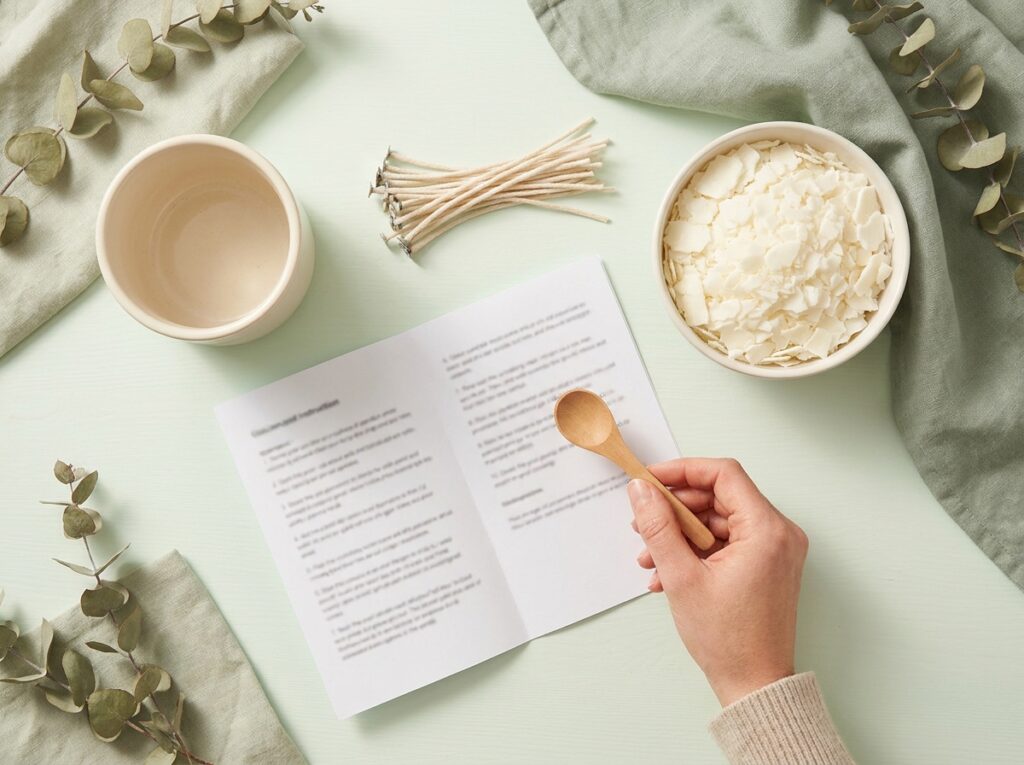
  1. Read the kit instructions

    Identify the wax, wick, container and any fragrance included. Note the heating method, target temperatures, pour temperature and cooling directions. Check that the vessel is explicitly intended for candles; stop if a part is missing or the instructions do not cover your kit.

    Illustration: candle kit components arranged beside the maker's instruction sheet.
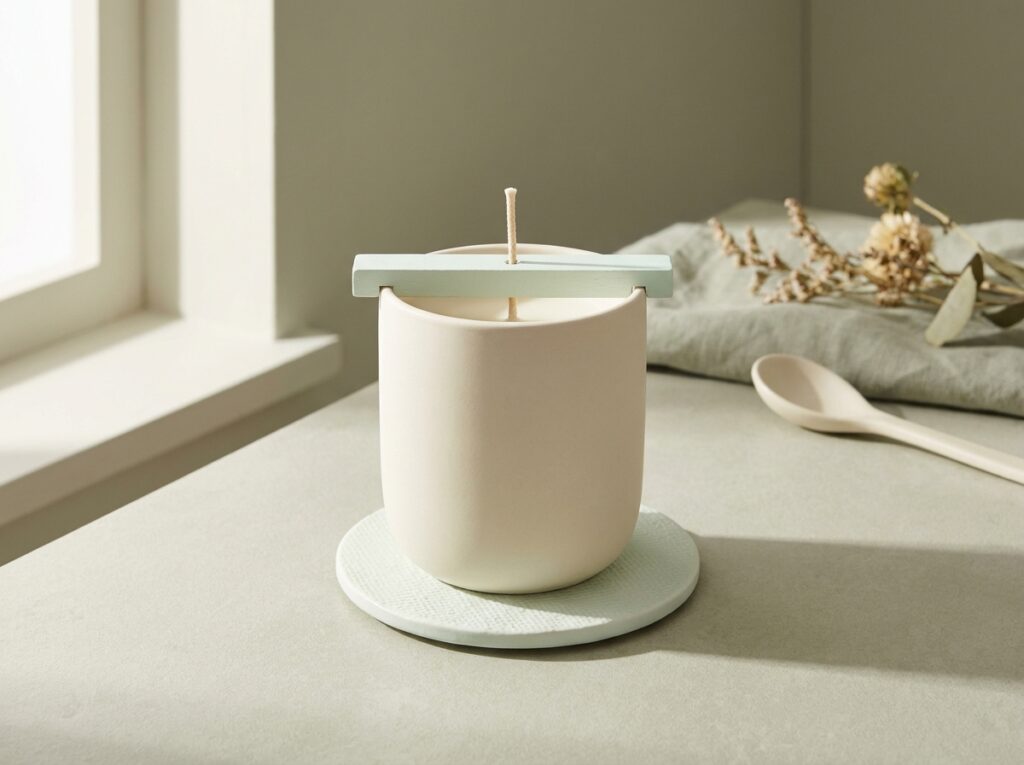
  2. Prepare the vessel and wick

    Make sure the vessel is clean, dry and free of cracks. Attach the supplied wick using the holder or sticker provided, then center it with the kit's support. Keep the wick upright and the container on a level, heat-resistant surface.

    Illustration: pre-tabbed wick centered in a clean candle-rated container.
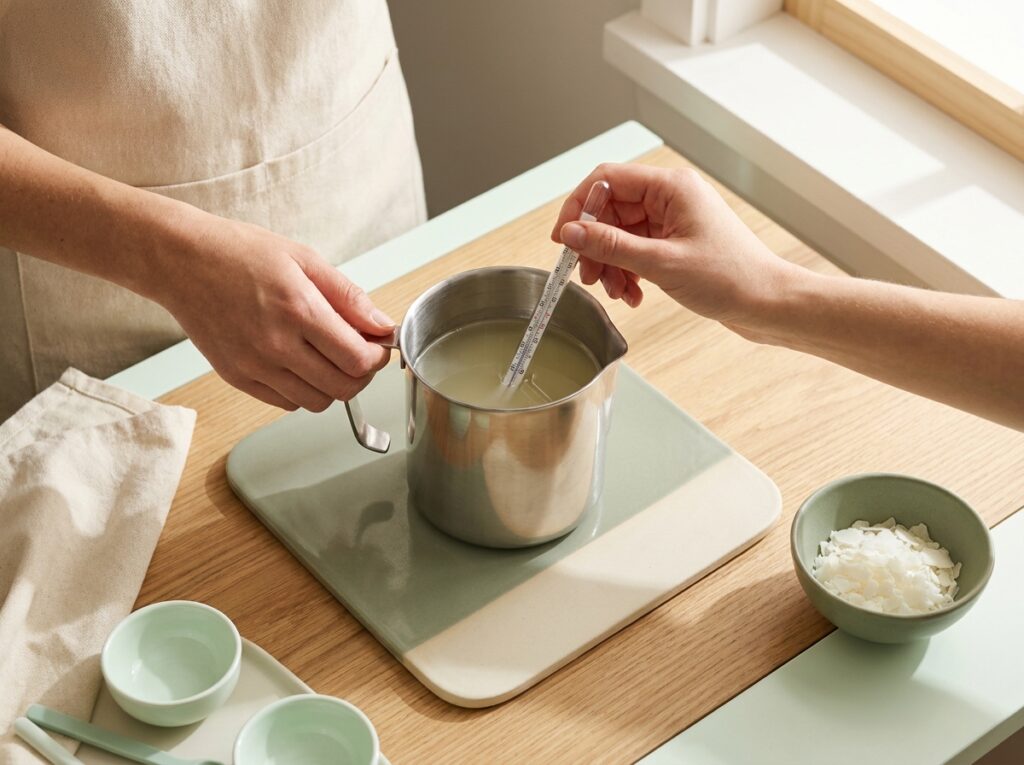
  3. Melt the wax as directed

    Use the kit's specified heating method and temperature. Keep the thermometer in the position described by the instructions; do not leave melting wax unattended. Add fragrance or color only if the kit includes it, and only at the stated temperature and amount.

    Illustration: kit wax warming in its designated pouring pitcher with a thermometer.
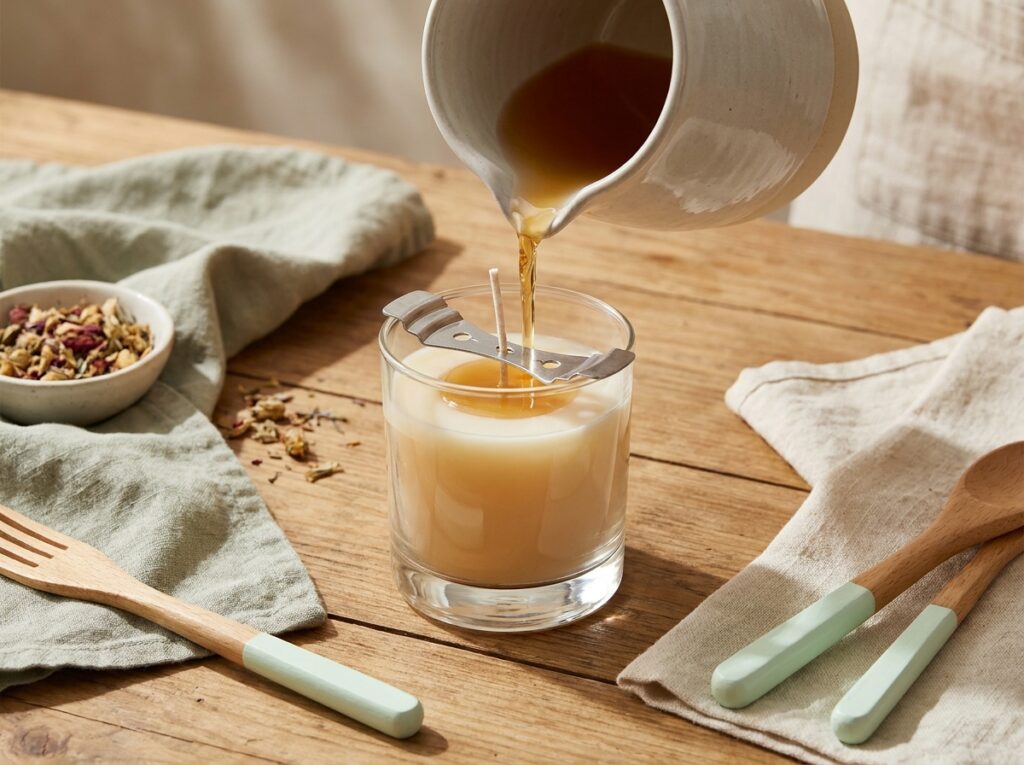
  4. Pour without shifting the wick

    When the wax reaches the kit's pour condition, transfer it carefully into the prepared vessel. Keep the wick centered and leave the headspace specified by the instructions. Do not top up, stir or move the candle unless the kit directs you to do so.

    Illustration: melted wax being poured into a container while the wick stays centered.
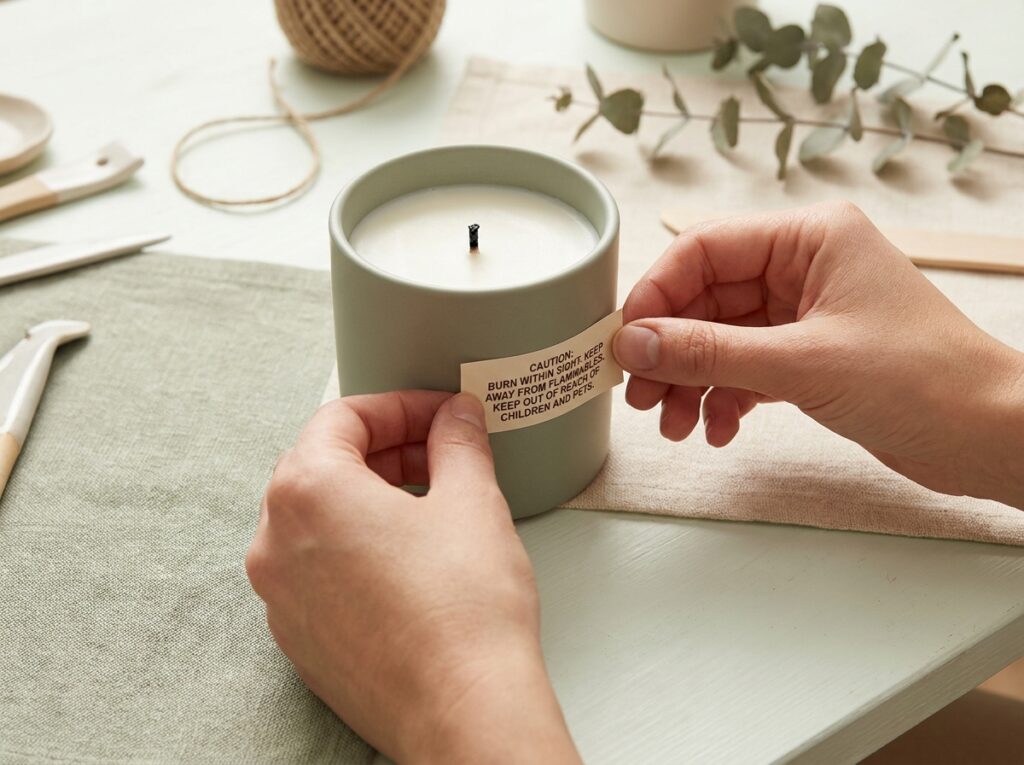
  5. Cool, label and use safely

    Let the candle cool and cure undisturbed for the period stated by the kit. Trim the wick only as directed on its label, then add any caution label supplied. During use, keep the candle in sight, away from combustible items, children and pets.

    Illustration: cooled labeled container candle with wick centered and trimmed.

This project is for a candle-making kit with a vessel, wax and wick intended to work together. Check the instructions before heating anything; wax type, fragrance, pouring temperature and cooling time vary by kit. Do not substitute an ordinary drinking glass for a candle-rated container.

Set the vessel upright on a stable, heat-resistant surface and keep children, pets and loose fabric away from the hot wax. Use the kit’s heating method and thermometer guidance. If the kit does not specify how to melt the wax or what temperature to use, do not guess.

Let the candle cool and cure for the time stated by the maker. Before lighting it, follow the label and standard candle safety guidance. Never leave a burning candle unattended or move it while lit.

Step images are illustrations. They show one possible sequence; fit and tool settings depend on your materials and equipment.

Questions

Can I use a drinking glass as the container?

Use only a vessel rated for candles and the specific wax process. Ordinary glass may not be suitable.

Can I add dried flowers to the wax?

Do not place flammable decorations near the wick. Keep the candle design free of combustible inclusions.

Can I burn the candle as soon as it cools?

Follow the kit's curing and first-burn instructions. Never leave a lit candle unattended.

Sources