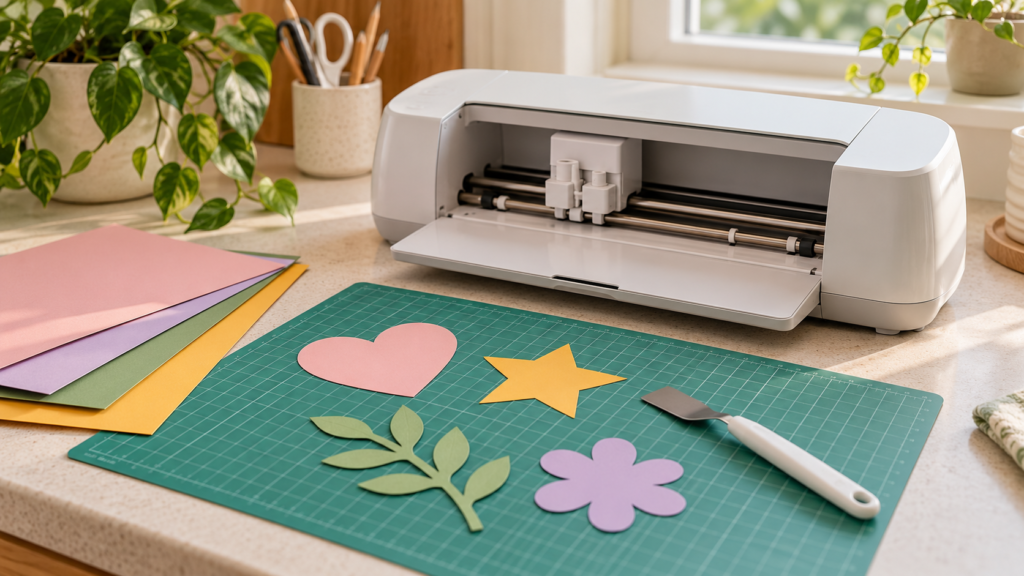
A cutting mat has two jobs: hold the sheet still during cutting and release it without tearing the paper. Start with the mat types listed for your machine, then test the grip with the stock you plan to use.
Check machine compatibility first
Mat size, alignment marks and grip strengths vary by cutter. Consult the manufacturer’s compatibility guide for your exact model before buying or using a mat. Cricut, for example, lists different mat options and materials by machine family; its current chart is linked in Sources.
Test the grip with an offcut
Place a scrap of the project paper on the mat and press it down evenly. The sheet should stay flat during a test cut. If a corner lifts, check that the mat is clean and that the paper covers enough of the adhesive area. If the paper tears during removal, try a lower-grip compatible mat or use the machine maker’s recommended removal method.
Prepare the mat surface
Remove loose scraps after each project. Follow the manufacturer’s cleaning instructions; avoid solvents or tools that could damage the adhesive surface. Let a washed mat dry as directed before loading material.
Position the paper carefully
Align the sheet with the mat grid and smooth it from the center outward. Keep the paper within the marked cut area. If you are cutting several layers, arrange them in the software preview and check that no outlines overlap.
Run a small test cut
Use a simple shape in an unused corner before sending a detailed design. Check that the cut passes through the paper without cutting deeply into the mat. If the result is poor, verify blade condition and material selection before changing settings.
When the sheet is delicate
Follow the machine maker’s instructions for removing thin paper. Some recommend turning the mat face down and peeling the mat away while supporting the material. Use a spatula only if it is designed for your material and machine.
Do not assume a mat color means the same grip across brands. Check the product guide for the specific mat and cutter you own.