Skip to content

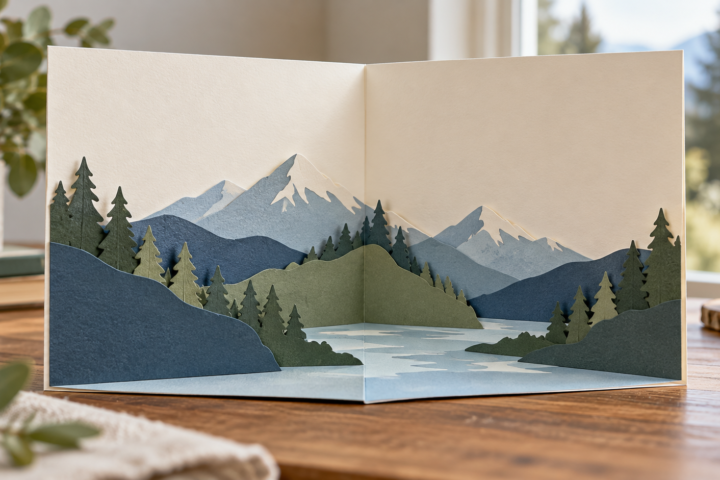
Layered Paper Forest Window

Plan a square forest scene with a sky background, distant trees, middle trees and a foreground opening. Keep the silhouettes broad enough to cut and size the layout to the frame.

Size
Suggested scene layout: 8 × 8 in (20.3 × 20.3 cm); adjust to the frame's clear opening and depth.

Materials

  • Cardstock in 3–4 coordinating colors — Choose colors with enough contrast between adjacent layers.
  • Scrap paper — For a scale and alignment mock-up.
  • Adhesive or thin foam spacers — Use a consistent thickness appropriate to the frame.

Tools

  • Cutting machine or craft knife — Use the method appropriate to the selected template.
  • Cutting mat — Use a mat compatible with the machine or knife.
  • Ruler and pencil — For frame measurements and light alignment marks.
  • Tweezers or spatula — Optional help for lifting small cut details.

Steps

  1. Measure and sketch

    Measure the frame's clear opening and depth. Sketch a square composition with a distant sky, tree silhouettes and a foreground opening. Treat 8 × 8 in as a target only; adjust the layout to suit the frame.

  2. Divide the scene into layers

    Separate the artwork into a background, distant tree line, middle trees and foreground. Keep bridges wide enough to remain connected and leave open areas around the focal window.

  3. Make a paper mock-up

    Cut rough shapes from scrap paper and stack them in order. Check that the forest still reads clearly through the foreground opening and that the outer silhouette fits the frame.

  4. Cut and sort the final pieces

    Cut each layer from a contrasting cardstock color. Label or stack the pieces from background to foreground so their order is clear during assembly.

  5. Assemble and frame

    Attach spacers or adhesive evenly as you build from back to front. Check alignment after each layer, then confirm that the assembled stack clears the glazing before closing the frame.

Plan a square forest scene with a sky background, a distant tree line, middle trees and a foreground opening. The suggested 8 × 8 in artwork size is a layout target; adjust it to the frame’s clear opening and depth. This is a project plan, not a tested template.

Plan the layers

Use quieter colors for distant trees and darker shapes in front. Keep the branches broad enough to cut and leave an opening between the foreground trees. Start with large silhouettes before adding small details.

Materials and tools

Choose three or four cardstock colors, scrap paper for a mock-up, and adhesive or spacers that fit the frame depth. Use an SVG or draw simple silhouettes for your cutting method. Confirm the material size fits the cutting area before cutting.

The steps below describe the layout and assembly sequence. The time and difficulty have not been measured.

Questions

Can I make the forest scene a different size?

Yes. Keep the artwork proportional and check narrow branches and openings after resizing. The frame's clear opening and depth set the practical limits.

How many paper colors do I need?

Three or four coordinated colors are a useful starting point: one for the background and contrasting tones for the middle and foreground.

Does this project require an SVG?

No. You can use an SVG, another printable template or your own simple silhouettes. Match the chosen design to your cutting method.