Skip to content

Layered Paper Botanical Window Card

Plan a folded card with a central window framed by broad leaves and a small flower. Use a separate insert behind the opening so the greeting stays readable and the front remains uncluttered.

Size
Suggested folded card size: 4.25 × 5.5 in (10.8 × 14 cm); check the envelope and template dimensions.

Materials

  • Cardstock for the folded base — Choose a grain and weight suitable for a clean fold.
  • Contrasting cardstock for botanical layers — Two or three tones are enough for a simple frame.
  • Light paper for the message insert — Cut to cover the window from inside.
  • Envelope that fits the folded card — Check the usable interior dimensions.
  • Adhesive — Apply sparingly near cut edges.

Tools

  • Bone folder or scoring tool — For a neat fold.
  • Cutting machine or craft knife — Use with a template designed for the chosen method.
  • Ruler and pencil — For centering the window and insert.
  • Tweezers — Optional for lifting narrow cut details.

Steps

  1. Choose the card and envelope size

    Pick an envelope first, then confirm the folded card dimensions it accepts. Use the template's assembled dimensions rather than the flat sheet size.

  2. Plan the window

    Mark a central opening on the card front. Keep enough border around it for strength and leave clear space inside for the greeting.

  3. Arrange the botanical frame

    Place broad leaves around two or three sides of the window and add a small flower as an accent. Keep the cut shapes away from the fold and card edges.

  4. Cut and score

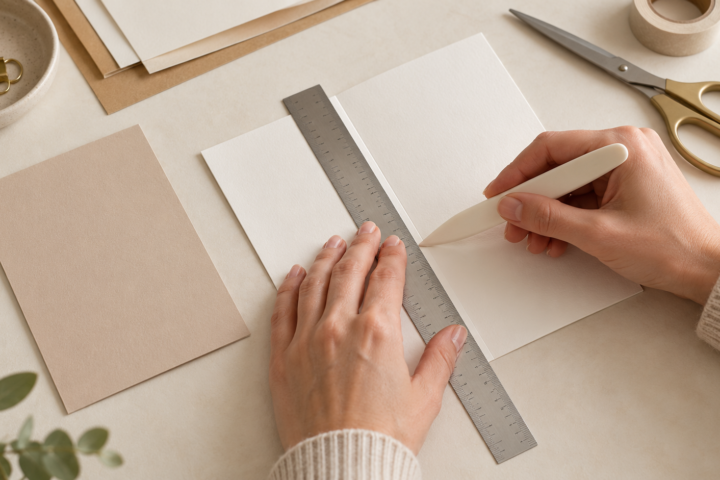
    Cut the window and botanical layers, then score and fold the base. Test the insert behind the opening before applying adhesive.

  5. Layer and finish

    Attach the botanical pieces from back to front, keeping adhesive clear of the opening. Add the message insert inside and check that the card closes flat.

Plan a folded card with a central window framed by broad leaves and a small flower. A separate paper insert behind the opening provides a background for the message. Suggested folded dimensions are 4.25 × 5.5 in (10.8 × 14 cm); check the envelope and template before cutting. This is a layout plan, not a tested template.

Plan the front

Sketch the fold, window and botanical shapes on a card outline. Leave a border around the window and keep detailed cuts away from the crease and card edges.

Cut and assemble

Cut the window and decorative layers, then score and fold the card base. Test the insert behind the opening. Attach the botanical pieces from back to front, keeping adhesive clear of the window and fold.

Finish the inside

Center the insert behind the window and add a short greeting or leave it blank for handwriting. Keep glue near the insert edges. Check that the card closes flat before placing it in the envelope.

The time and difficulty have not been measured.
Questions

Can the botanical pieces overlap the card fold?

Avoid placing bulky or intricate cuts directly over the fold. Keep the crease clear so the card can close cleanly.

What goes behind the window?

A separate paper insert can provide contrast and a place for the greeting. It may be attached inside the front cover or left loose, depending on the layout.

How do I know if the card fits an envelope?

Check the folded dimensions, not the flat sheet size, and compare them with the envelope's usable interior dimensions.