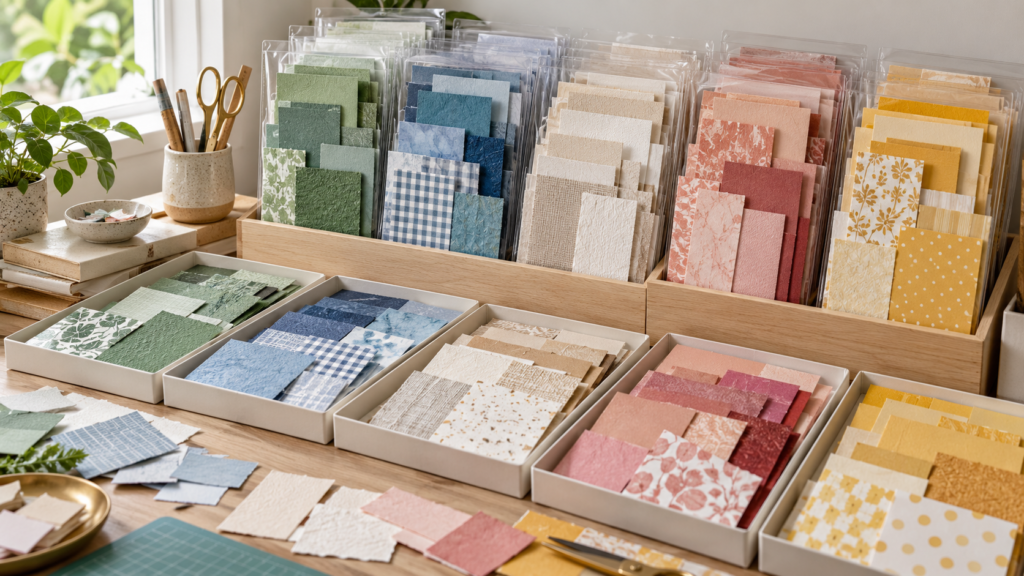
Paper scraps are useful when you can tell what they are and find a piece large enough for the next project. Sort them by size and material, then store them flat or upright so the system stays visible.
Separate by material and finish
Keep cardstock, patterned paper, vellum, metallic sheets and adhesive-backed papers in separate groups. A scrap that looks similar may cut, fold or accept glue differently because of its coating or backing.
Set a minimum size
Choose a size below which scraps go to recycling or a separate tiny-piece container. The cutoff depends on the shapes you make. If you often cut small centers or letters, keep smaller pieces; if not, they can clutter the main storage.
Store pieces so they stay identifiable
Use labeled folders, shallow drawers or clear sleeves. Keep pieces flat if they need to stay smooth. Group colors together only when you can still see the paper finish and pattern.
Keep offcuts from specific projects together
When a project uses several matching colors, store its leftover pieces in one labeled sleeve until assembly is finished. That makes it easier to replace a damaged layer or cut a matching accent.
Label useful details
Write the paper name or finish on the sleeve when it is known. If a test cut worked well, note the machine and setting on a separate card; settings depend on the machine and material combination.
Review the stash periodically
Remove scraps that are bent, torn or too small for the minimum size you set. A small, sorted collection is faster to browse than a box of mixed leftovers.