Skip to content

Fabric Pocket Bookmark

Cut two fabric rectangles, sew them into a narrow bookmark and add a small pocket before closing the lower edge. Size the bookmark to the book.

Size
Suggested finished size: 2.5 × 7 in (6.4 × 17.8 cm); adjust for the book.
Fabric bookmark with a small pocket and sewing supplies

Materials

  • Woven cotton fabric — Use two coordinating pieces for front and back.
  • Lightweight interfacing — Optional support; test with the fabric.
  • Thread — Choose a color that blends or contrasts.

Tools

  • Sewing machine or hand-sewing needle — Use the method suited to the fabric.
  • Ruler and fabric marker — For marking the rectangles and seam lines.
  • Scissors or rotary cutter — Cut fabric with the method you prefer.
  • Iron — Follow the fabric care label.

Steps

  1. Set the dimensions

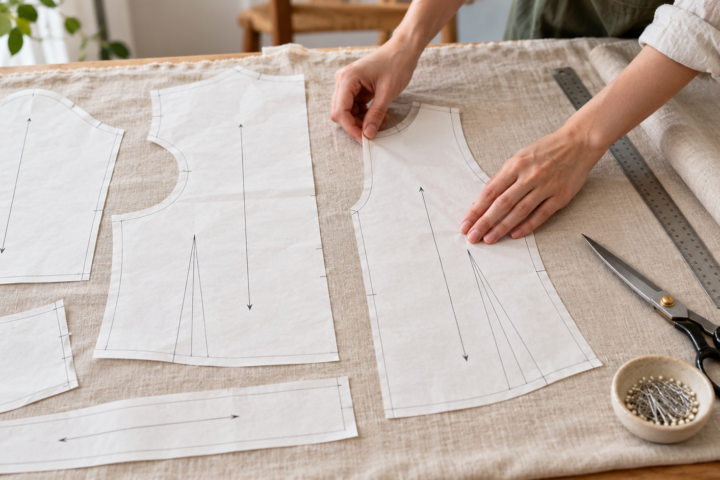
    Measure the book and choose a bookmark length. Add seam allowance to the cut rectangles if it is not already included.

  2. Cut the outer pieces

    Cut two matching rectangles from woven fabric. Add lightweight interfacing only if the sample feels too soft.

  3. Make the pocket

    Fold and stitch the top edge of a smaller fabric piece. Place it on the front rectangle with the opening facing upward.

  4. Sew the bookmark

    Place the front and back right sides together and sew around the edges, leaving a turning gap.

  5. Turn and finish

    Trim bulky corners, turn the bookmark right side out and press according to the fabric label. Close the gap with a narrow topstitch.

This bookmark uses two fabric layers and a small front pocket for a note or page tab. The suggested 2.5 × 7 in finished size is adjustable; compare it with the book before cutting.

Test the seam allowance

Check whether your chosen pattern includes seam allowance. Sew a short sample with the same fabric and thread, then check the finished width before cutting the final pieces.

Support the pocket

Keep the pocket shallow so it does not make the bookmark bulky. Finish its top edge before attaching it to the front piece. A light interfacing can add structure, but test the combination first.

Finish the edges

Leave a small turning gap, trim excess bulk at the corners and turn the bookmark right side out. Press according to the fabric care label and close the gap with a topstitch.

This project is a general plan. Materials, dimensions and construction details may need adjustment for your tools and supplies.
Questions

What fabric works for a fabric bookmark?

A stable woven fabric is a practical choice. Test its thickness with the lining or interfacing before sewing the full piece.

Do I need interfacing?

Not always. Add it if the sample feels too soft, and test the combination so the bookmark remains thin enough for a book.

How large should the pocket be?

Keep it smaller than the bookmark face and shallow enough to avoid bulk. Test the finished thickness in the book.