Plan the hanging line before cutting a full batch of shapes. The span, attachment points and distance between motifs determine how the garland reads in the room. A short sample also shows whether the paper turns, overlaps or hangs the way you expect.
Map the space
Measure the clear distance between the places where the garland will hang. Note doors, windows, lamps and moving curtains that could catch the paper. Decide whether the strand should hang straight, form a shallow curve or drop in separate sections. Check that the supports are suitable for the surface and the finished decoration.
Set the motif and spacing
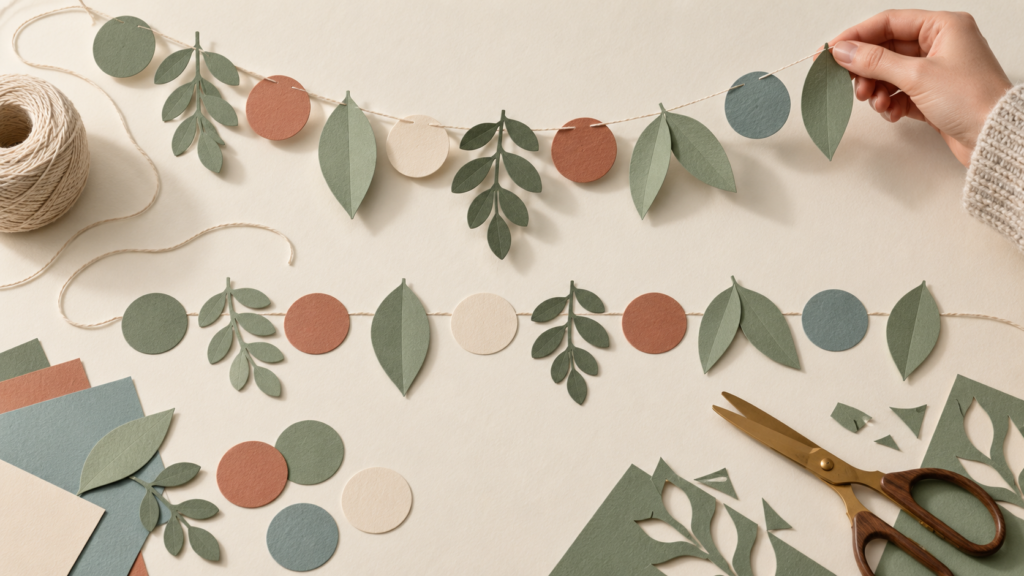
Draw or print one motif at the size you intend to use. Put a few copies on a table and move them closer together or farther apart. Repeated circles, leaves or flags make a regular line; a small group of larger focal shapes can break up a simple repeat. Leave enough visual space for each shape to stay distinct.
If the design has a front and back, decide whether both sides will be visible. A one-sided motif may need a second backing shape so it looks finished when the strand turns. For a cutting-machine project, check the file dimensions and cutting area before you resize it. Our SVG guide lists the file details to inspect.
Test a short section
- Cut a small sample using the planned paper and motif.
- Attach the pieces to the intended string, ribbon or paper connector.
- Hang the sample at the intended height and look at it from the room entrance.
- Adjust the scale, gaps or attachment points if the line looks crowded or uneven.
Only then cut the remaining shapes. Keep the pieces in order while assembling them, especially if the pattern changes color or direction. Light paper usually moves more easily than thick layered pieces, so let the sample show whether the chosen support and spacing can hold the design.
Keep paper decor away from open flames and heat sources.