DIY paper Christmas crackers depend on a small paper structure holding several decisions together: the template size, cardstock, score lines, side tab, end ties, and the filling inside. A cracker can be plain, layered, or shaped around a seasonal character. The most useful first step is a paper dummy with no decoration, so the folds and opening width can be checked before the set is produced.
This is a planning guide, not a record of a completed cracker batch. No template was downloaded, printed, cut, or tested for this article. Read the instructions that come with any template or cracker component and keep the final design appropriate for the people who will use it.
Choose the cracker structure
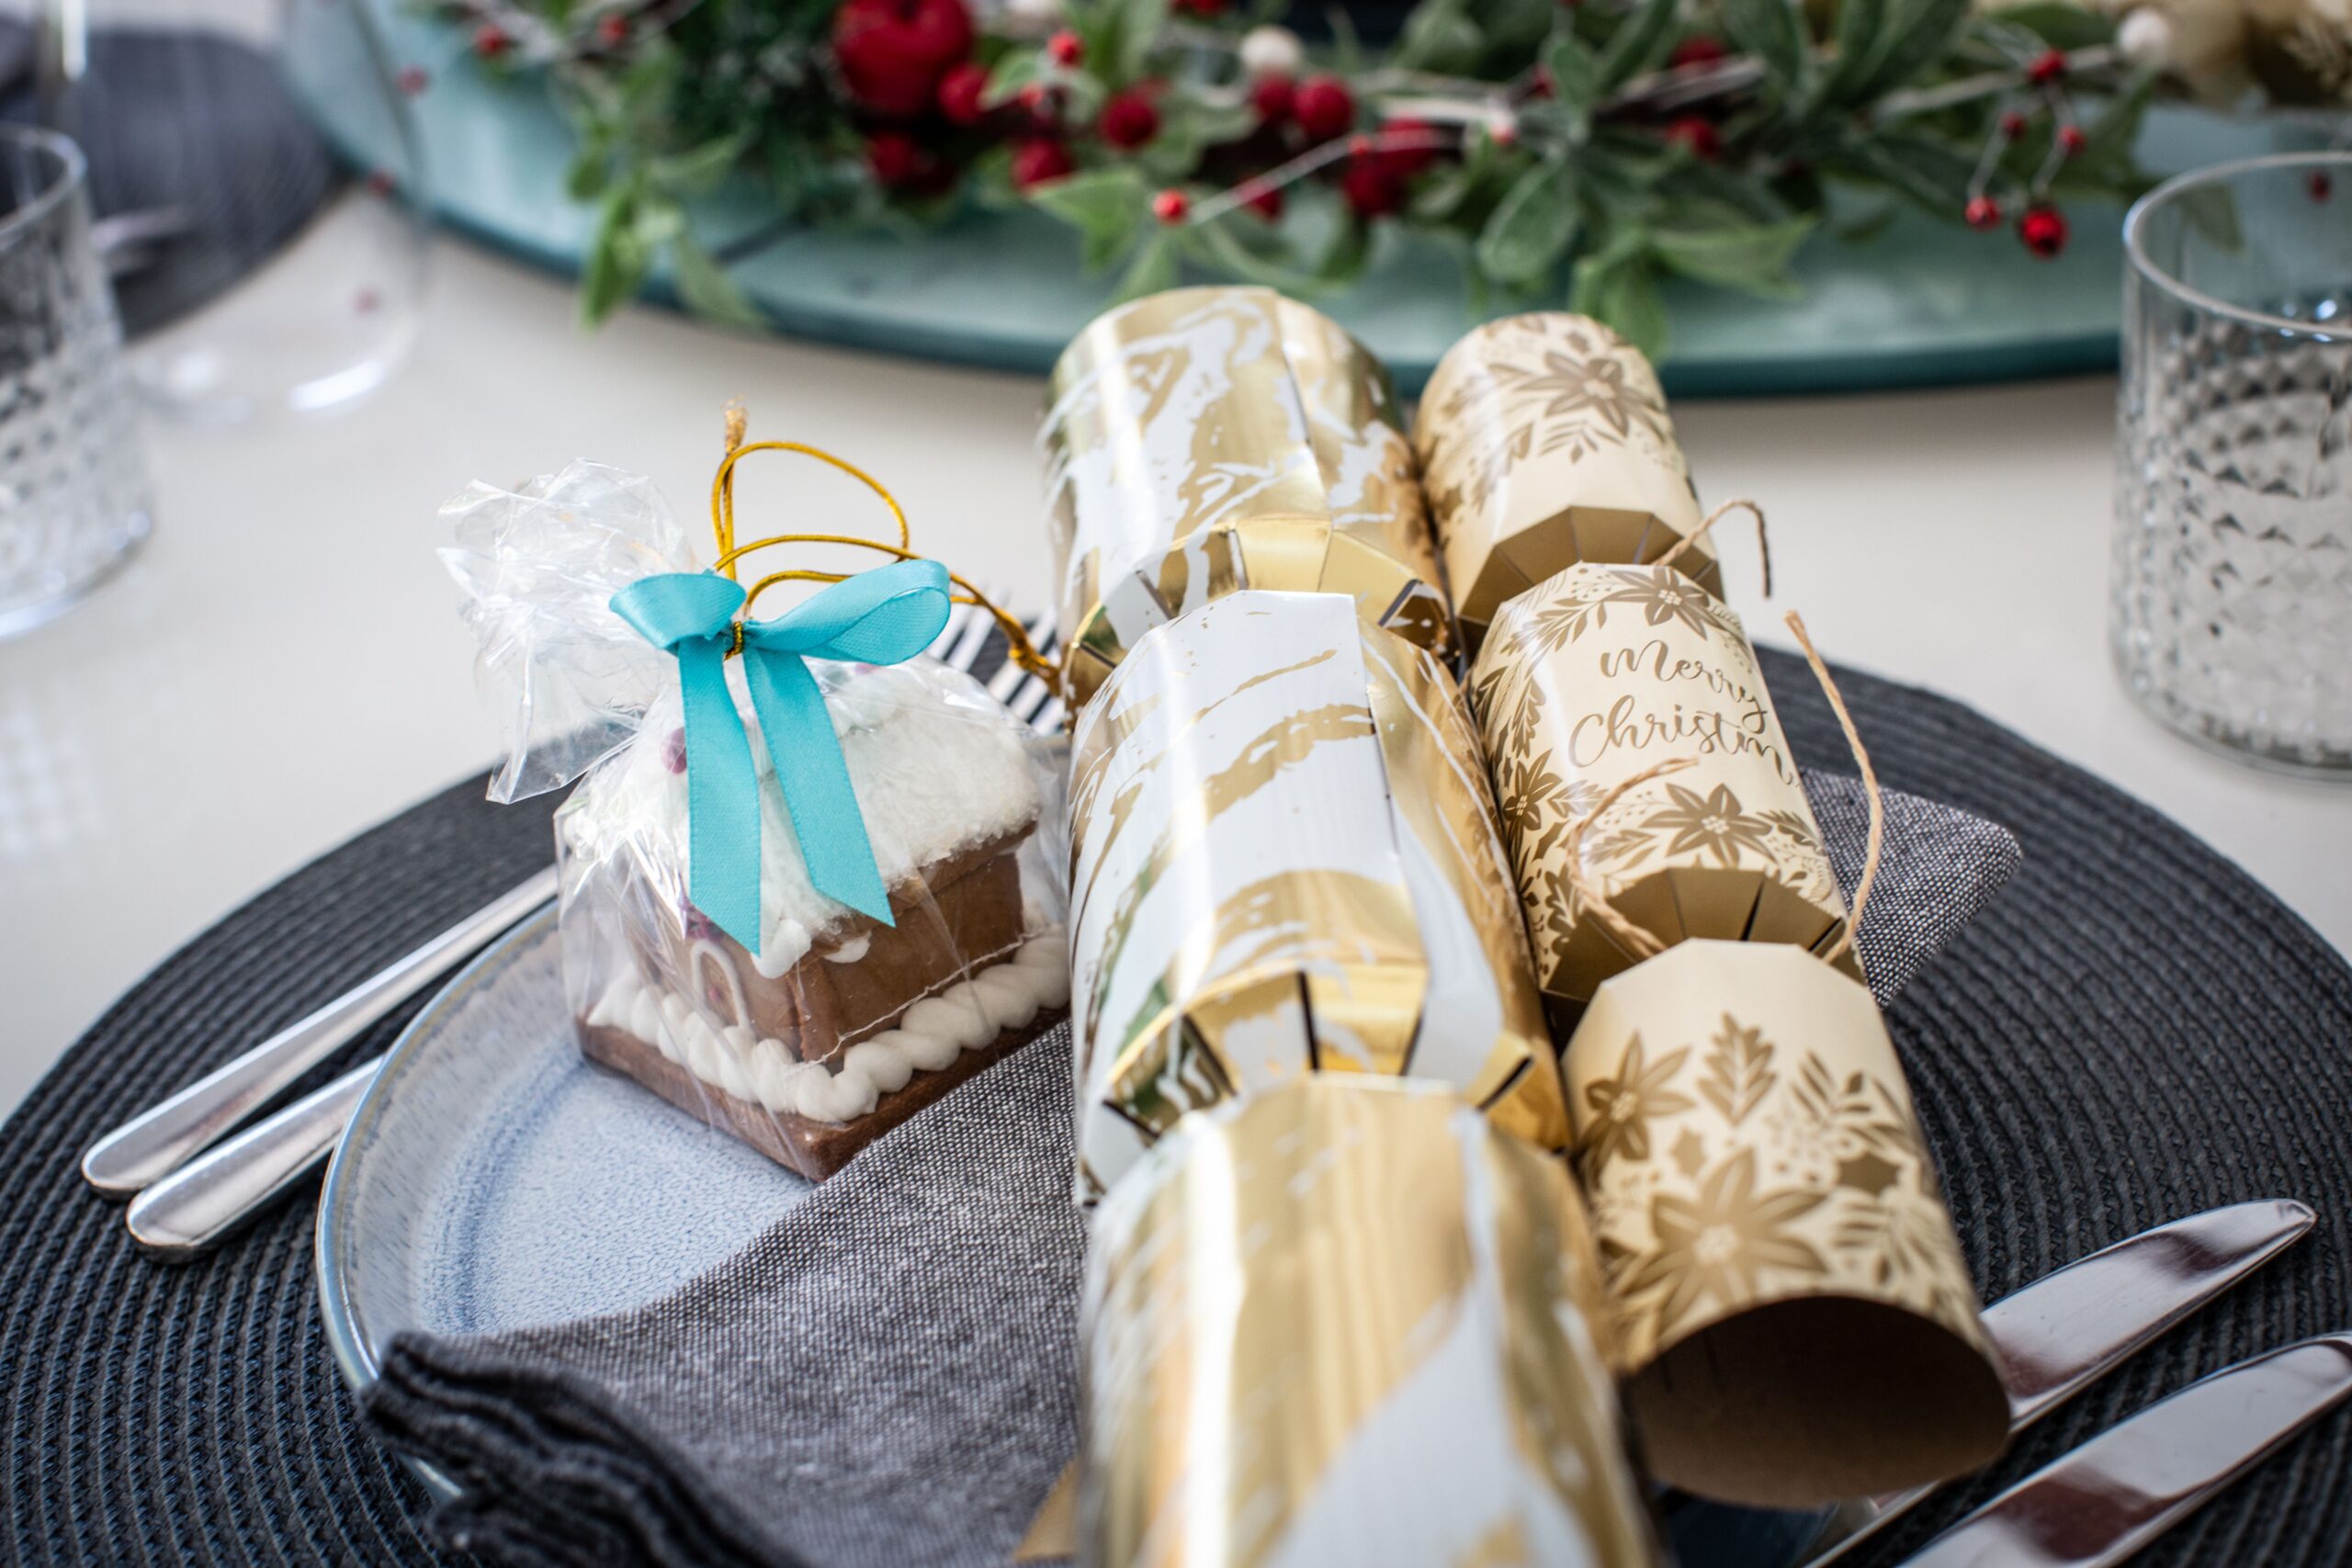
A simple cracker uses a central tube with narrowed ends. A printed template can mark the tabs, fold lines, and diamond-shaped openings, while a blank paper pattern gives you more control over the finished width. Decide whether the cracker will be a single sheet, a layered cover, or a decorated base before choosing the paper.
Think about the table as well as the object. A long cracker may sit across a plate, while a compact version can rest above the cutlery. The finished length should leave space for the place setting and should not make the guest’s name card difficult to see.
Start with the card and template
Thick paper gives the cracker more body, but it also needs stronger scoring and cleaner folds. Sarah Renae Clark’s tutorial uses 200GSM cardstock and separates the work into cutting, scoring, folding, gluing, tying, and filling. Hobbycraft’s tutorial also starts with a paper base and a template, then adds scoring and end ties.
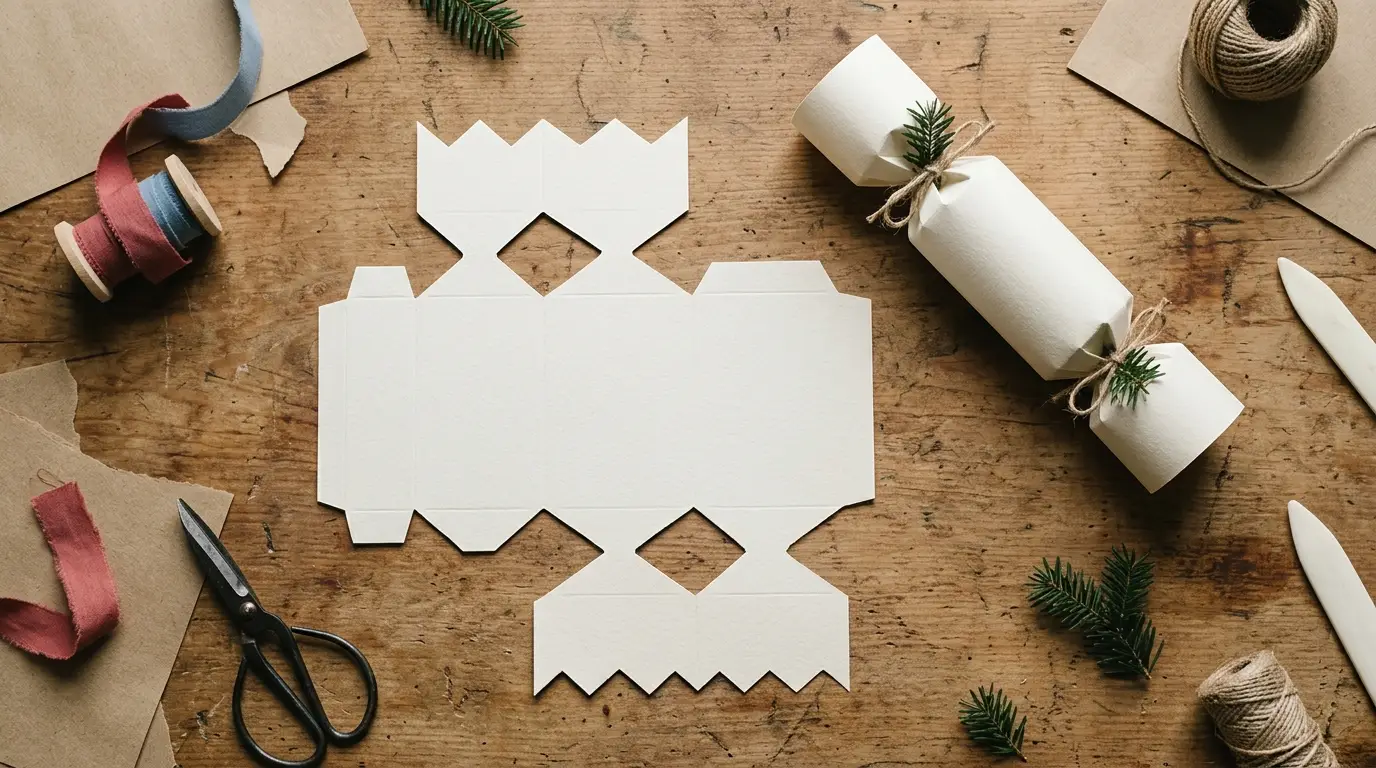
Print or trace one test template at its intended scale. Check that the solid cut lines, dotted fold lines, tabs, and decorative openings are easy to distinguish. Do not assume that a template made for one sheet size will fit a different printer setting without checking the final dimensions.
Score before you fold
Score the fold lines with a ruler and a suitable scoring tool. The score should help the paper turn without cutting through it. On a cracker with diamond-shaped ends, check which lines fold toward you and which fold away from you before cutting the openings.
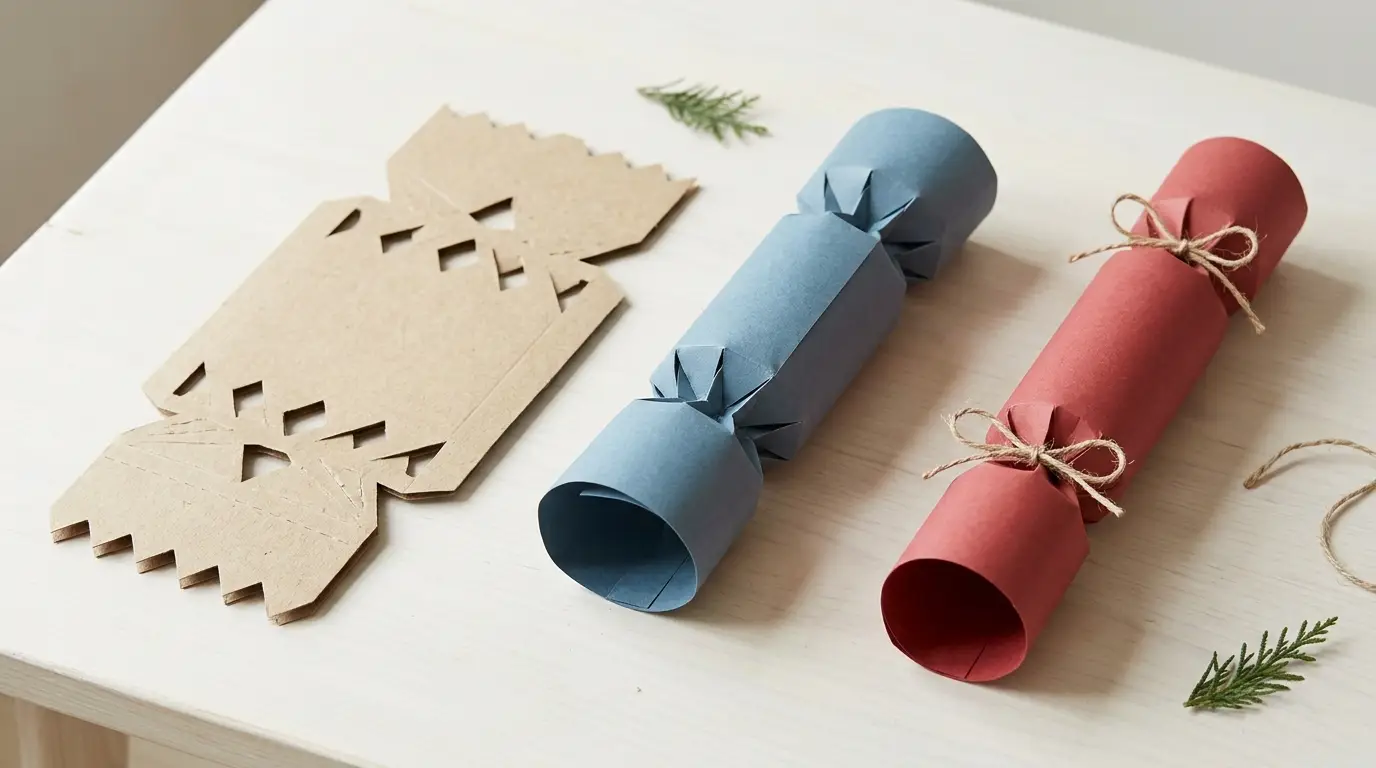
Fold the blank structure once before adding paper layers or embellishments. The side tab should meet the opposite edge without forcing the tube out of alignment. If the tab is too narrow, the seam may open; if the layers are too thick, the folds may resist the intended shape.
Plan the filling before closing the ends
Measure the items that will go inside. Small sweets, paper crowns, jokes, and lightweight favors need different internal space. The filling should fit without pushing the cracker open or distorting the narrowed ends.
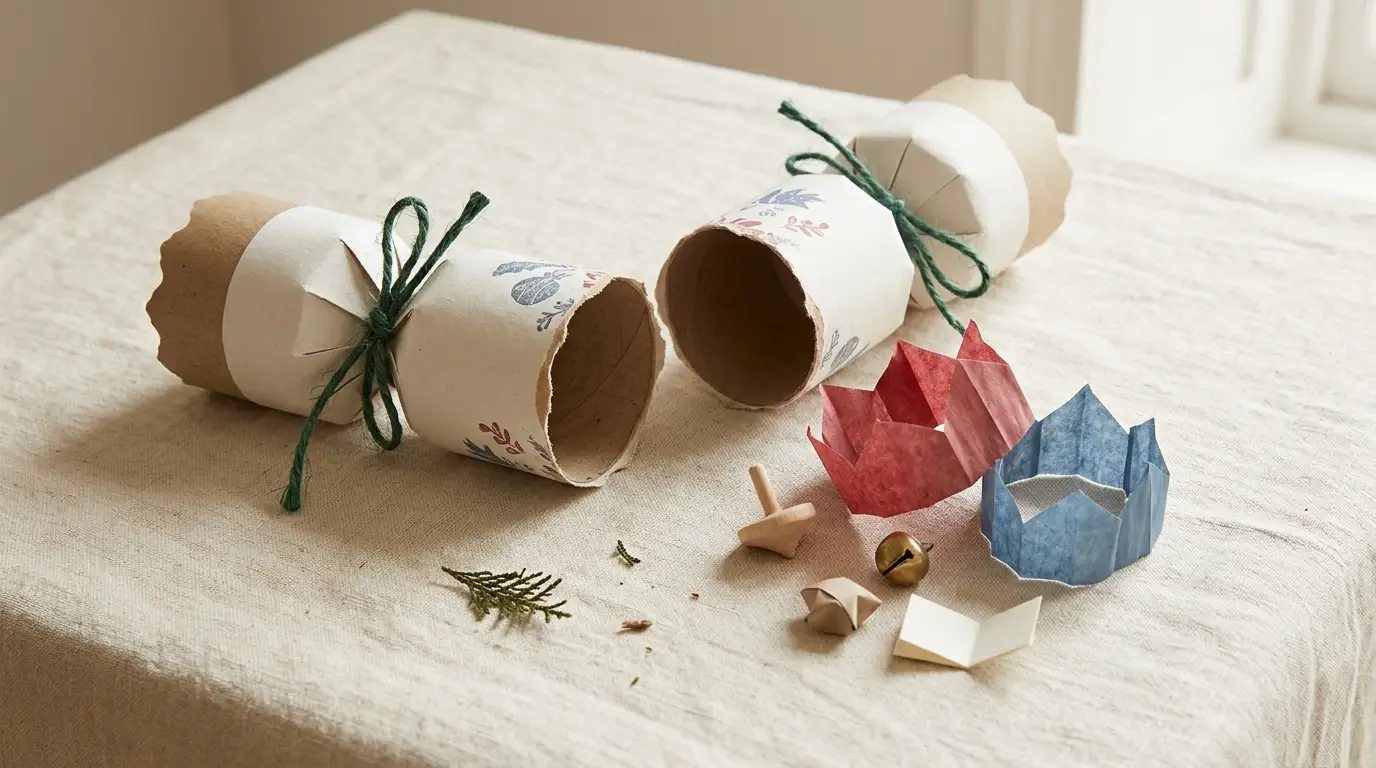
Keep the contents separate from the paper test. Assemble one empty cracker first, then add the intended filling and check the closure again. If a snap component is part of the design, follow its instructions and make sure the finished item is suitable for the users and the setting.
Tie and decorate the batch
Ribbon or string can close the ends and help the cracker keep its form. Tie one end, add the filling, and close the second end with the same tension. If the ties are too loose, the ends may open; if they are too tight, the paper may crease or tear.
Keep decoration away from the fold lines and the side seam. A narrow paper band, a small layered star, or one character detail can repeat across the set without making each cracker difficult to assemble. The cardstock guide covers the relationship between paper weight and layered construction.
Make a repeatable set
Record the template scale, sheet size, fold direction, glue location, ribbon length, and filling list. Mark one master sample so the rest of the crackers follow the same order. Count the completed bases before adding names, motifs, or table-specific colors.
Place one finished cracker beside the plate, napkin, and place card. The paper Christmas place-card guide can help you check whether the name marker remains visible. If the crackers are part of a larger table arrangement, compare them with the paper Christmas table decor plan before cutting more accents.
Common mistakes
- Printing a template at the wrong scale and discovering it after the full sheet is cut.
- Cutting the fold lines or tabs instead of scoring them.
- Folding the diamond ends in the wrong direction.
- Choosing the filling after the cracker is assembled and finding that it does not fit.
- Adding thick decoration over the seam or fold lines.
Disclosure: This guide contains no affiliate links. It describes planning choices supported by the named sources and does not claim a completed or tested paper Christmas cracker.