Skip to content
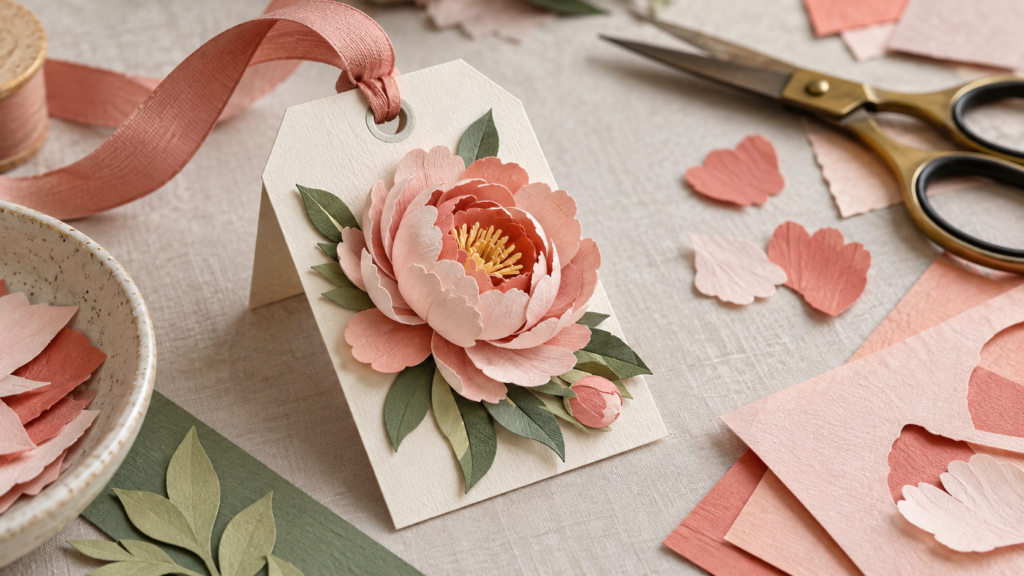
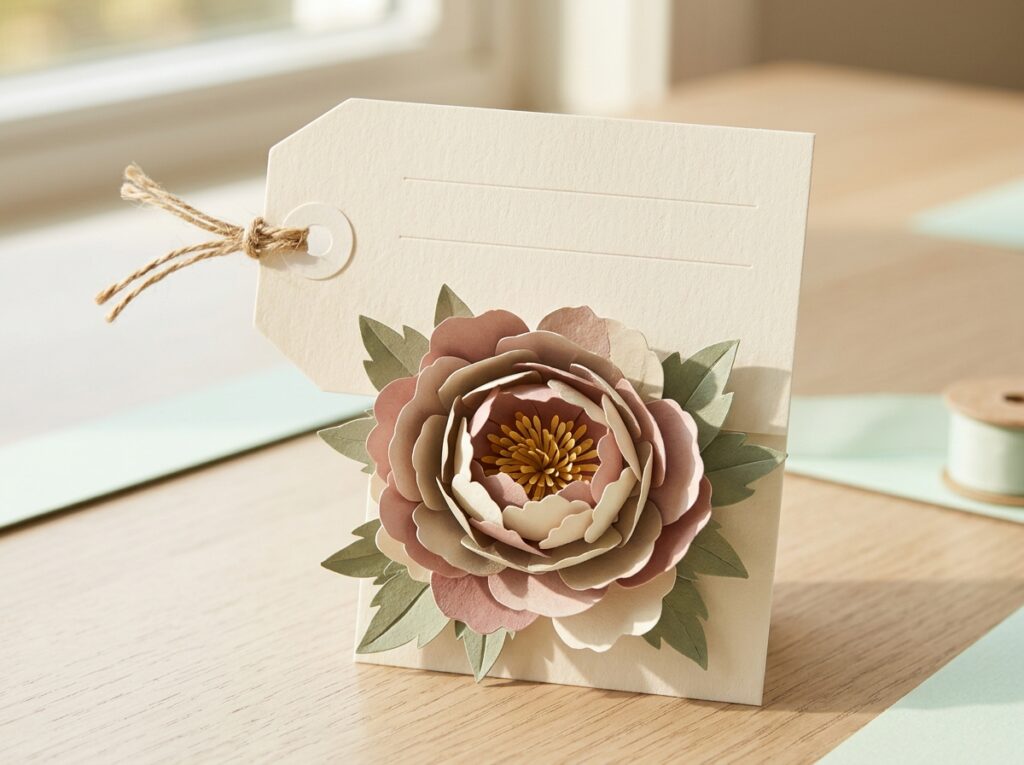
Layered paper peony attached to a folded gift tag

Paper Peony Gift Tag

Shape graduated paper petals into a small layered peony, then attach it to a tag without covering the writing area or weakening the ribbon hole.

Size
Tag: about 2 × 4 in (5 × 10 cm); adjust for the gift.

Materials

  • Cardstock for the tag — Choose a weight that folds cleanly.
  • Colored paper — Use two or three shades for layered petals.
  • Thin ribbon or cord — For attaching the tag.
  • Paper scrap — For testing petal shapes and adhesive.

Tools

  • Scissors or cutting machine — Use the method suited to the template.
  • Pencil and ruler — For the tag outline and fold.
  • Paper adhesive — Apply sparingly between petals.
  • Scoring tool — For a clean tag fold.

Steps

  1. Plan the tag

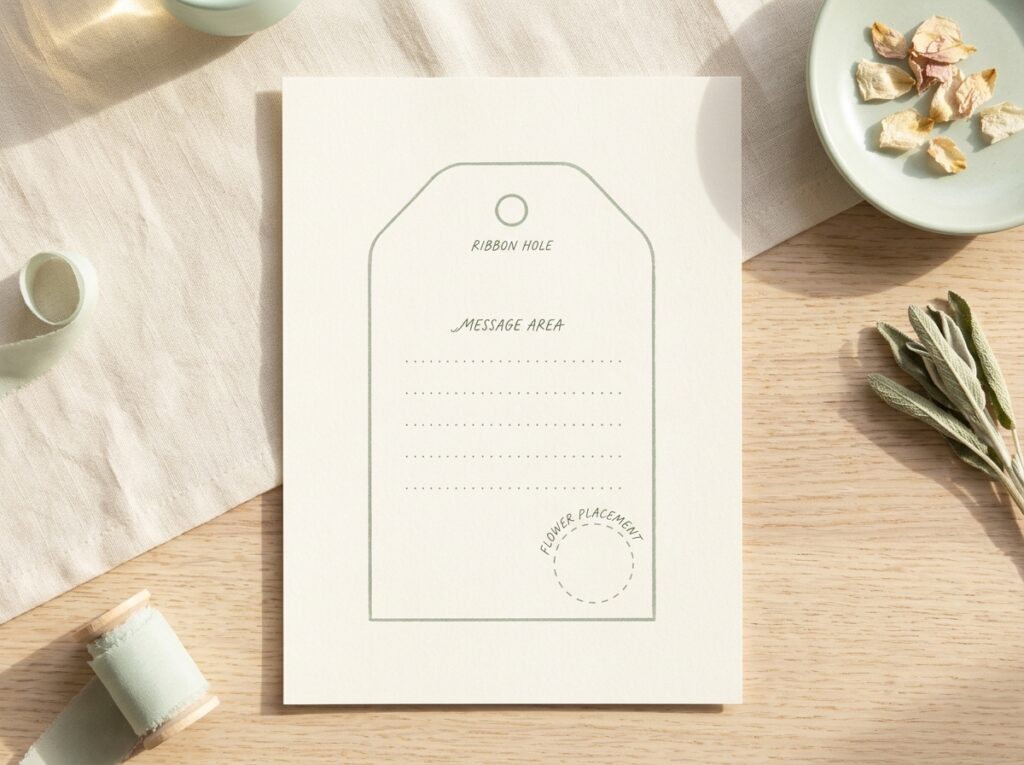
    Draw a 2 × 4 in (5 × 10 cm) tag or adjust the outline to the gift. Mark the writing area, flower position and ribbon hole. Keep the flower far enough from the edge that it will not catch, and leave a wide margin around the hole.

    Illustration: pencil layout of a gift tag with separate flower, message and ribbon areas.
  2. Shape the petals

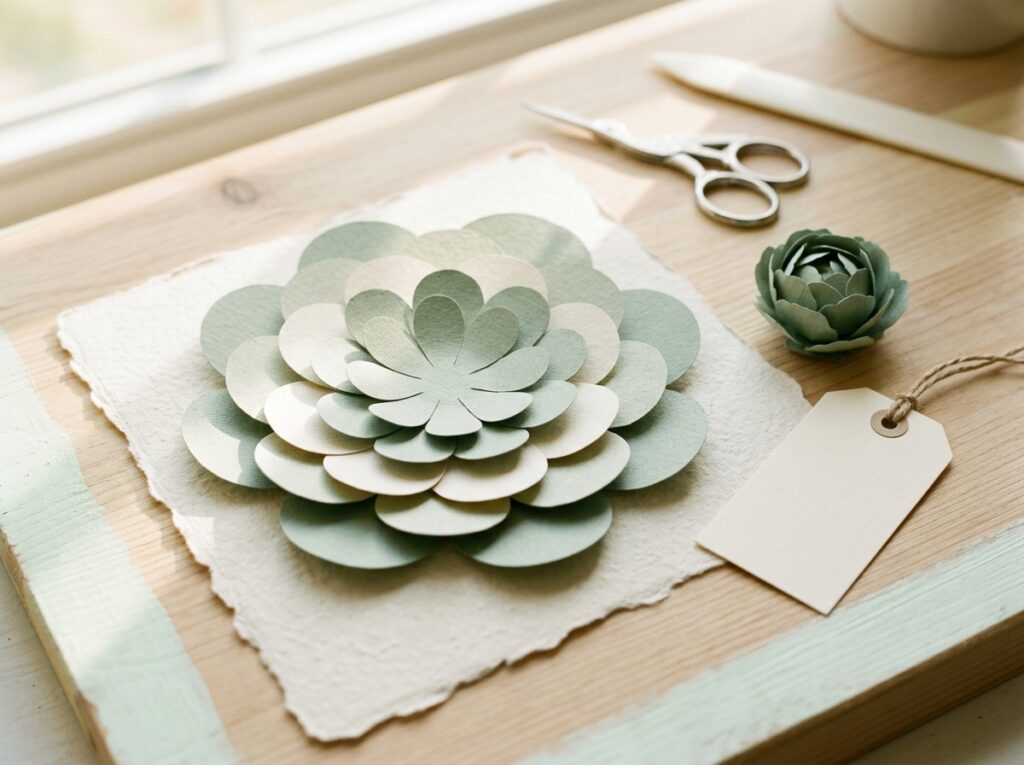
    Cut a small group of petals in three sizes from paper scraps first. Lay the pieces in rings, with each petal overlapping the gap in the ring below. If the flower overwhelms the tag or hides the note area, reduce the petal width before cutting the final paper.

    Illustration: three sizes of paper peony petals arranged in overlapping rings.
  3. Add dimension

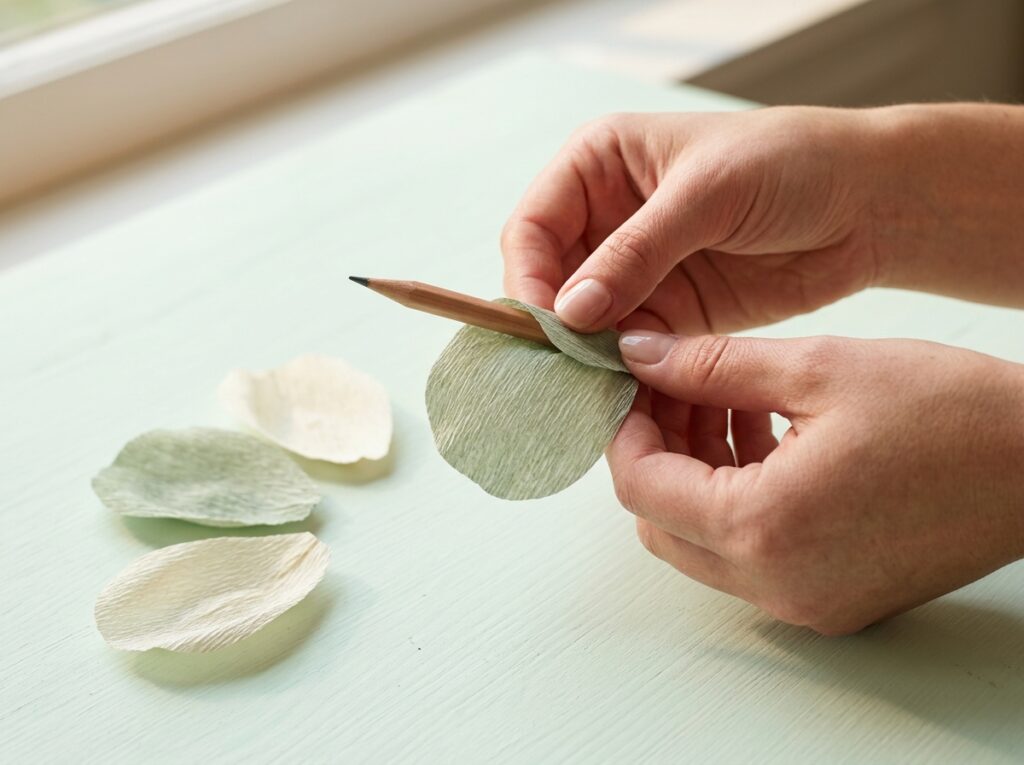
    Curl the outer edge of each petal gently around a pencil, bone folder or shaping tool. Press only near the base to make a shallow cup; a hard crease can split or flatten the curve. Keep several petals flatter for the lower ring so the flower has a stable back.

    Illustration: paper petals gently curled around a pencil to form shallow cups.
  4. Layer the flower

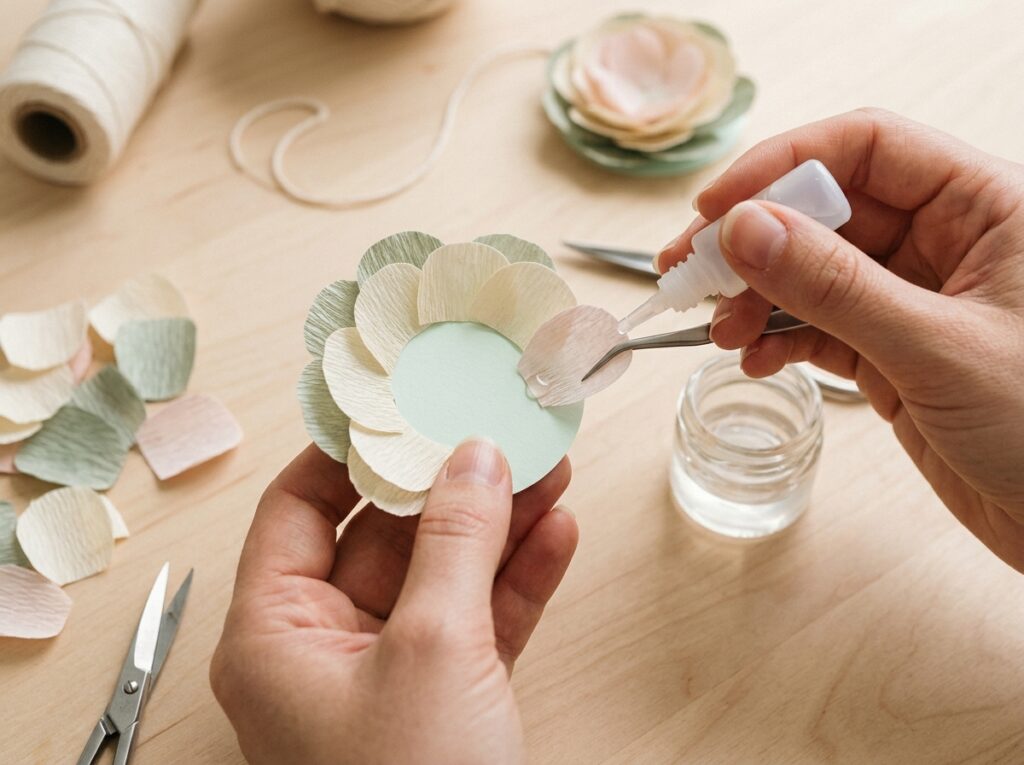
    Start with the smallest ring and attach petals at their bases, shifting each new petal over the gap below it. Add the next size around the outside. Use enough adhesive to hold the overlap, but keep glue away from the visible petal edges.

    Illustration: layered paper peony assembled from offset petal rings.
  5. Finish the tag

    Let the flower adhesive set, then attach the flower to the marked area with a flat backing layer if needed. Punch the ribbon hole through the tag base, not through the flower. Thread ribbon and confirm the tag still lies against the package.

    Illustration: finished paper peony fixed to a tag beside a clear message area and ribbon hole.

Make a small paper peony for a tag about 2 × 4 in (5 × 10 cm). The flower should sit within one end of the tag so the name or note stays readable. Use a paper scrap to test the flower’s width and height before cutting the colored sheets.

Cut petals in a few graduated sizes and arrange each ring with the petals offset from the gaps below. Curl the edges gently around a pencil or shaping tool; sharp folds can crease thin paper instead of giving it a rounded shape.

Use a small amount of adhesive at the petal bases. Let it set before adding ribbon, then check that the tag lies flat enough for the package and that the punched hole has paper around it.

Step images are illustrations. They show one possible sequence; fit and tool settings depend on your materials and equipment.
Questions

Can I use one paper weight for every layer?

Yes. Lighter paper curls more easily; heavier cardstock can support the tag base. Test both if unsure.

How do I keep the flower from looking flat?

Curl a few petal edges and stagger the layers. Avoid pressing the center completely flat.

Can I make this with a cutting machine?

Yes. Test the smallest petal shape on scrap material before cutting the full set.