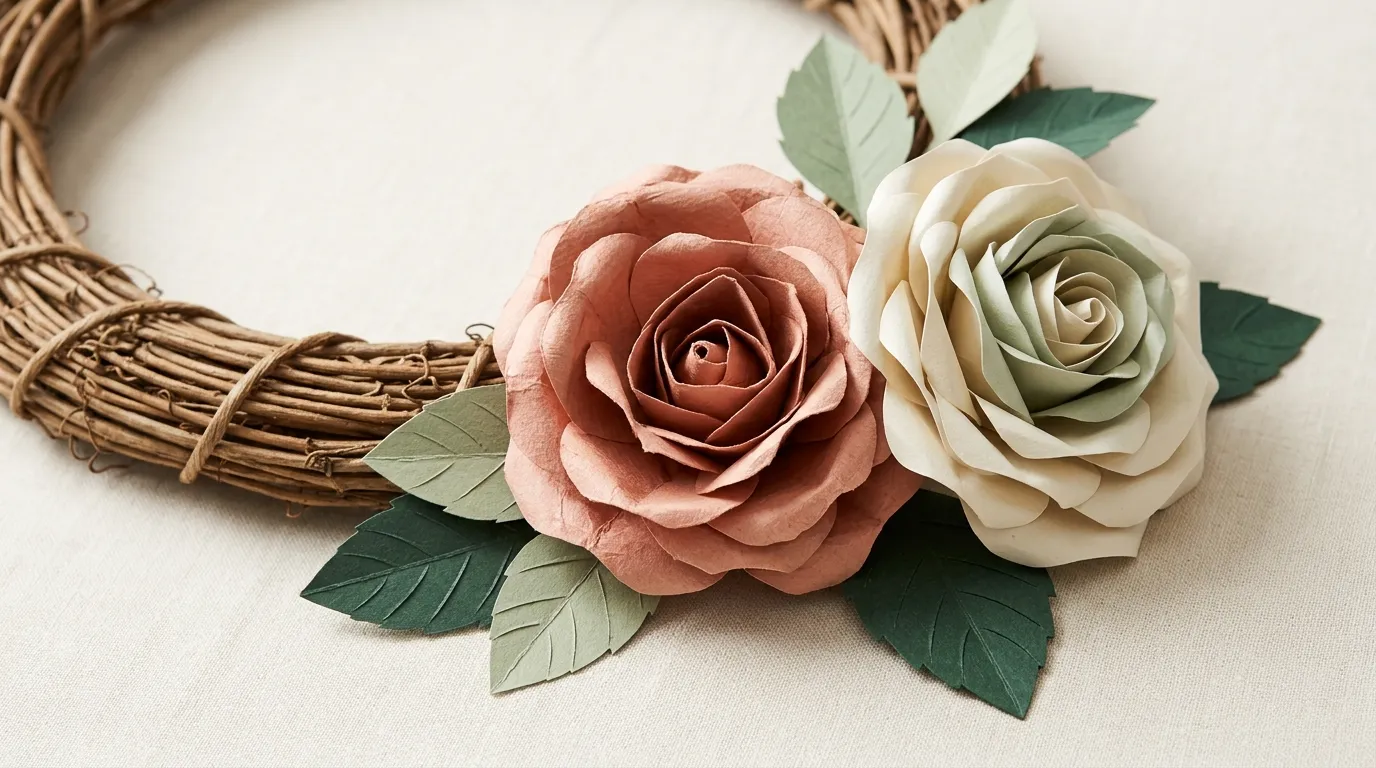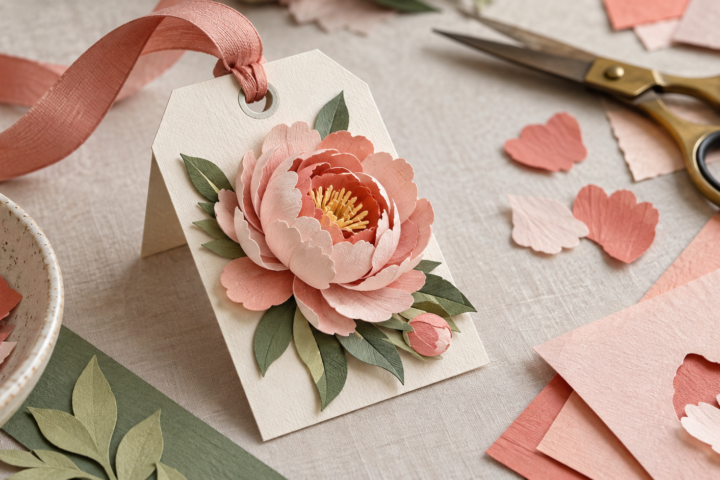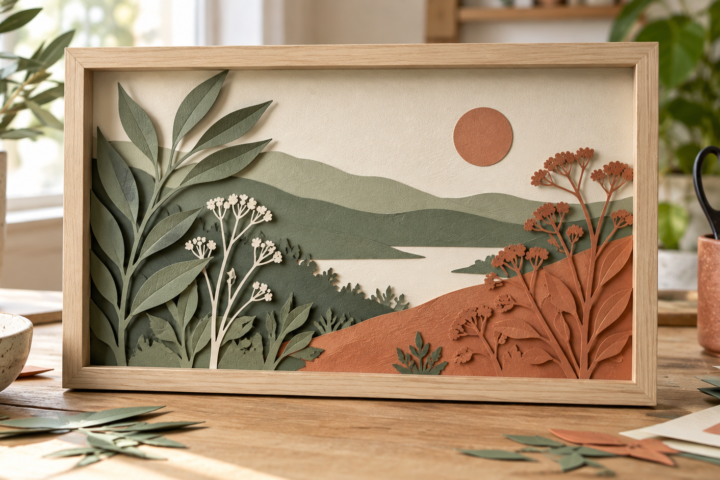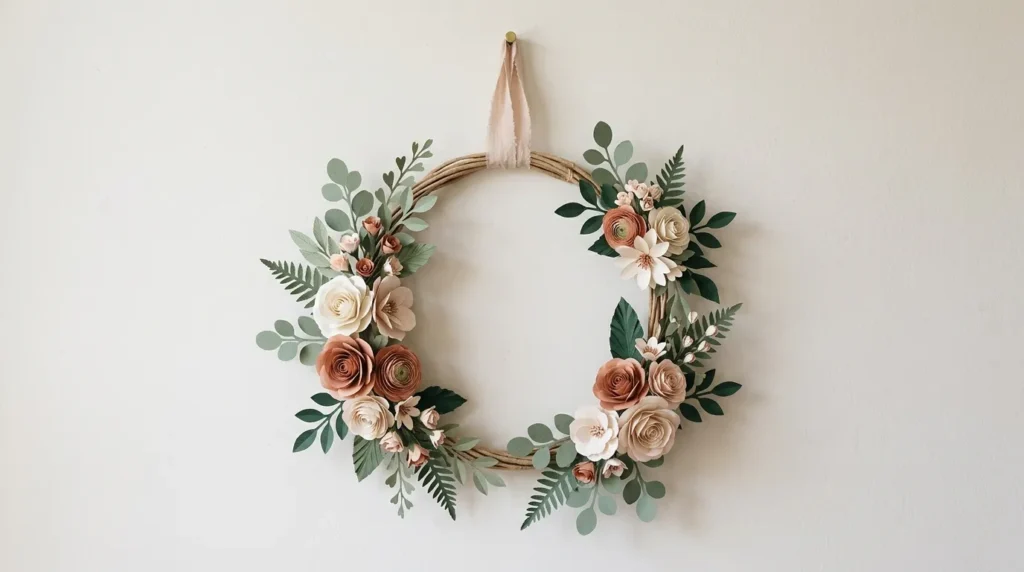
A paper flower wreath needs a visible ring shape, a stable base, and enough open space for the flowers to read as a group. Start with the place where it will hang and the size of the clear wall area. Then choose a base and arrange the largest blooms before adding leaves or small accents.
Choose a base that suits the display
A flat base keeps the wreath close to the wall and gives the flowers a broad surface to attach to. A ring-shaped base leaves the center open and can show from the side, so the flower backs and attachment points matter more. The template or base listing should state its finished dimensions and how it is meant to hang. A photograph alone may hide the depth or the reverse construction.
Measure the door or wall area where the wreath will sit. Include nearby trim, a handle, or a shelf that could overlap its edge. A large wreath may need fewer flowers because each bloom already fills more of the circle. On a smaller base, oversized flowers can hide the ring and close the center opening.
If you are choosing individual flowers or templates, the paper flower decor guide compares display formats and details to check in a listing. For flowers arranged in a container rather than a ring, see the guide to planning a balanced paper flower arrangement.
Set the main bloom before filling the ring
Place one larger flower slightly above or to one side of the center. That gives the eye a starting point. Add a smaller group opposite it or continue in one direction around the circle. Either layout can work; the important part is to decide where the weight sits before attaching every piece.
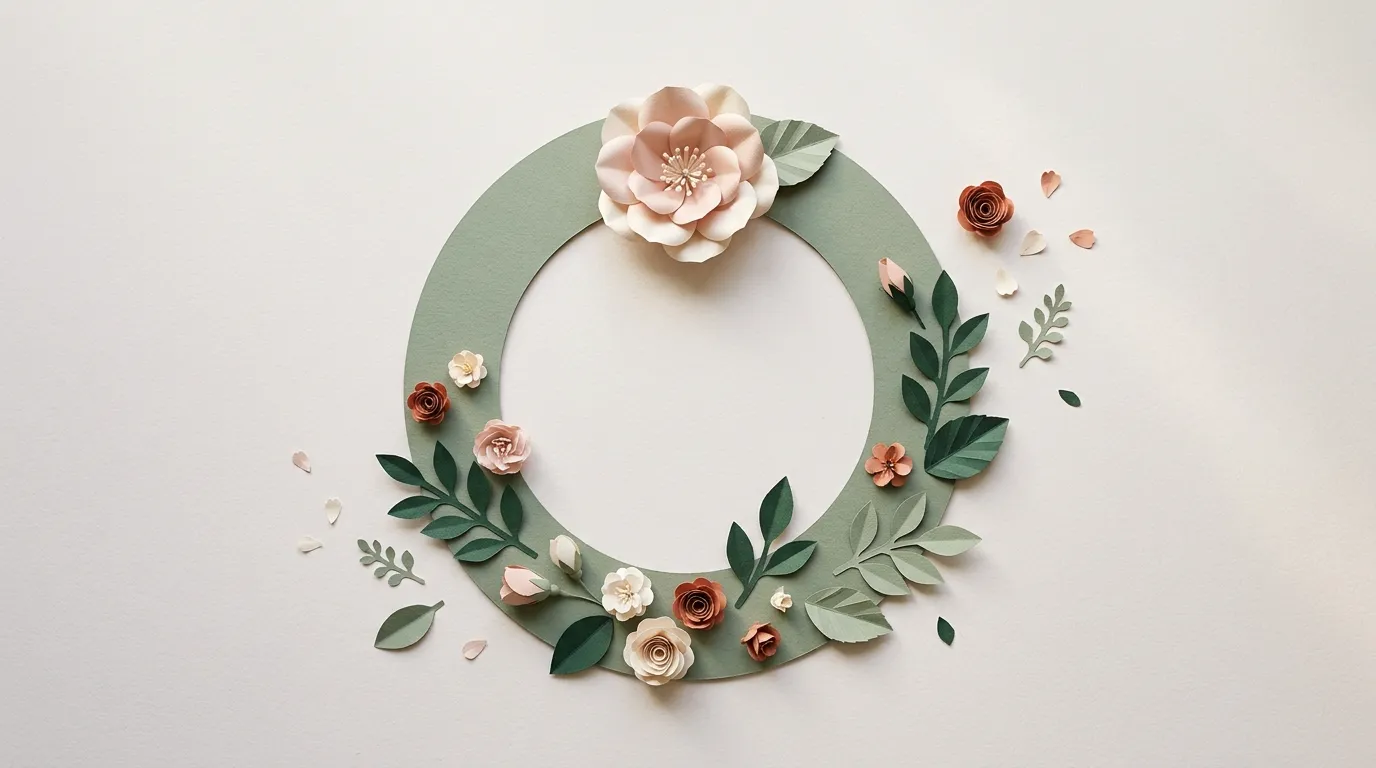
Keep the center opening visible if the design depends on a wreath shape. Leaves can point along the curve of the ring, while flower heads face outward or slightly toward the center. When every bloom points in a different direction, the arrangement looks scattered. Rotate a few paper cutouts during the dry layout until their petals follow the curve.
Use a paper circle or a temporary sketch to check the flower footprint. A flat template may look smaller than the rolled or layered flower it makes. Assemble one sample if the finished depth is uncertain, then use that size when setting the spacing for the rest.
Use empty space as part of the design
Do not cover the base just because it is visible. A strip of exposed ring can separate clusters and show the wreath’s outline. If the base color clashes with the paper, cover only the sections that remain visible after the flower layout is settled.
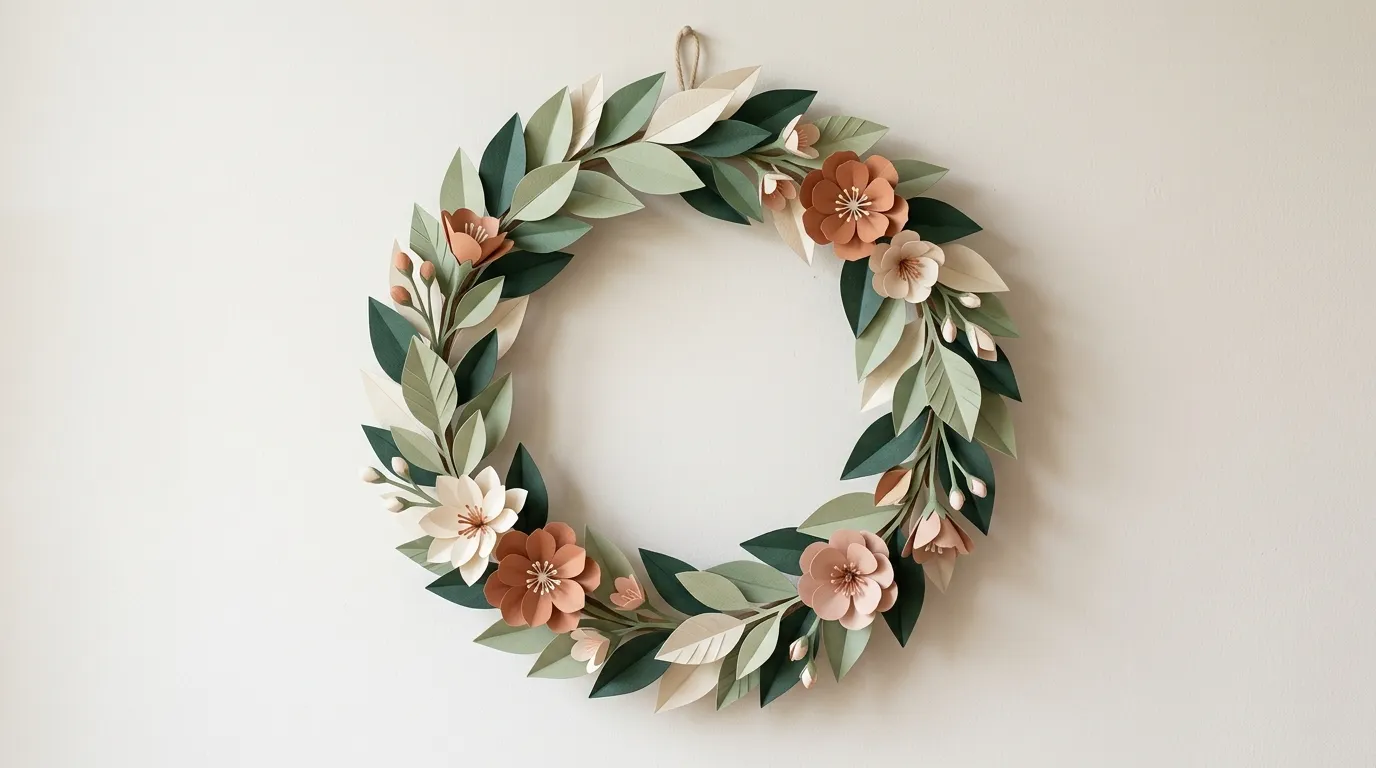
Leaves can connect blooms, but they also take up room. Start with a few larger leaf shapes that follow the ring, then add smaller ones only where the transition feels abrupt. Keep the same paper weight and finish in mind: very small curled pieces may be difficult to attach to a narrow base without bending.
Check the wreath from the distance where it will be seen. Close up, the petals and layers draw attention. From across a room, the outline and the light-dark pattern matter more. If the wreath becomes a solid mass at that distance, remove a few flowers or open the gaps between clusters.
Dry-fit the arrangement before attaching it
- Mark the top of the base and the intended hanging point.
- Place the largest flowers first, then check the center opening.
- Arrange leaves along the ring without covering every gap.
- Lift the dry layout carefully and check that its weight feels balanced.
Attach the flowers only after the layout works from the front and side. Follow the adhesive or base maker’s instructions, and let joins set before hanging. If the wreath will be stored for another season, keep it in a box wide enough that the petals are not pressed against the lid.