Skip to content
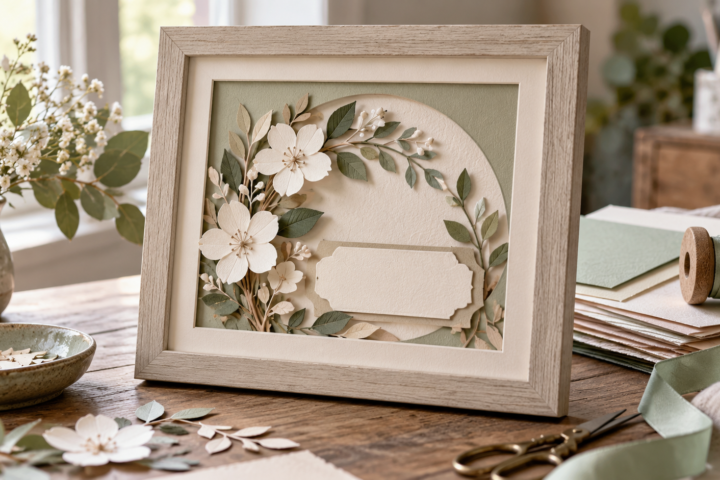
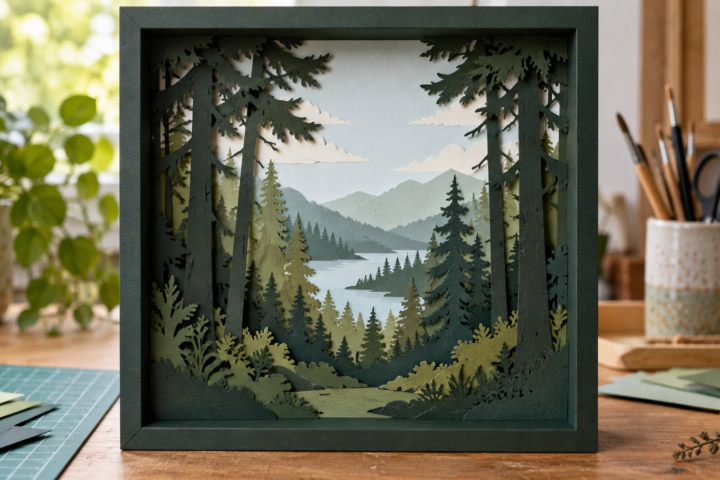
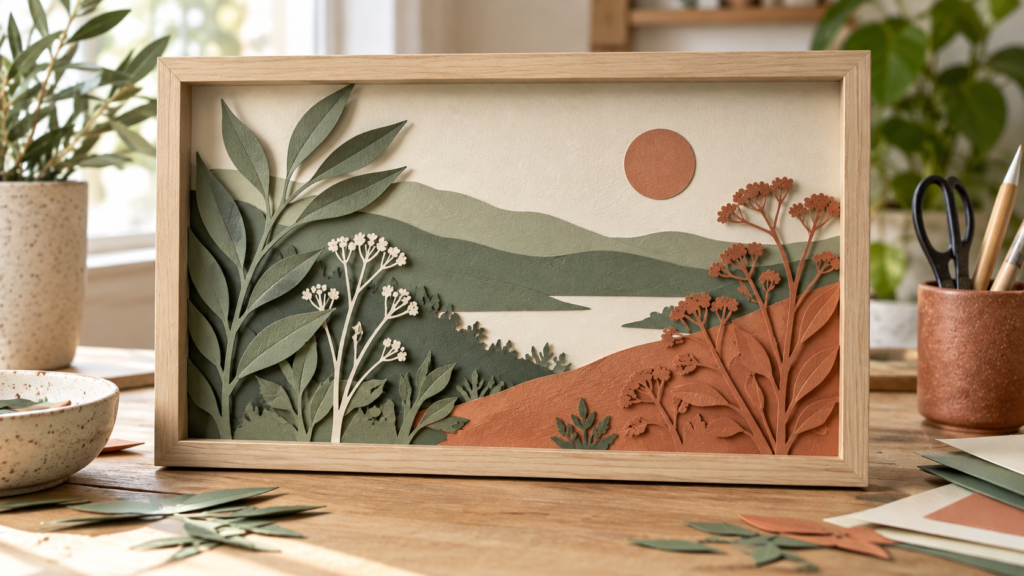
Layered paper botanical scene mounted inside a shallow shadow box frame

Layered Botanical Paper Shadow Box

Build a botanical paper scene in a shadow box by measuring its opening and depth, then mounting background, middle and foreground layers on spacers.

Size
Fit the design to the frame; leave clearance between the deepest layer and glazing.

Materials

  • Frame or shadow-box frame — Check the internal depth before designing.
  • Cardstock in coordinating colors — Choose stock that cuts and folds cleanly.
  • Foam spacers or folded paper tabs — Keep layers separated.
  • Adhesive — Test for paper compatibility.

Tools

  • Craft knife or cutting machine — Use a method suited to the shapes.
  • Cutting mat — Protect the work surface.
  • Ruler and pencil — Measure the frame opening and layer depth.
  • Tweezers — Position small paper details.

Steps

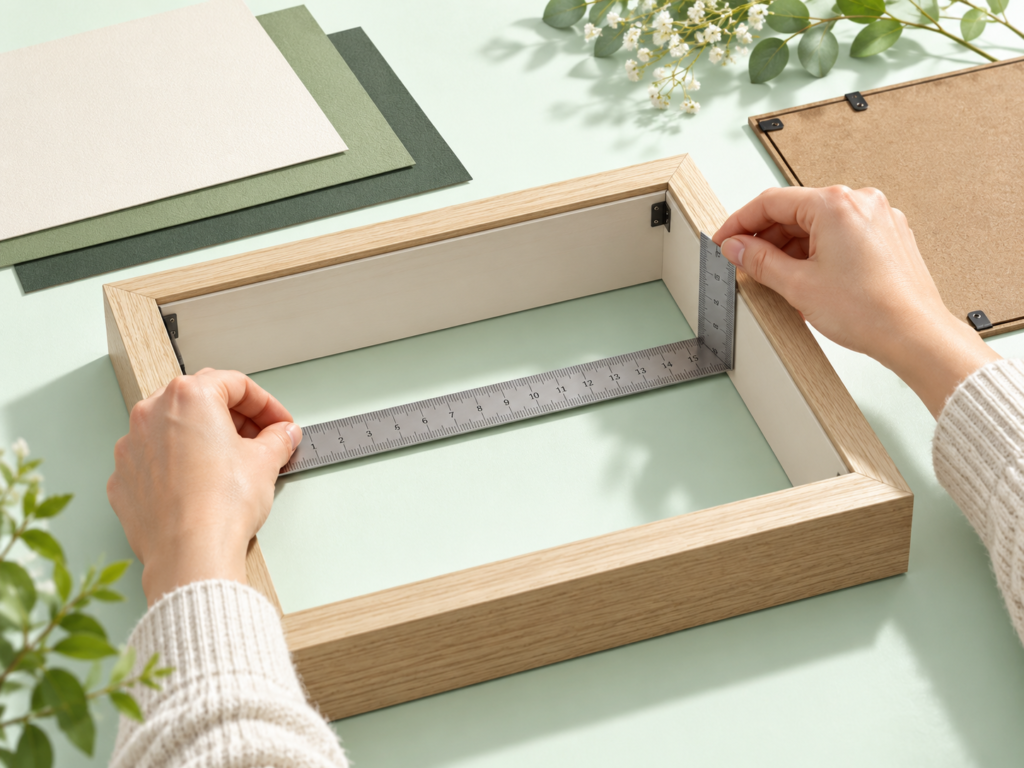
  1. Measure the frame

    Measure the clear opening, then measure from the backing to the inside of the glazing. Write both dimensions down. Reserve a margin under the frame lip, and treat the usable depth as a limit for the whole stack, including spacers.

    Illustration: hands measuring the opening and inner depth of a wooden shadow-box frame.
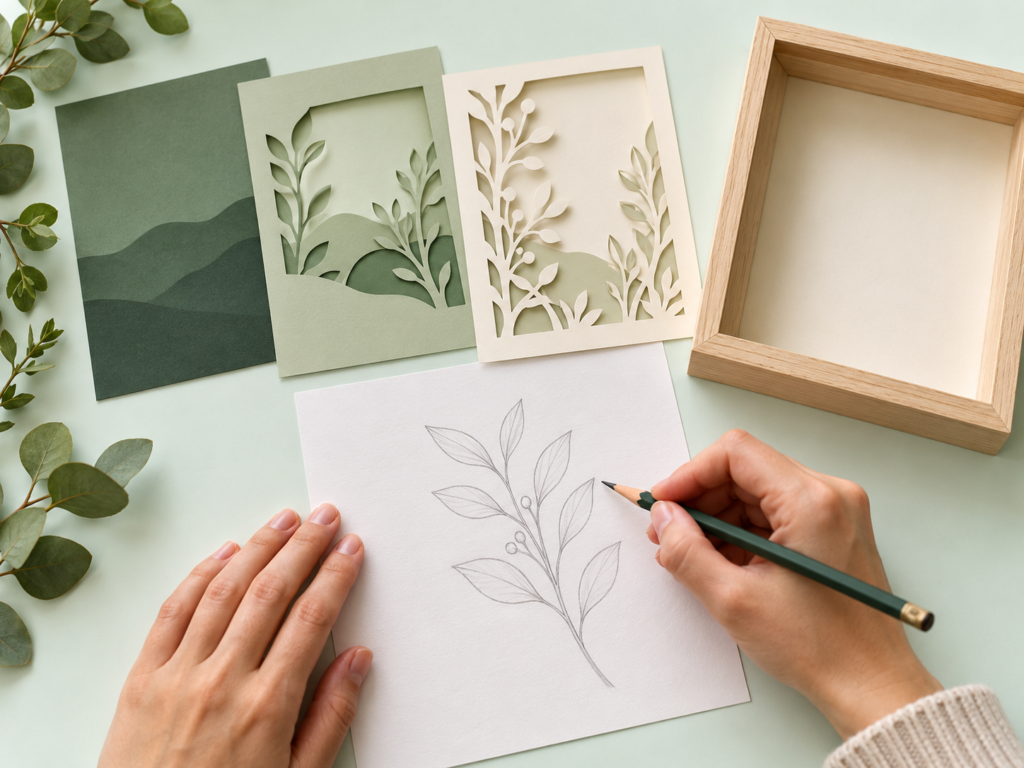
  2. Sketch three planes

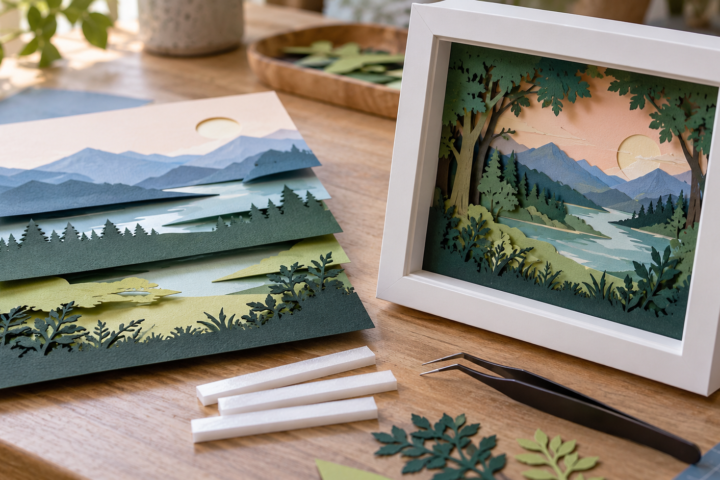
    Draw the scene as background, middle layer and foreground. Mark where leaves overlap and leave gaps for the lighter paper behind them. Keep the main branch inside the visible opening; details that extend under the frame lip will disappear.

    Illustration: a hand sketching a botanical branch beside three cardstock layers and a shadow-box frame.
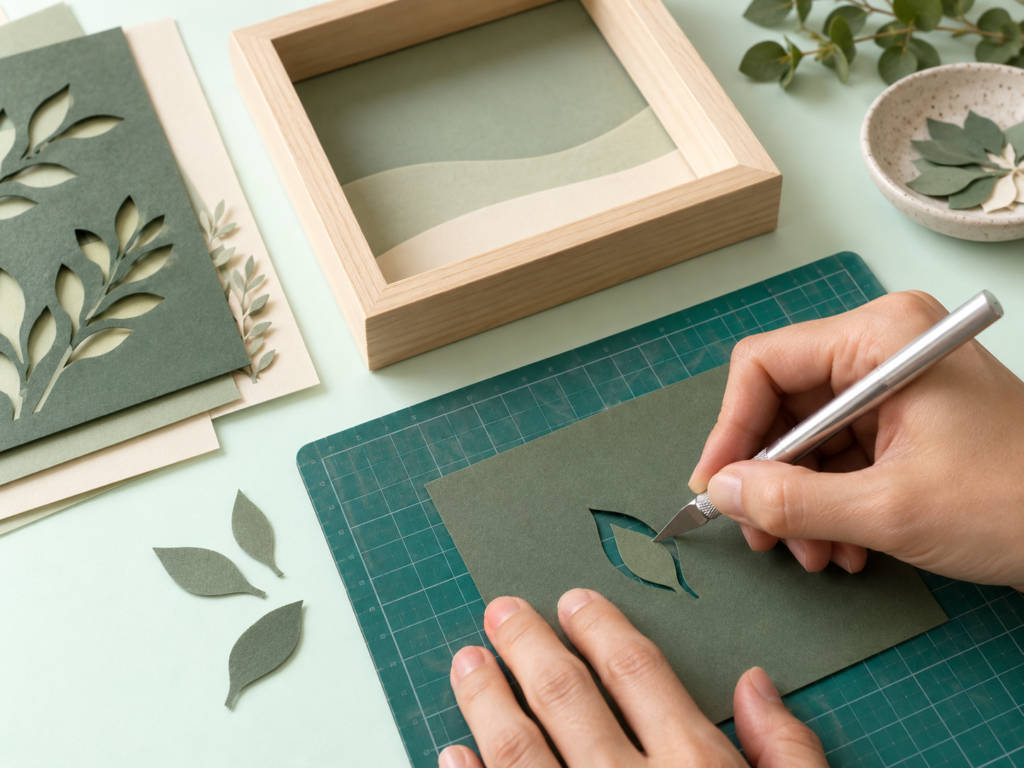
  3. Test the smallest cut

    Cut the finest leaf or stem from scrap using the same tool and paper planned for the project. If an edge tears or a stem bends during handling, simplify or widen it before cutting a full sheet. Dry-fit the scrap against the frame opening.

    Illustration: a craft knife cutting a small leaf shape from scrap cardstock on a cutting mat.
  4. Mount layers on spacers

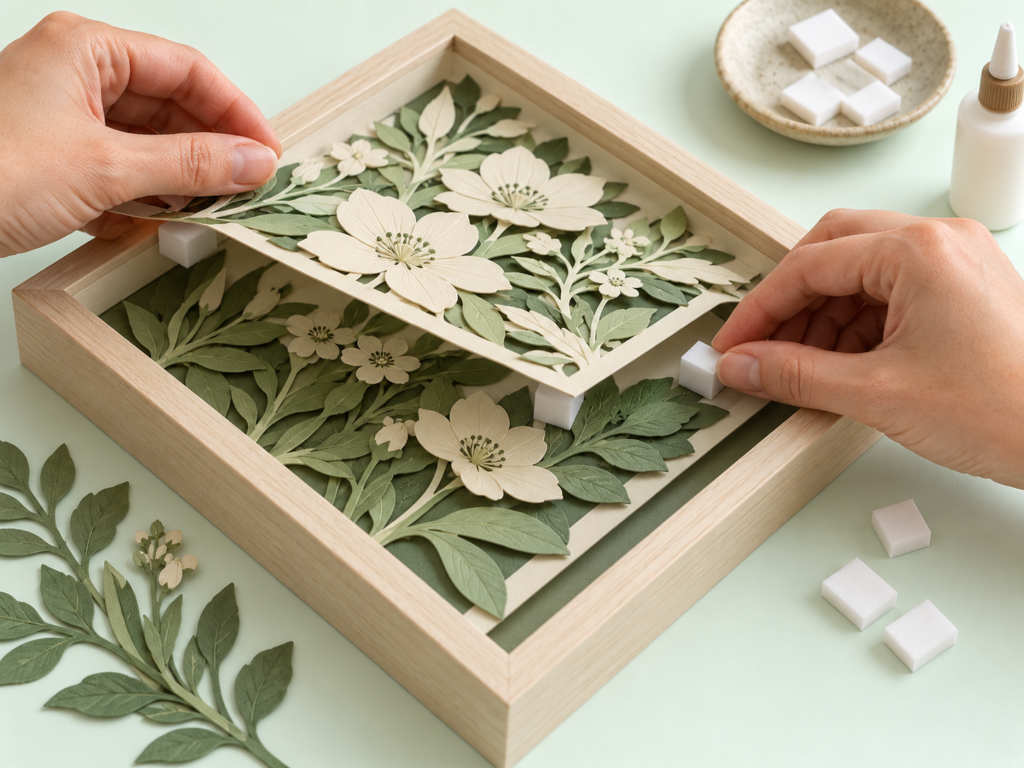
    Try the selected adhesive and spacer on a cardstock offcut first. Place matching spacers behind hidden areas of each layer, keeping them the same height so the sheet stays level. Leave enough support near thin stems to prevent them sagging.

    Illustration: hands raising botanical cardstock layers on foam spacers inside a shadow-box frame.
  5. Dry-fit and close the frame

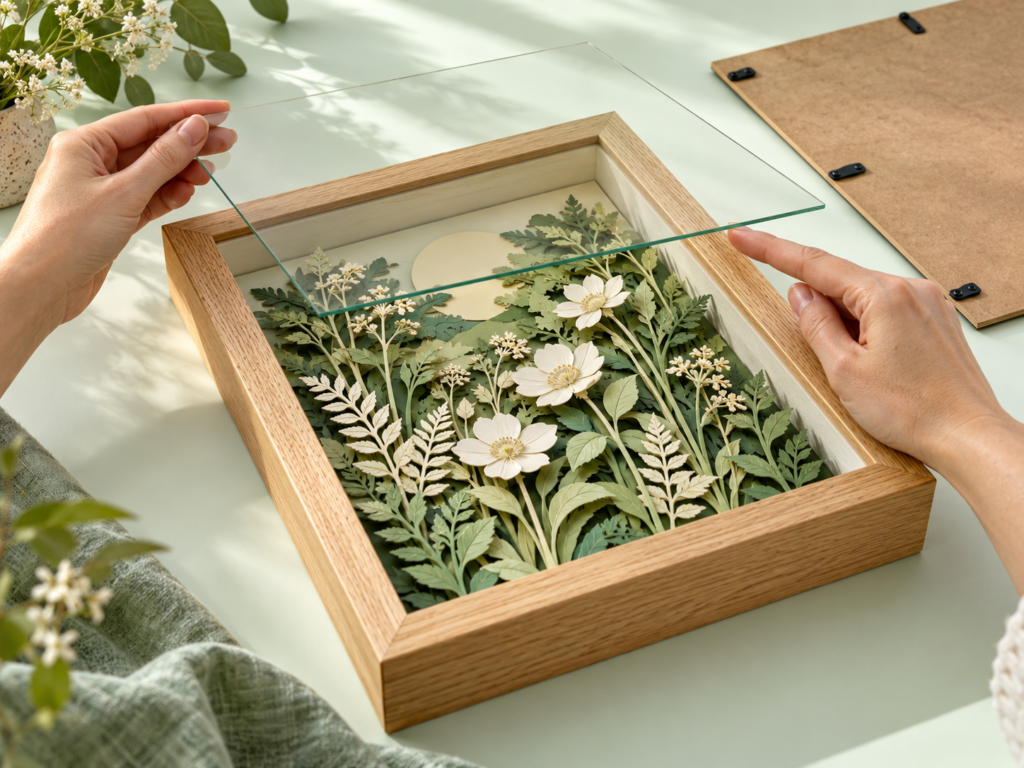
    Set the background, middle and foreground in order, then lower the backing into place without forcing it. Check from the side that paper does not touch the glazing. If it does, reduce the spacer height, simplify a raised detail or use a deeper frame.

    Illustration: a completed layered botanical shadow box with the glazing held above it to check clearance.

Measure the frame’s clear opening and usable depth before drawing. The opening determines the scene’s width and height; the depth limits how far the layers can stand from one another. Include the backing and glazing in the fit check.

Plan three planes: a quiet background, a middle layer and a foreground branch. Keep overlaps deliberate so the leaves remain readable through the frame. Thin stems can disappear behind another layer, so widen them in the paper mock-up before cutting the final cardstock.

Test adhesive and spacer material on offcuts. Some adhesives curl paper, and uneven spacers can tilt a layer. The finished stack should sit level and close into the frame without pressure.

Step images are illustrations. They show one possible sequence; fit and tool settings depend on your materials and equipment.
Questions

How many paper layers should I use?

Start with three or four. The frame depth determines how much separation you can add.

Can I put the layers directly against the glass?

Leave clearance if the frame design allows it. Check that paper edges and raised details do not press against the glazing.

What adhesive should I use?

Choose one suited to the paper and test it on a scrap to check for warping or shine.