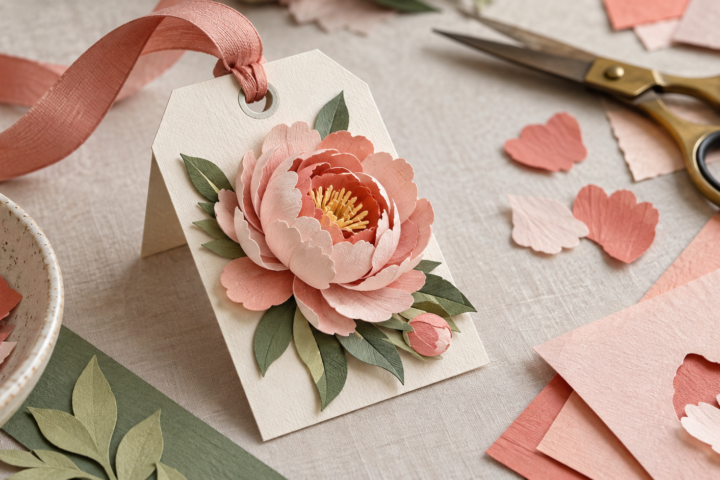
Paper Christmas ornaments range from flat cutouts to layered shapes and folded forms that open in space. The right format depends on how the ornament will hang, how much depth is available, and whether you want to store the pieces flat after the season.
Compare three common constructions
A flat cutout uses one silhouette or a single sheet with openings. It works well when the outline is the main feature or when the ornament will hang against a wall or window. Small details need enough paper around them to stay connected, so inspect the design at the finished size before cutting a batch.
A layered ornament places two or more shapes on top of one another. Offset layers can create a shadow line around the front shape; a contrasting backing can make the openings easier to see. Check that the layers align at the top and that the hanging point passes through a supported area.
A folded or honeycomb-style ornament opens into a three-dimensional form. It takes up more depth and may show different sides as it turns. Read the assembly notes for the fold direction and joins. Do not assume that a picture of the finished ornament shows how the sections are connected.

For a broader introduction to structures, see 3D paper crafts for beginners. For a layered design, review how to choose cardstock for layered paper crafts.
Plan the hanging point with the shape
Look at the ornament from the front and the side. A wide flat shape can hang from a centered loop. A folded form may need its attachment aligned with the upper join so the pieces open evenly. The template or maker’s instructions should identify the intended point; use that information before changing the design.
Make a paper mock-up if the attachment is unclear. Place a temporary loop or piece of thread where the instructions indicate, lift the shape, and see whether it hangs upright. If the top tilts or one side falls forward, check whether the loop is off center or the pieces are not assembled in the stated order.

Keep the loop and knot small enough that they do not cover a cut detail. A strong ornament design leaves enough material around the attachment point. If the template makes that area narrow, choose a different shape rather than moving the hole into a fragile section.
Choose the finished size before you cut
Decide where the ornament will hang: on a tree branch, a wall hook, a window, or as part of a garland. Measure the available space around it. A larger shape can be easy to see but may collide with nearby ornaments; a small shape can disappear against a busy background.
Check how the design changes when resized. Smaller openings can close visually, and narrow bridges can become harder to cut cleanly. If you change the scale, review the smallest details again and make one test piece with the paper you plan to use.
For a group, choose a repeated feature such as shape, color family, or construction. The pieces do not need to be identical, but a shared feature helps them read as one set. Lay out the full group before cutting the final sheets.
Use flat cutouts when ornaments will sit close to a wall or when storage space is limited. Choose layers when you want a visible shadow edge. Folded forms suit an open branch with clearance on both sides; they also need a way to keep their shape in storage. A set can mix formats if they share a visual cue, such as a star cutout or the same backing color. Place one sample of each beside the tree before cutting the rest, and check that a large form does not hide the smaller pieces.
Check the file and test one ornament
Confirm the download includes the right format and any assembly key. “SVG” alone does not confirm how a particular design will open in every cutting program. Preview the file at the planned size and compare its parts with the finished image.
Cut or fold one sample first. Check the cut edges, joins, and hanging point. For folded forms, open and close the sample once to see whether the folds move as expected. For layered forms, dry-fit the pieces before adding adhesive so you can correct a flipped or misplaced layer.
When the season ends, store ornaments according to their construction. Flat pieces can be stacked with a clean divider. Raised or folded pieces need a container that does not press on their shape. Keep the template or assembly notes with the ornaments so you can identify matching pieces next year.