A gift tag needs space for a name or short note, a clear attachment point and a shape that suits the package. Decide what the tag will do before adding layers. A large paper flower can mark a special gift; a slim folded tag may work better on a small bag or ribbon.
Five tag formats
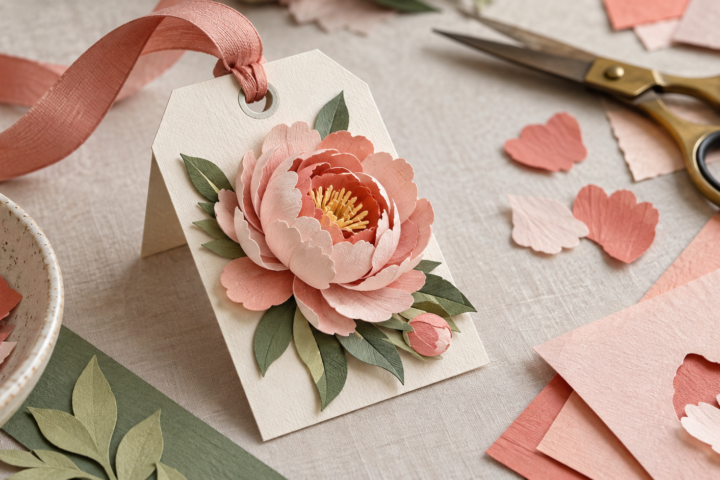
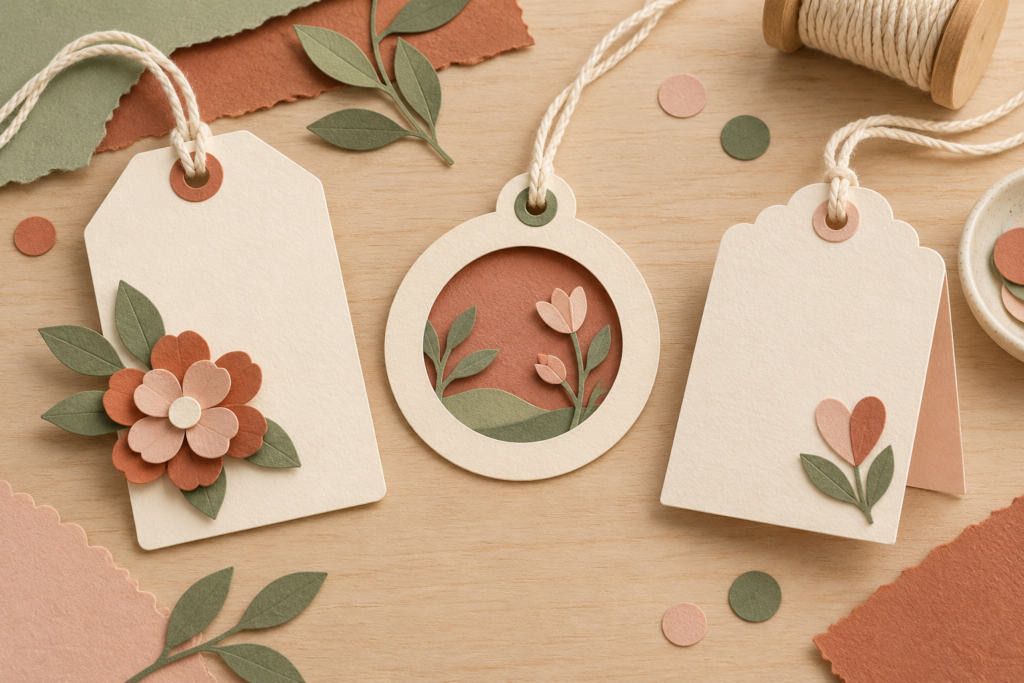
- Layered flower: Add one dimensional bloom to a plain tag base. Keep the flower away from the writing area and attachment hole.
- Window tag: Cut a small opening and place a contrasting paper behind it. The window can echo a card or wrapping pattern.
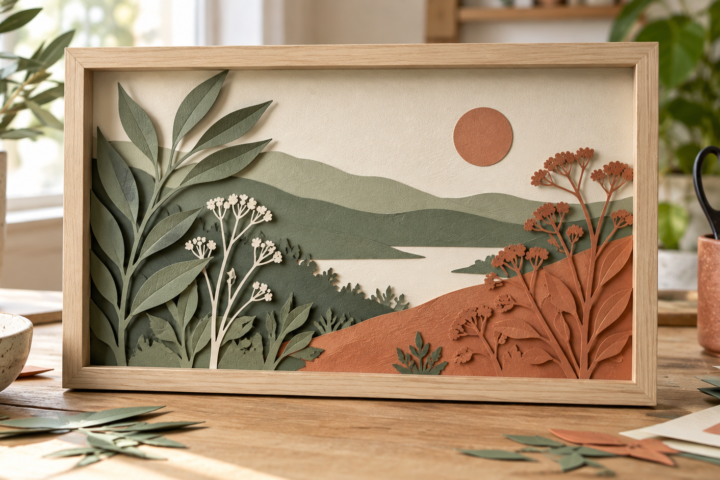
- Mini scene: Build a small landscape or botanical vignette with a few paper shapes. Use enough contrast for the design to read at tag size.
- Folded note tag: Make a small card that opens to reveal the message. The fold should remain clear of any raised decoration.
- Coordinated set: Repeat one shape or color across several tags for gifts that will be presented together. Change the message rather than adding more decoration.
Keep the tag readable and easy to attach
Leave a clear area for handwriting and test the pen on a paper scrap first. If the tag has a hole, keep it away from a narrow edge or a bulky embellishment. Thread or ribbon should pass through without covering the design.
Match the amount of layering to the package. A dimensional tag can catch on tissue or fabric, while a flat cut shape can travel more easily. If you want a floral example, the layered paper flower gift tag project shows one way to combine a cut-paper bloom and a tag base. For other ways to use paper flowers, see paper flower decor ideas.
Choose paper that cuts cleanly at the design’s smallest size. Test the full tag, including its hole and folded edge, before making a set. Store finished tags flat so raised pieces do not bend before the gift is wrapped.