Paper snowflake garlands can be flat, layered, or folded into three-dimensional forms. Choose the construction after deciding where the garland will hang: a light line across a window needs a different profile from a short mantel display with larger motifs.
Choose a snowflake style for the display
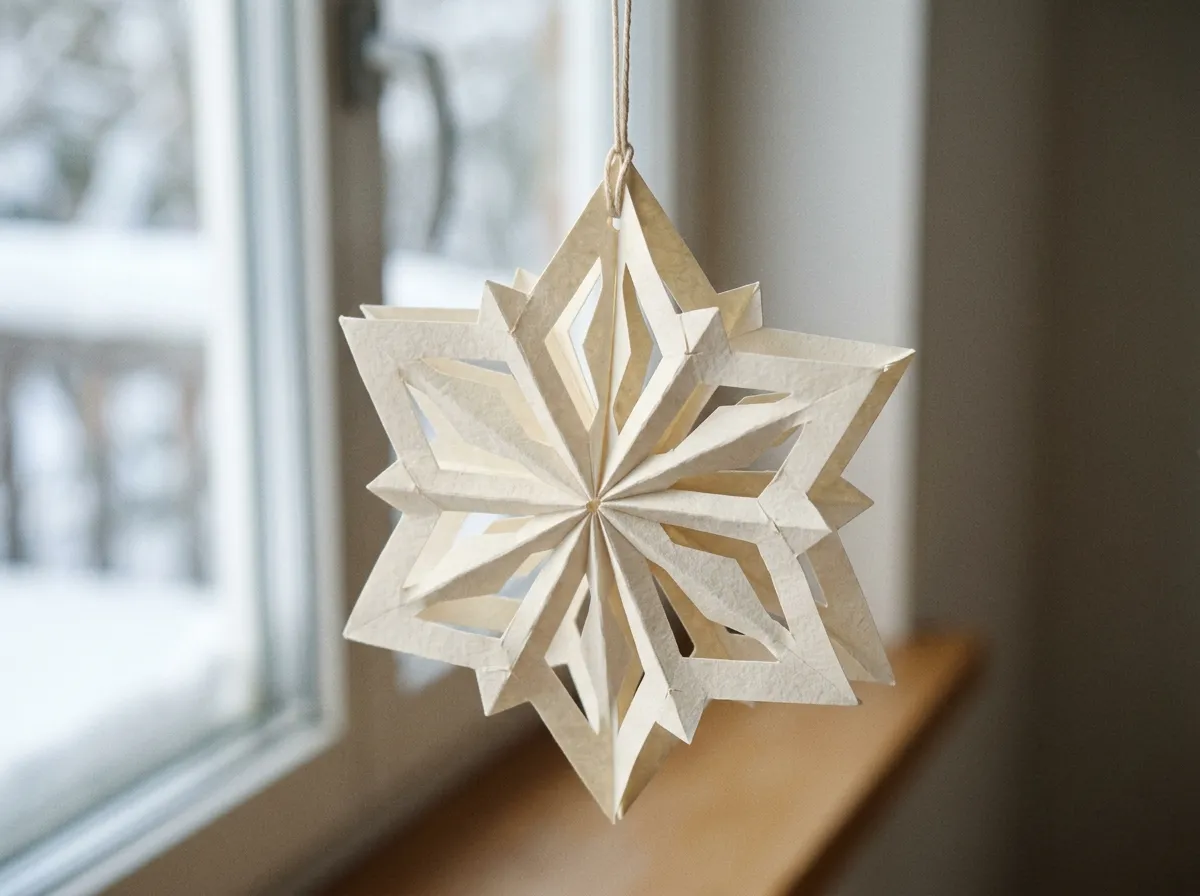
A flat cut snowflake keeps the profile light and shows its outline clearly against a window. A layered snowflake adds a backing shape or a second cut layer, so the motif reads more strongly against a wall. A folded or accordion-style snowflake takes up more space and can turn as it hangs, but it also needs a reliable attachment point and enough clearance around it.
You can keep the garland uniform or use one larger motif as a center point. A repeated shape makes the hanging line feel even. A larger center snowflake gives the eye a place to land, but the side motifs still need enough room to remain distinct. Try the arrangement on a table before threading or attaching anything.
A mantel layout can use one larger snowflake in the middle and a matched pair on either side; a window line often looks cleaner with equal-size cutouts. For a short span, repeat two or three motifs rather than shrinking every shape. Mark the cord at each planned position before attaching motifs. Then check the total count and balance the gaps, allowing for the dip that appears once the line hangs.
For more general layouts, see paper garland ideas for rooms and celebrations. This guide focuses on snowflake shapes and their display.
Measure the hanging line before spacing the motifs
Measure the clear span between the two attachment points. Note whether the line will hang straight or dip in the middle. A sagging line uses more length than the distance between the hooks, so leave enough cord at both ends for fastening and adjustment.
Lay out a short section at the intended scale. Place several snowflakes along a piece of string or ribbon, then look at them from the distance where they will be seen. If the gaps look too wide, add motifs or move them closer. If the shapes overlap, increase the spacing or choose smaller pieces.
Keep the edge motifs far enough from the attachment points that they do not bunch into the knots or clips. For a window, check the design with daylight behind it. For a mantel or wall, check it against the background color and nearby objects.

Check the template and the material
Before cutting a full set, open the file or print the design at its intended size. Check whether the download contains a single cut shape, a layered design, or several pieces that must be assembled. A finished preview may not show every connection or attachment point.
Follow the maker’s notes for file format, paper, cut lines, and assembly order. A line shown in a preview may be a fold guide rather than a cut path. If the instructions do not explain a detail, ask the file creator or choose a clearer design instead of guessing.

If the motifs will hang from a narrow line, test one finished snowflake on a scrap length of the same cord or ribbon. Check whether it faces forward, twists, or pulls at the attachment. Adjust the layout only after you see how the sample hangs.
Make a short sample before the full garland
- Cut or fold three motifs using the intended material and size.
- Arrange them on a short piece of the planned hanging line.
- Check the spacing, direction, and clearance around each motif.
- Adjust the design or spacing before preparing the remaining pieces.
Keep the sample beside the template while you work. It gives you a reference for motif order and orientation, especially when the garland uses more than one size. When the season ends, remove the hanging line from the display, let any adhesive dry as directed, and store flat pieces between clean sheets so their cut edges do not catch.
Display the finished line
Use attachment hardware suited to the surface and follow its instructions. Keep the line away from heat, open flames, and places where it can snag on a door or curtain. If the garland hangs in a window, make sure it does not block a latch or moving sash.
For another layout method, see how to plan a paper garland before cutting.