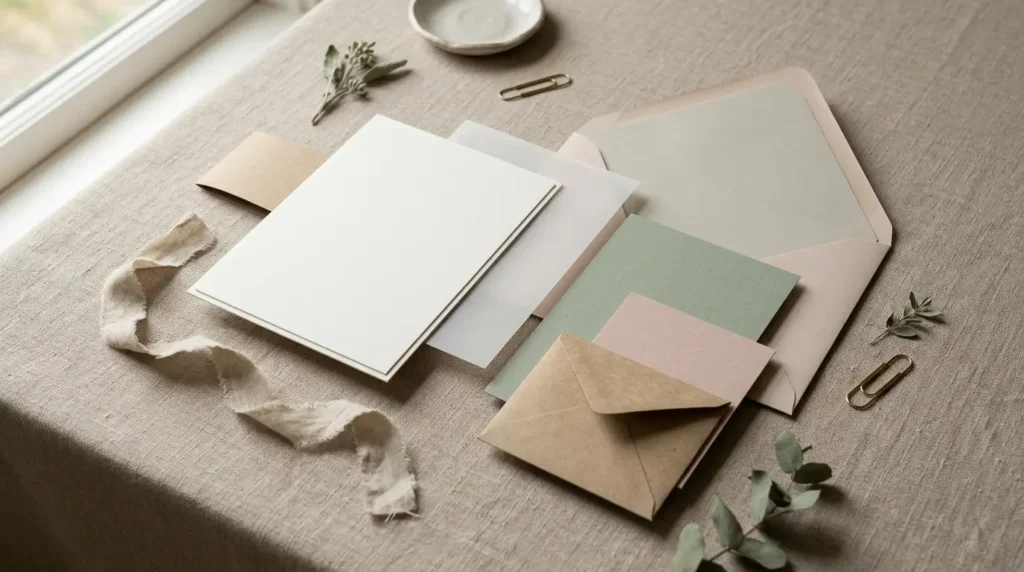
Paper wedding invitation suite ideas become easier to compare when the suite is treated as one system. The invitation, RSVP card, details card, envelope, and any wrap or pocket need to fit together physically as well as visually. A layered suite can feel substantial, but every extra sheet adds paper, trimming, assembly, and mailing decisions.
This is a planning guide, not a record of a completed invitation order. No file was downloaded, printed, cut, or mailed for this article. Confirm the current postal rules, printer specifications, envelope size, and wording before committing to a full run.

List the pieces in the suite
Start with the information guests need. A typical suite may include the main invitation, RSVP card, return envelope, details card, and outer envelope. Some events need accommodation, directions, weekend-event, or website information. The number of inserts affects the finished thickness and how the pieces should be stacked.
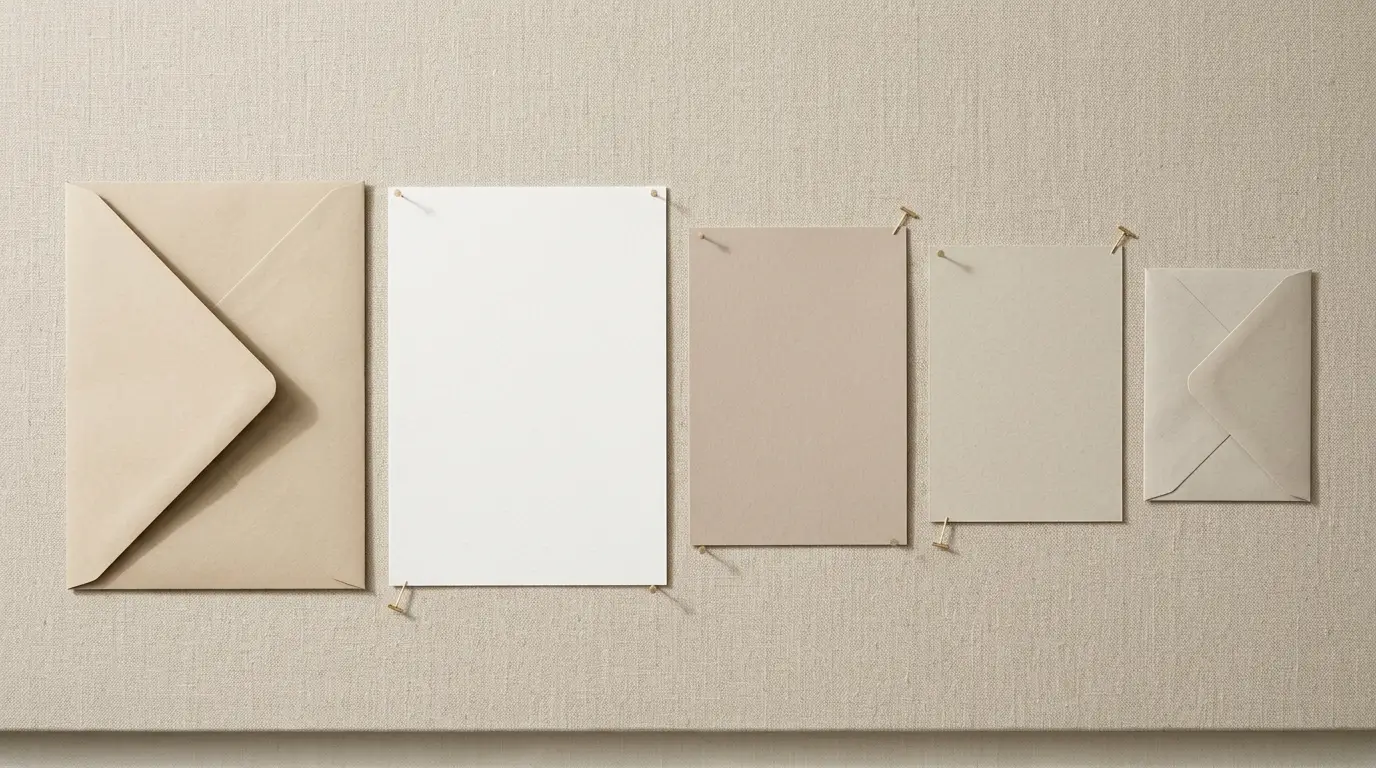
Separate essential pieces from optional extras. A vellum overlay, belly band, pocket, or crest card can organize the suite, but it should not hide the RSVP instructions or make the invitation difficult to remove. Write the complete insert list before choosing a pocket or wrap.
Choose a flat, layered, or gatefold format
A flat suite is easier to print, trim, stack, and mail. A layered suite adds a backing panel or mat behind the invitation. A gatefold or pocket format creates a stronger presentation but needs accurate scoring and enough clearance for every insert.
Match the structure to the amount of assembly you can repeat. One handmade prototype may be manageable; a large guest list can turn small alignment problems into hours of rework. The handmade card guide covers similar choices about front panels, inserts, and folds.
Check the envelope and mailing constraints
The envelope is part of the design, not a container chosen at the end. Measure the invitation and every insert together, including a ribbon, belly band, or pocket. Check that the stack can enter and leave the envelope without catching on a corner or raised layer.
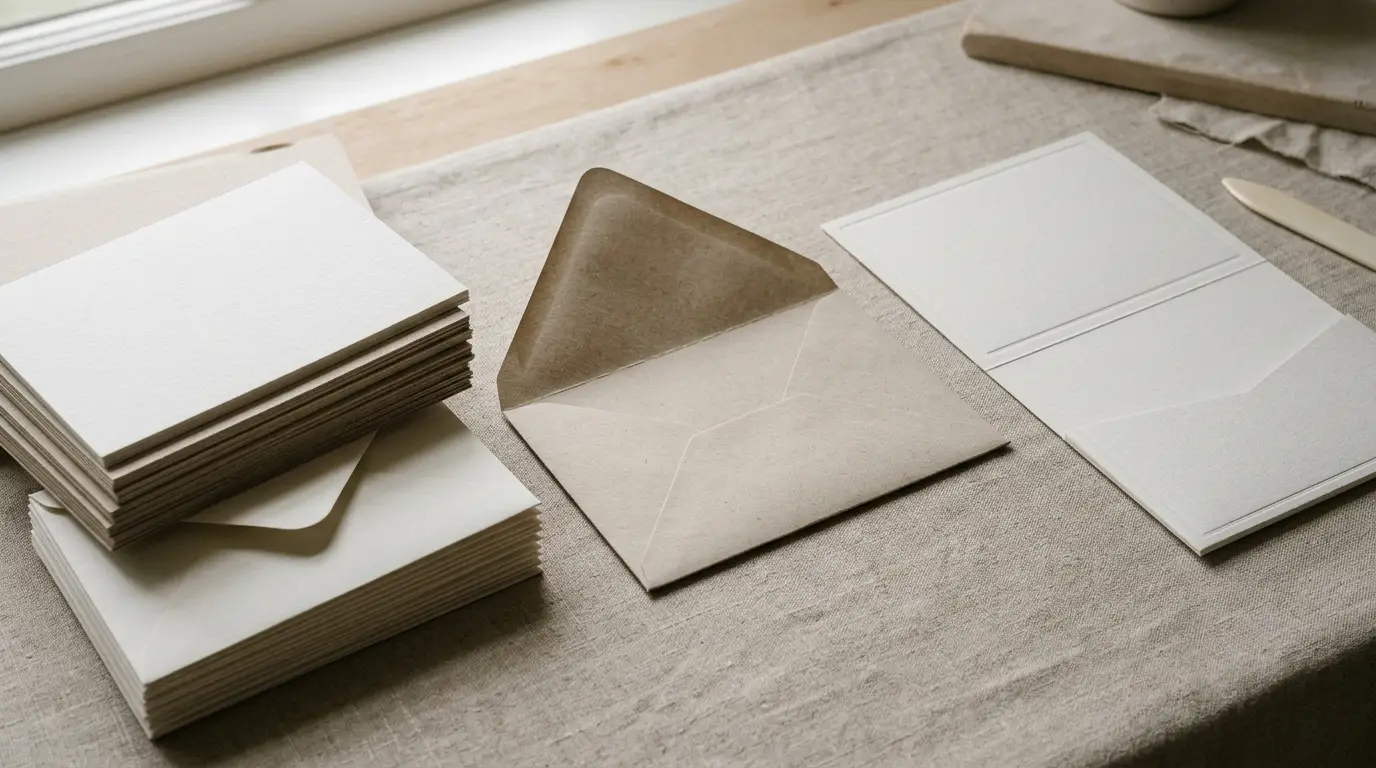
Postal requirements depend on the destination and the finished piece. Weight, thickness, shape, closures, and embellishments can affect mailing. Do not assume that a suite is machinable or needs a particular postage amount without checking the current postal guidance for the country where it will be sent.
Build one visual system
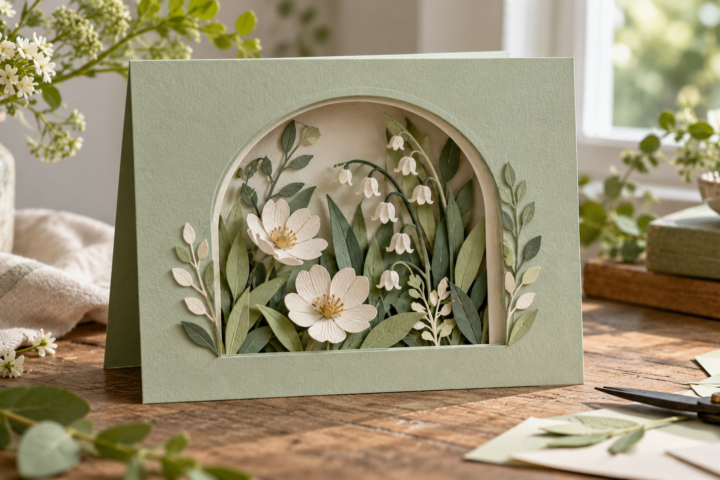
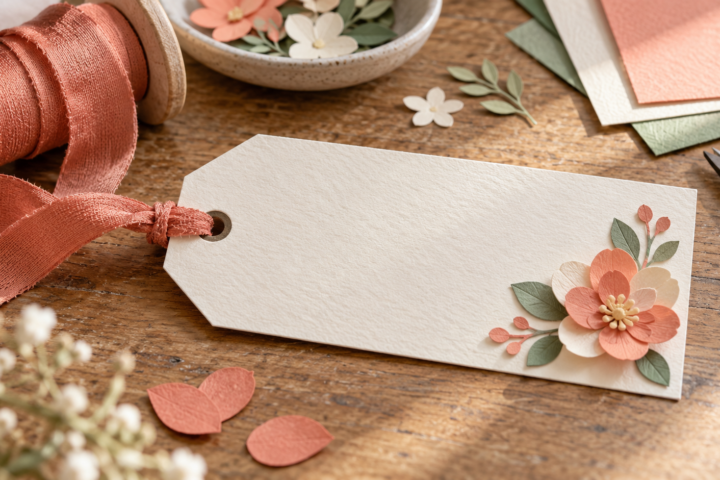
Choose the visual language before decorating each card. One border, botanical motif, color pair, or paper texture can connect the pieces. Let the invitation carry the strongest detail, then use simpler versions of the same element on the RSVP and details cards.
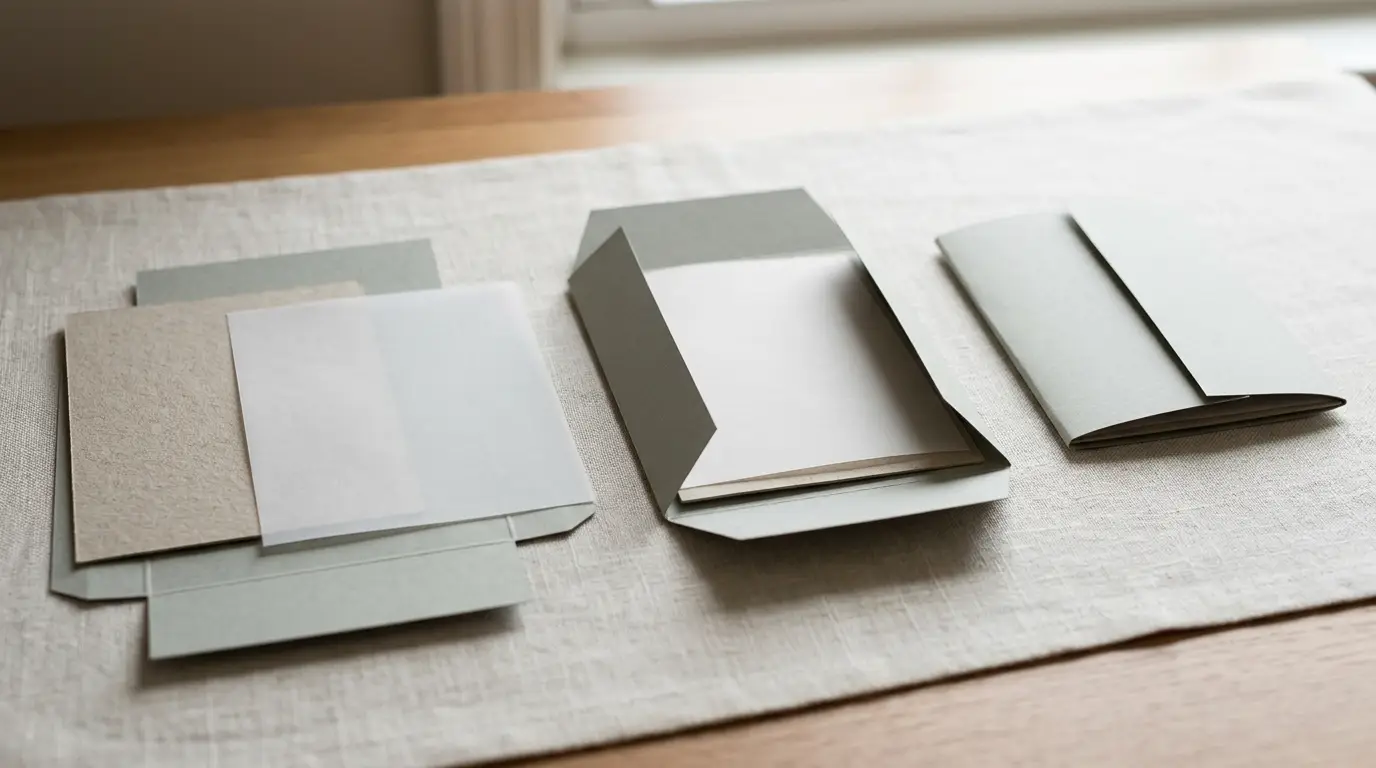
Keep the information hierarchy consistent. The event names and date need a clear role on the invitation; the RSVP deadline and response method need their own space; the details card should be scannable. If every insert uses the same decorative frame, the suite can become crowded even when each card looks attractive alone.
Check the files and editability
If you use an SVG, confirm which layers are cut paths and which elements are only shown in the preview. If you use a printable template, check the document size, bleed, trim marks, fonts, and whether the wording can be edited. A format list is useful only when it matches your software and the way you plan to print.
Keep the copy in a separate document until the design is stable. This makes it easier to correct addresses, RSVP instructions, and accommodation details. The paper SVG guide covers file details to check before using a design for a real project.
Proof the complete suite
Make one physical dummy with blank paper, then produce a full proof on the intended stock. Stack every insert, fold every wrap, and place the result inside the actual envelope. Check the trim, alignment, contrast, writing area, and whether the outer envelope still closes without pressure.
Ask someone who has not seen the design to identify the invitation, RSVP card, return envelope, and details card. If the order is unclear, add a simple pocket or change the insert sizes before adding more decoration. Keep a final production sample with the approved wording and layer order.
Common mistakes
- Adding inserts without checking the finished stack against the envelope.
- Using a delicate layer that tears or catches when guests remove the invitation.
- Choosing a file format without checking whether the text and layers can be edited.
- Finalizing decorative details before the event wording and addresses are stable.
- Assuming postal treatment, weight, or postage without checking current rules for the destination.
Disclosure: This guide contains no affiliate links. It describes planning choices supported by the named sources and does not claim a completed invitation suite.