Install the zipper while the outer fabric and lining are still flat. Sew one side of the zipper between one outer panel and one lining panel, press those layers away from the teeth, then repeat for the other side. Open the zipper before closing the pouch so you can turn the finished piece through it.
Check the zipper and fabric first
Choose a zipper that fits the opening and leaves room at both ends for the pouch side seams. A zipper that is much longer than the opening can be shortened only if its type and end stops allow it; follow the zipper maker’s instructions. Test your stitch length and needle on the fabric scraps.
If the fabric is very light or stretchy, use an interfacing suited to that fabric and follow its label. The two top edges should lie flat and have similar stability. Mark the seam allowance from your pattern or project measurements before sewing.
Sew the first zipper side
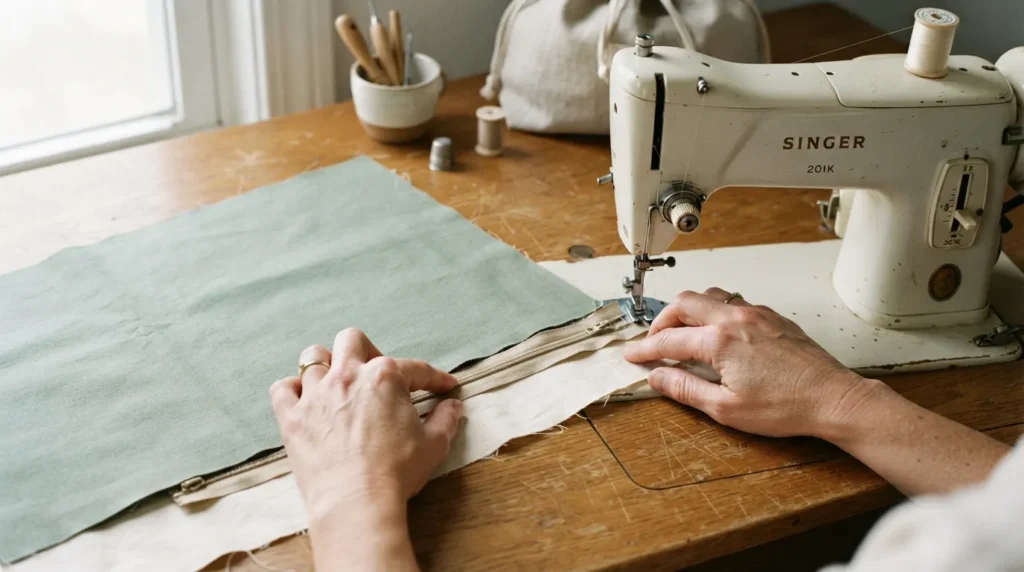
Lay one outer panel right side up. Place the zipper right side down along the top edge, aligning the raw edges. Put the matching lining panel right side down over the zipper. Clip the layers, keeping the zipper pull away from the first few stitches.
With a zipper foot, sew along the edge using the seam allowance you planned. Stop before the pull reaches the needle, raise the presser foot with the needle down, move the pull past the foot, then continue. Do not sew into the teeth or metal stops.
Open the fabric layers and press them away from the zipper tape. Keep the iron temperature suitable for the fabric and zipper. Topstitch close to the folded edge if the fabric allows it; this keeps the lining from rolling into the teeth.
Attach the second side
Place the remaining outer panel right side up. Align the free zipper tape with its top edge, then place the remaining lining panel right side down over it. Sew the layers together with the zipper foot. Press both fabric panels away from the zipper and topstitch the second side to match the first.
Before closing the pouch, open the zipper at least halfway. Put the outer panels right sides together and the lining panels right sides together. Match the side seams at the zipper and pin or clip the layers so the zipper tape does not fold into the seam.
Close the pouch and turn it
Sew around the side and bottom edges, leaving an opening in the lining wide enough to turn the pouch. Backstitch at each end of that opening. If the project has boxed corners, sew them after joining the layers and keep the left and right corners the same depth.
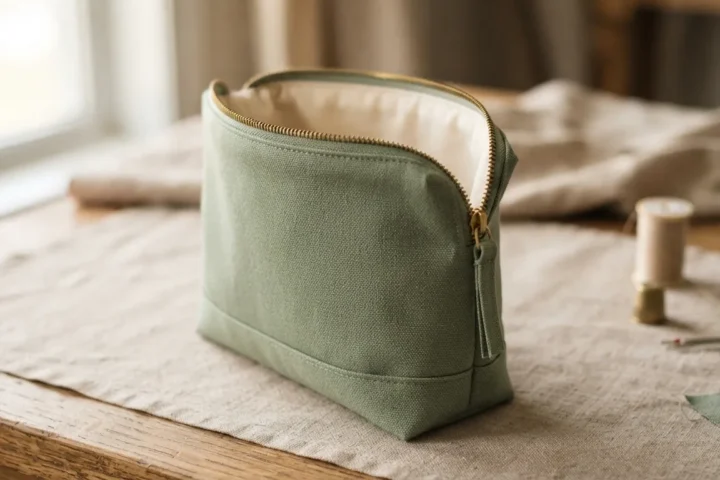
Turn the pouch through the lining opening, gently shape the corners and check that the zipper runs freely. Close the lining opening with a narrow machine seam or a hand slip stitch. The boxed-bottom zipper pouch project uses this order with a 9 × 7.5 inch panel and an 8-inch zipper.
If the lining catches, unpick only the section that is too close to the teeth, press the layers away again and restitch the topstitching. Do not trim near the zipper tape until the pouch opens and closes smoothly.