Skip to content
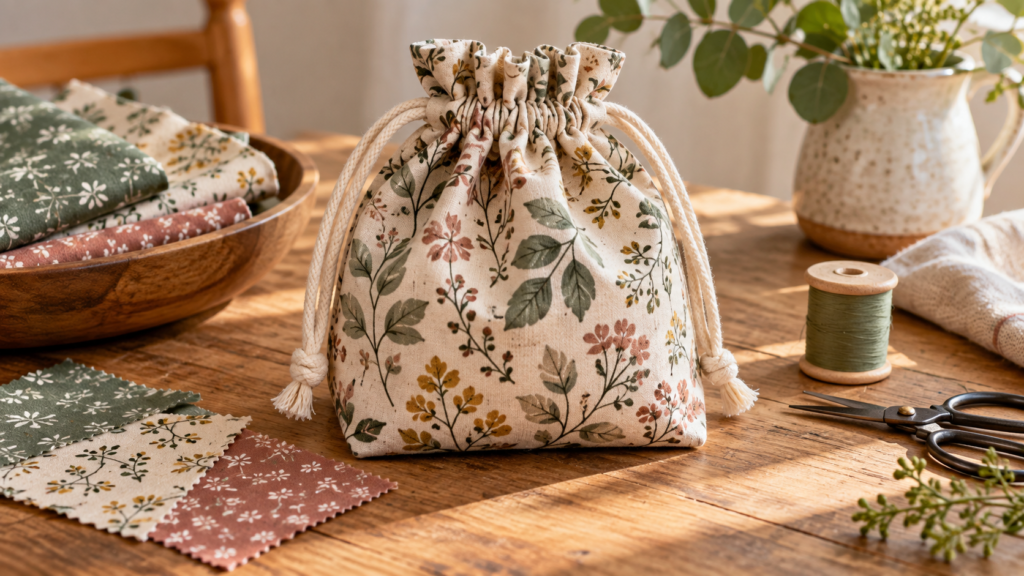
Small sewn fabric gift bag with a drawstring closure

Drawstring Gift Bag from Fabric Scraps

Make a small lined-free drawstring bag from two matching fabric rectangles, side seams and a channel that lets the cord move without catching.

Size
Finished bag about 6 × 8 in (15 × 20 cm); adjust rectangles to suit the gift.

Materials

  • Two fabric rectangles — Use washable fabric with a stable weave.
  • Cord or ribbon — Cut two lengths for the drawstring.
  • Matching thread — Choose thread suitable for the fabric.
  • Scrap fabric — For casing and seam tests.

Tools

  • Sewing machine or hand-sewing needle — Use the method you prefer.
  • Scissors or rotary cutter — Cut two matching rectangles.
  • Ruler and fabric marker — Mark the casing and seam allowance.
  • Safety pin — Thread the cord through the casing.

Steps

  1. Plan the cut size

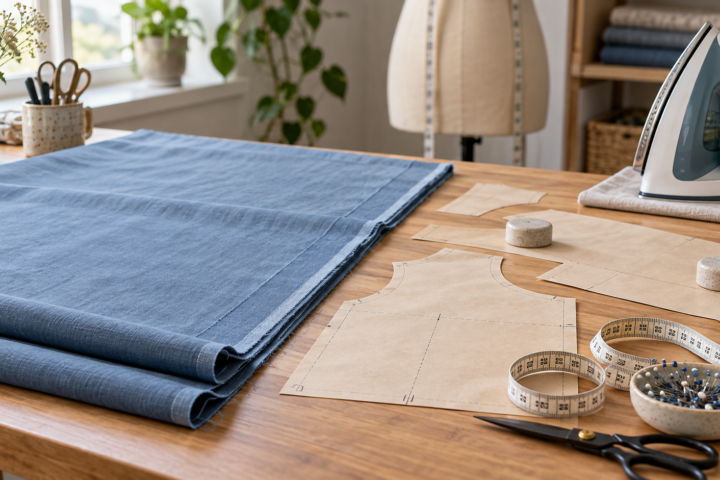
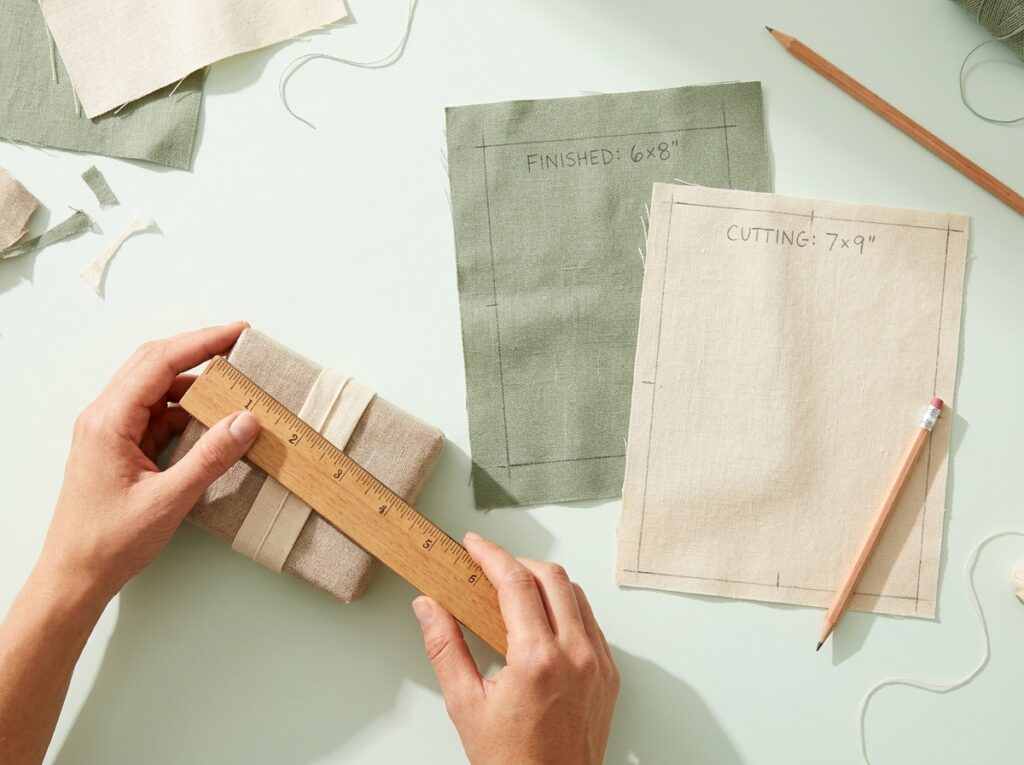
    Measure the gift and decide how much ease the bag needs. For a finished bag near 6 × 8 in, add the seam allowance to the sides and bottom, plus enough fabric at the top for the folded channel. Mark the finished dimensions separately from the cutting dimensions.

    Illustration: fabric rectangles marked with bag dimensions, seam allowance and channel fold.
  2. Finish the top edges

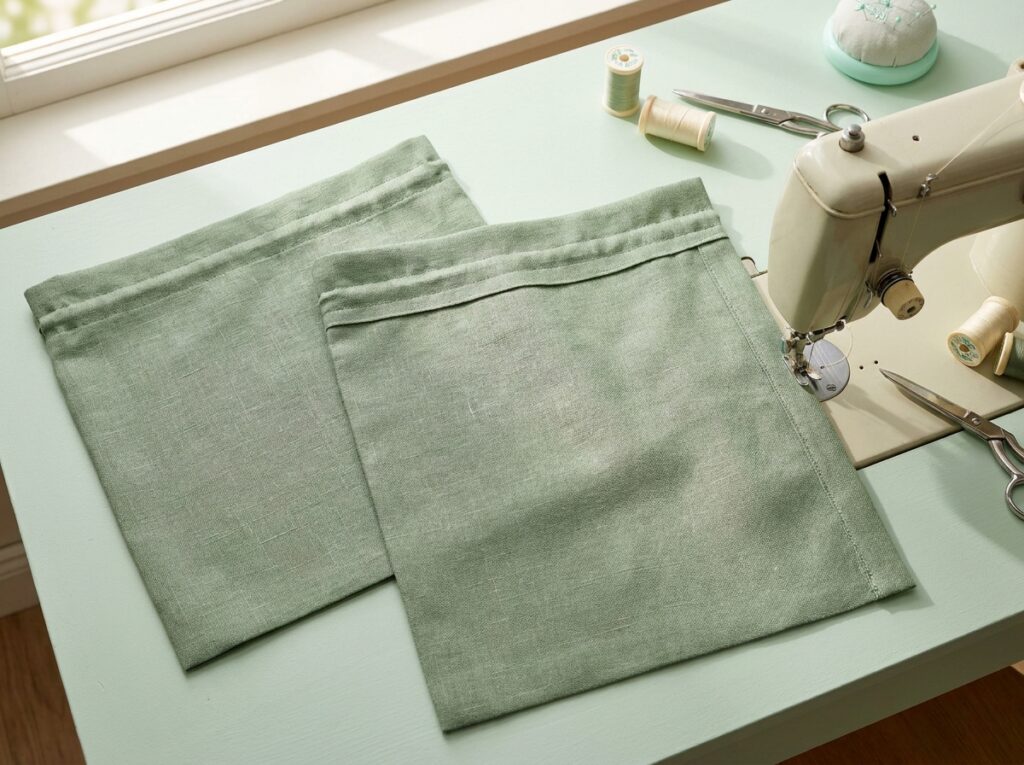
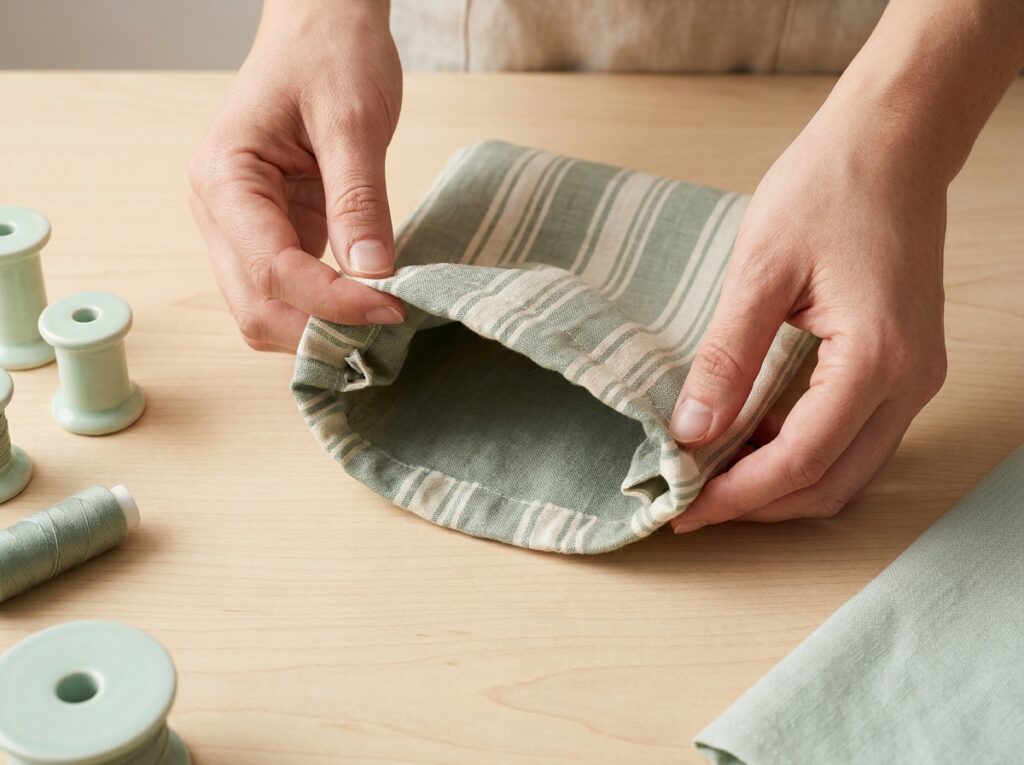
    On each rectangle, fold the top raw edge to the wrong side and press it. Fold again to enclose the raw edge, leaving enough depth for the cord channel. Stitch each hem close to its inner fold; keep the two pieces aligned.

    Illustration: folded and stitched top hems forming the drawstring channel.
  3. Sew the sides and base

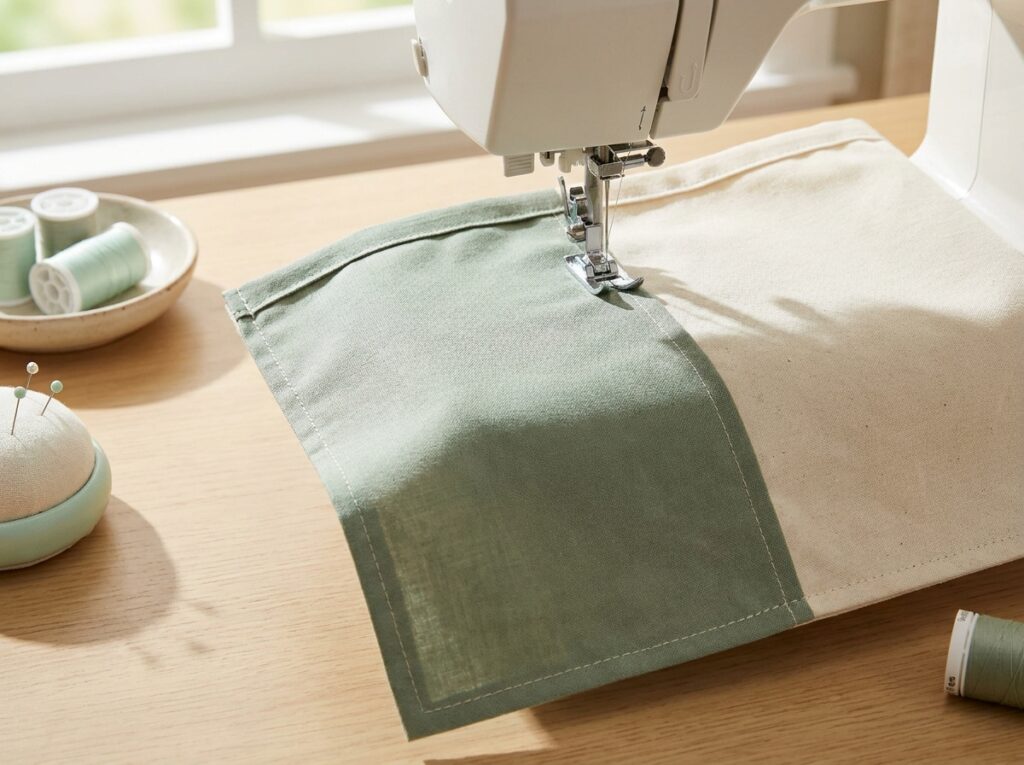
    Place the rectangles right sides together. Sew down each side and across the base, stopping below the channel so the cord can pass through. Backstitch at both ends of each side seam opening. Keep the top open.

    Illustration: two fabric panels sewn around the sides and base with channel openings left clear.
  4. Check the channel

    Turn the bag right side out and flatten the top. Check that the hemmed channels line up and that the side-seam openings are clear. If a seam allowance blocks the route, trim only the loose threads and reopen the channel without cutting the securing stitches.

    Illustration: bag turned right side out with aligned cord channels at the opening.
  5. Thread and test the cord

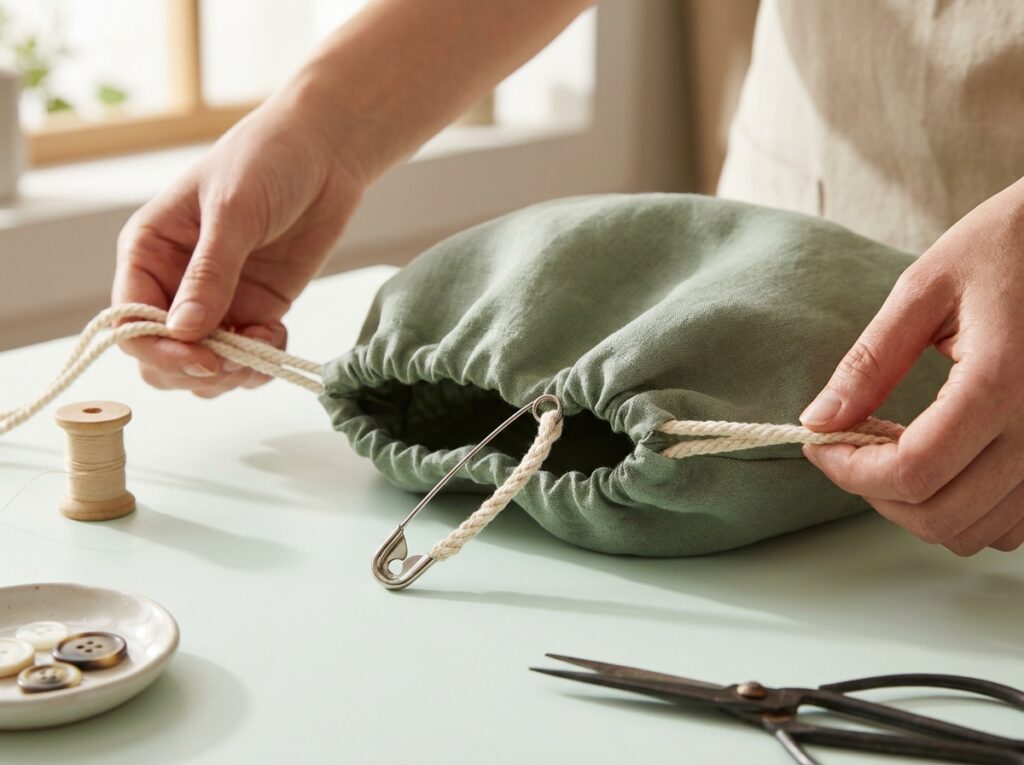
    Attach a safety pin to one cord end and feed it through one channel, around the bag and back out at the same side. Repeat from the other side if you want a two-ended drawstring. Pull both ends; the opening should gather evenly without catching.

    Illustration: safety pin guiding a cord through the finished drawstring bag channel.

This version uses two matching fabric rectangles and one drawstring channel. The suggested finished size is about 6 × 8 in (15 × 20 cm), but the cut size must also include your seam allowance and the fabric folded into the channel.

Choose a fabric that can hold the gift without stretching out of shape. Test the machine stitch on a scrap, especially if the fabric is loosely woven. Mark the channel height before sewing so both sides of the bag open at the same level.

The side-seam openings at the channel are intentional: they let the cord travel around the bag. Secure the ends of each opening with short backstitches, then test the cord before trimming its ends.

Step images are illustrations. They show one possible sequence; fit and tool settings depend on your materials and equipment.
Questions

Can I use stretchy knit fabric?

You can, but a stable woven fabric is easier for a first bag. Test the casing on scrap if using a knit.

How do I make the bag wider?

Increase both rectangle widths equally and keep the casing and seam allowances consistent.

Can I use one cord instead of two?

Yes, but the closure will gather differently. Keep the cord route simple and test it before trimming.