Skip to content
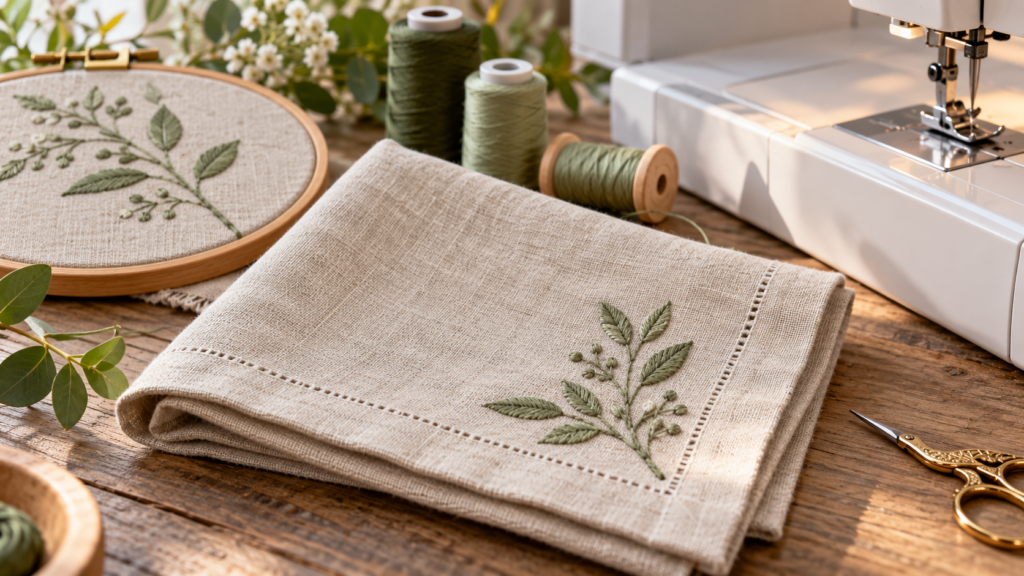
Linen napkin with a small botanical machine embroidery motif

Machine-Embroidered Linen Napkin

Embroider a linen napkin by testing the design on matching fabric, stabilizing the hoop and checking the motif position before stitching.

Size
Use a finished napkin size that suits your table setting; center the motif away from folded edges.

Materials

  • Linen napkin or linen square — Prewash only if the fabric care instructions allow.
  • Embroidery thread — Use thread specified by the design or machine.
  • Stabilizer — Choose a type compatible with the fabric and stitch density.
  • Thread scraps — For a placement and tension test.

Tools

  • Embroidery machine — Use the manual for setup and threading.
  • Hoop — Select one that fits the design and fabric.
  • Fabric marking tool — Mark the motif center on a test piece first.
  • Small scissors — Trim jump threads carefully.

Steps

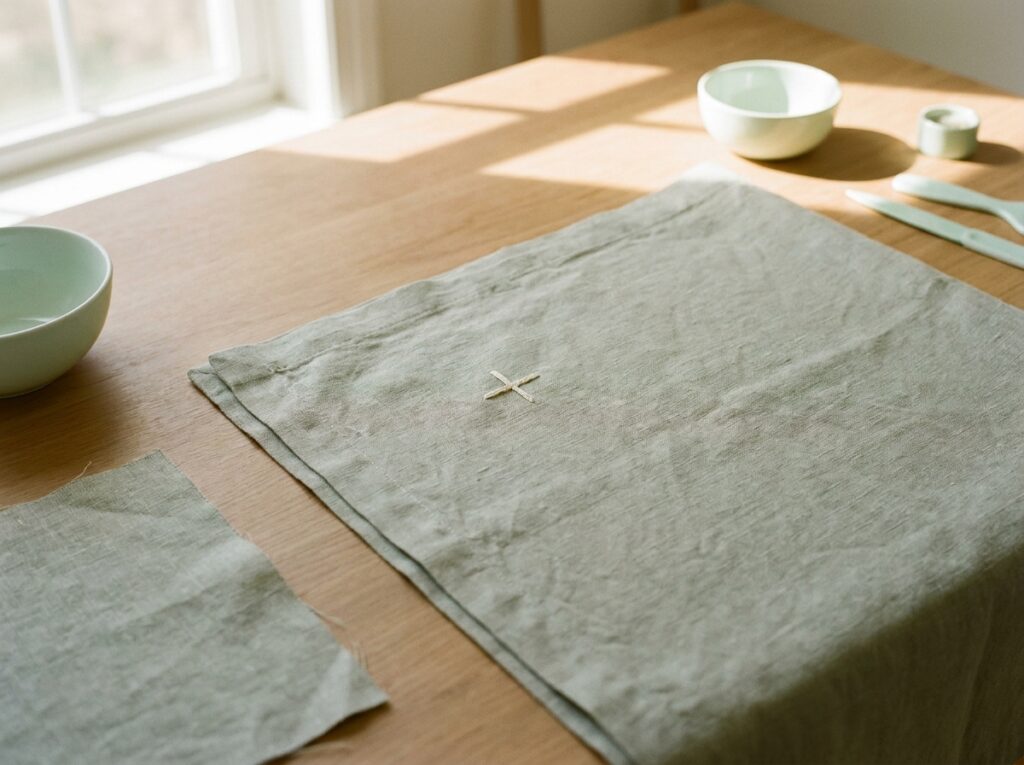
  1. Prepare the linen

    Prewash the fabric if its care label allows and you expect the finished napkin to be washed. Press it flat, then mark a placement point away from the folded edges. Test the marking tool on a hidden scrap so it will not stain the linen.

    Illustration: linen napkin pressed flat with a small motif placement mark near one corner.
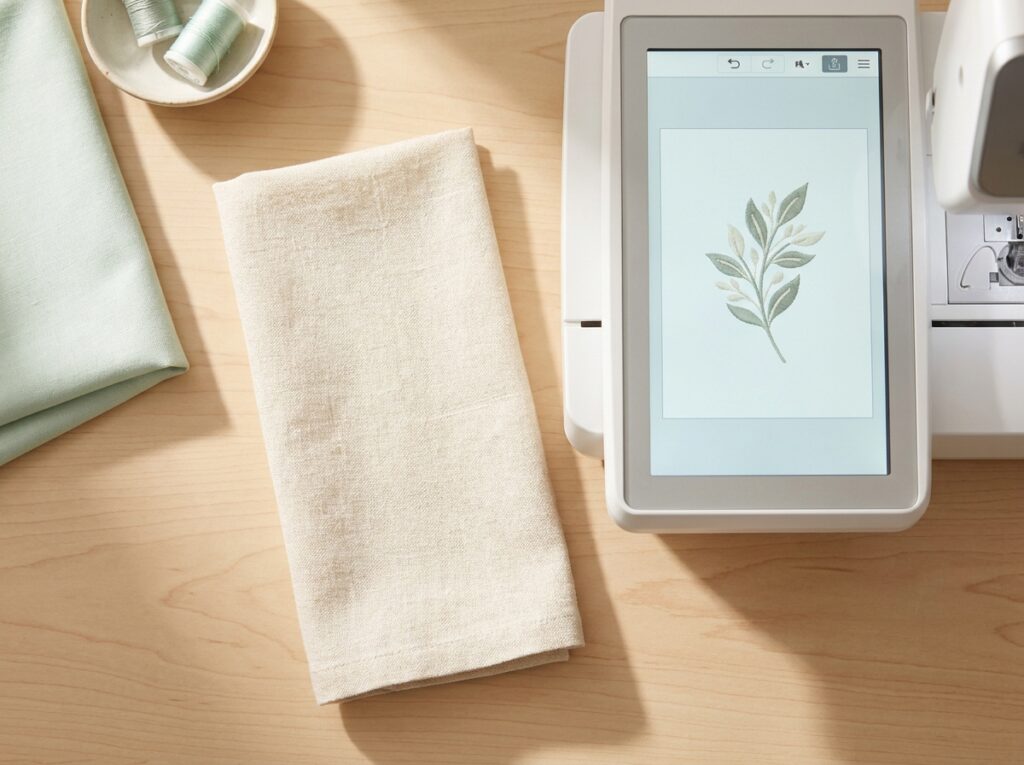
  2. Choose and position the motif

    Check the design's stitched dimensions in the embroidery software. Place it where it will remain visible when the napkin is folded, leaving room around the edges. Rotate the design on screen before stitching if the napkin will be folded in a particular direction.

    Illustration: botanical motif positioned within the safe corner area of a linen napkin.
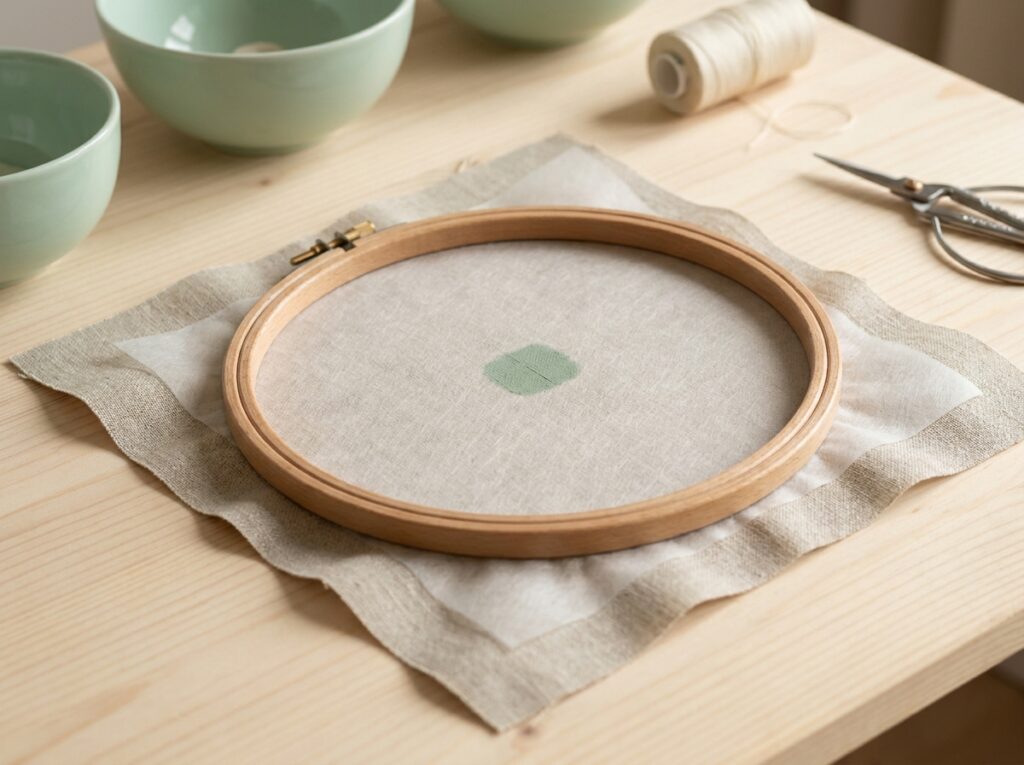
  3. Hoop with stabilizer

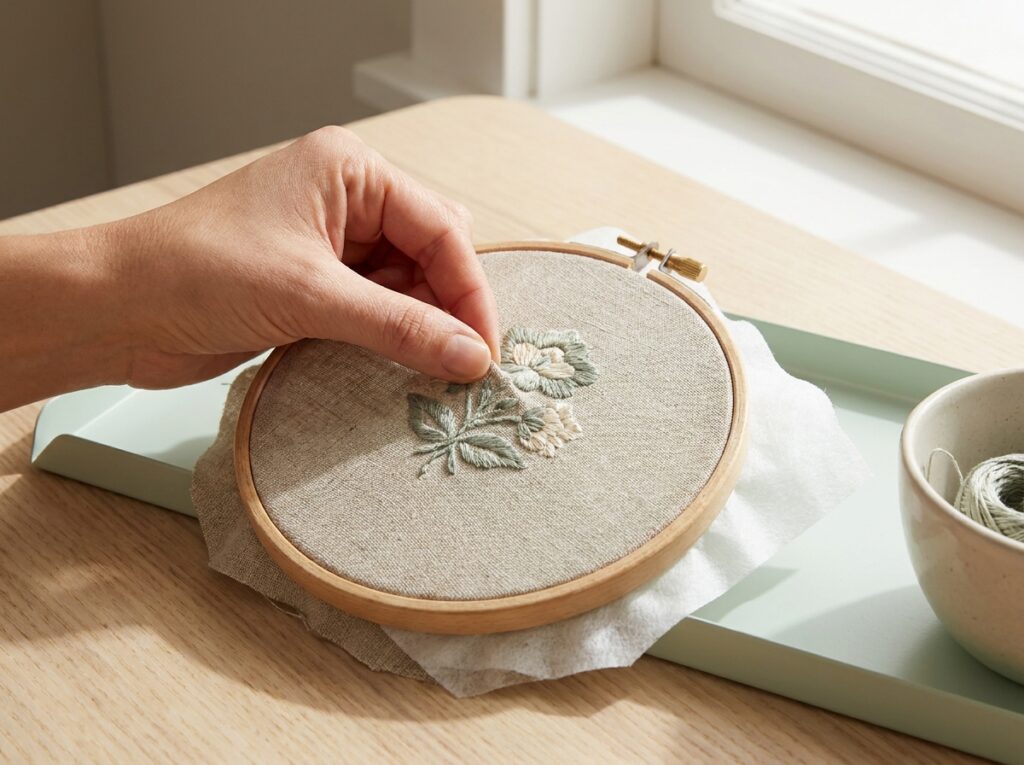
    Select stabilizer and hooping method for the linen and design, following the machine and stabilizer instructions. Keep the fabric smooth without stretching the weave. Check that the marked placement sits square in the hoop and that no cloth is caught under the frame.

    Illustration: linen and stabilizer held smooth and square in an embroidery hoop.
  4. Run a matching test

    Stitch the design on a linen offcut with the same stabilizer, thread and machine settings. Look for puckering, gaps or thread breaks. If the sample shifts, correct the hooping or setup before stitching the napkin; do not rely on tension changes alone.

    Illustration: small botanical embroidery test stitched on a matching linen scrap.
  5. Embroider and finish

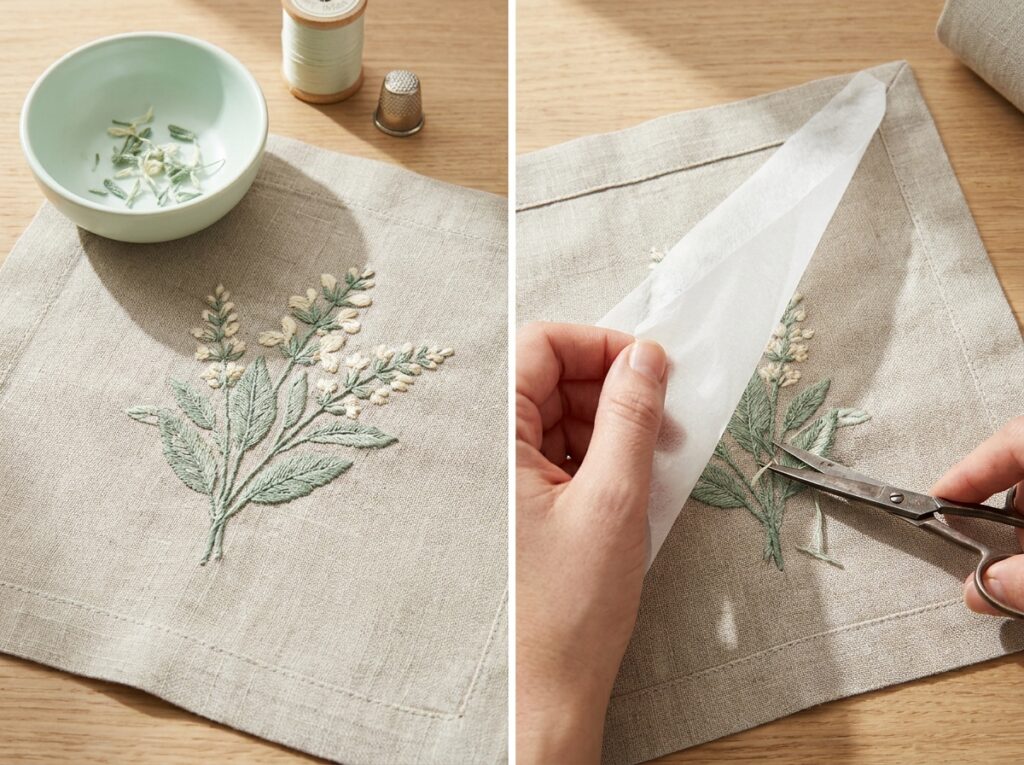
    Stitch the napkin while watching for thread breaks or fabric movement. Remove the stabilizer as its maker directs, trim thread tails and press from the reverse with a protective cloth if the care label permits. Check the motif lies flat before folding the napkin.

    Illustration: completed botanical embroidery on a linen napkin corner, pressed flat.

Use a linen napkin or a matching linen square. Press it according to its care label before marking the design; wrinkles can shift the motif after hooping. Choose a design small enough to stay clear of the napkin’s folded edges and the area where a place setting will cover it.

Stabilizer, needle, thread and machine settings depend on the linen and embroidery design. Make a test on a scrap from the same fabric, using the same layers and hoop. If the test puckers, check the hooping and stabilizer before changing the finished napkin.

Remove stabilizer using the method its maker recommends. Finish and wash the napkin according to the linen and thread care instructions.

Step images are illustrations. They show one possible sequence; fit and tool settings depend on your materials and equipment.
Questions

Can I embroider directly on linen without stabilizer?

Use the embroidery design and stabilizer recommendations. A test on matching fabric helps reveal puckering.

Should I stretch linen tightly in the hoop?

Keep it smooth and evenly held, but avoid distorting the weave.

Can the napkin be machine washed?

Follow the care instructions for the fabric, thread and stabilizer residue. Test laundering on a sample when possible.