A paper bow should fit the package rather than cover it. Start with the box or card, then choose a bow shape that leaves the paper pattern and any tag visible. If you plan to cut several bows from a template, make one sample first and check its scale on the wrapped gift.
Five bow styles
- Layered loop bow: Overlapping paper loops create a rounded top. Use contrasting inner and outer layers when the bow itself is the focal point.
- Flat silhouette bow: A single cut shape sits close to the package. It works on envelopes, small boxes and gift tags where a raised bow would snag.
- Accordion fan bow: Repeated folds create a ridged half-circle or rosette. The folds show clearly on solid paper and can look busy on a detailed print.
- Pinwheel bow: Several narrow loops meet at a center point. Keep the loop arrangement even so the bow does not lean to one side.
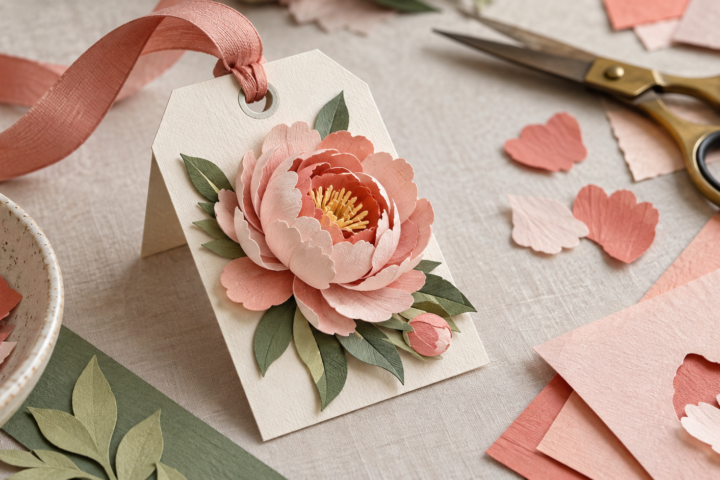
- Mini accent bow: A small layered shape can mark a place setting or finish a tag. Match its weight to the attachment so it does not pull the tag out of position.
Check the cut file and paper
Look for separate pieces, fold lines and assembly directions in the template listing. Confirm whether the file is sized for the package or needs to be adjusted. A cut file may look simple on screen but contain narrow tabs or small loops that need a clean cut. Test the design on a paper scrap before using a patterned or specialty sheet.
Stiff paper can hold a loop but may resist a tight fold. Compare the material with the template directions and your cutting machine guidance. If the design has score lines, check whether those lines should be scored or cut before assembly. Our cardstock guide covers cut detail and fold needs.
Use one bow as a focal point or repeat a flat shape across a set of packages. Keep the color or silhouette consistent if the gifts will be displayed together.