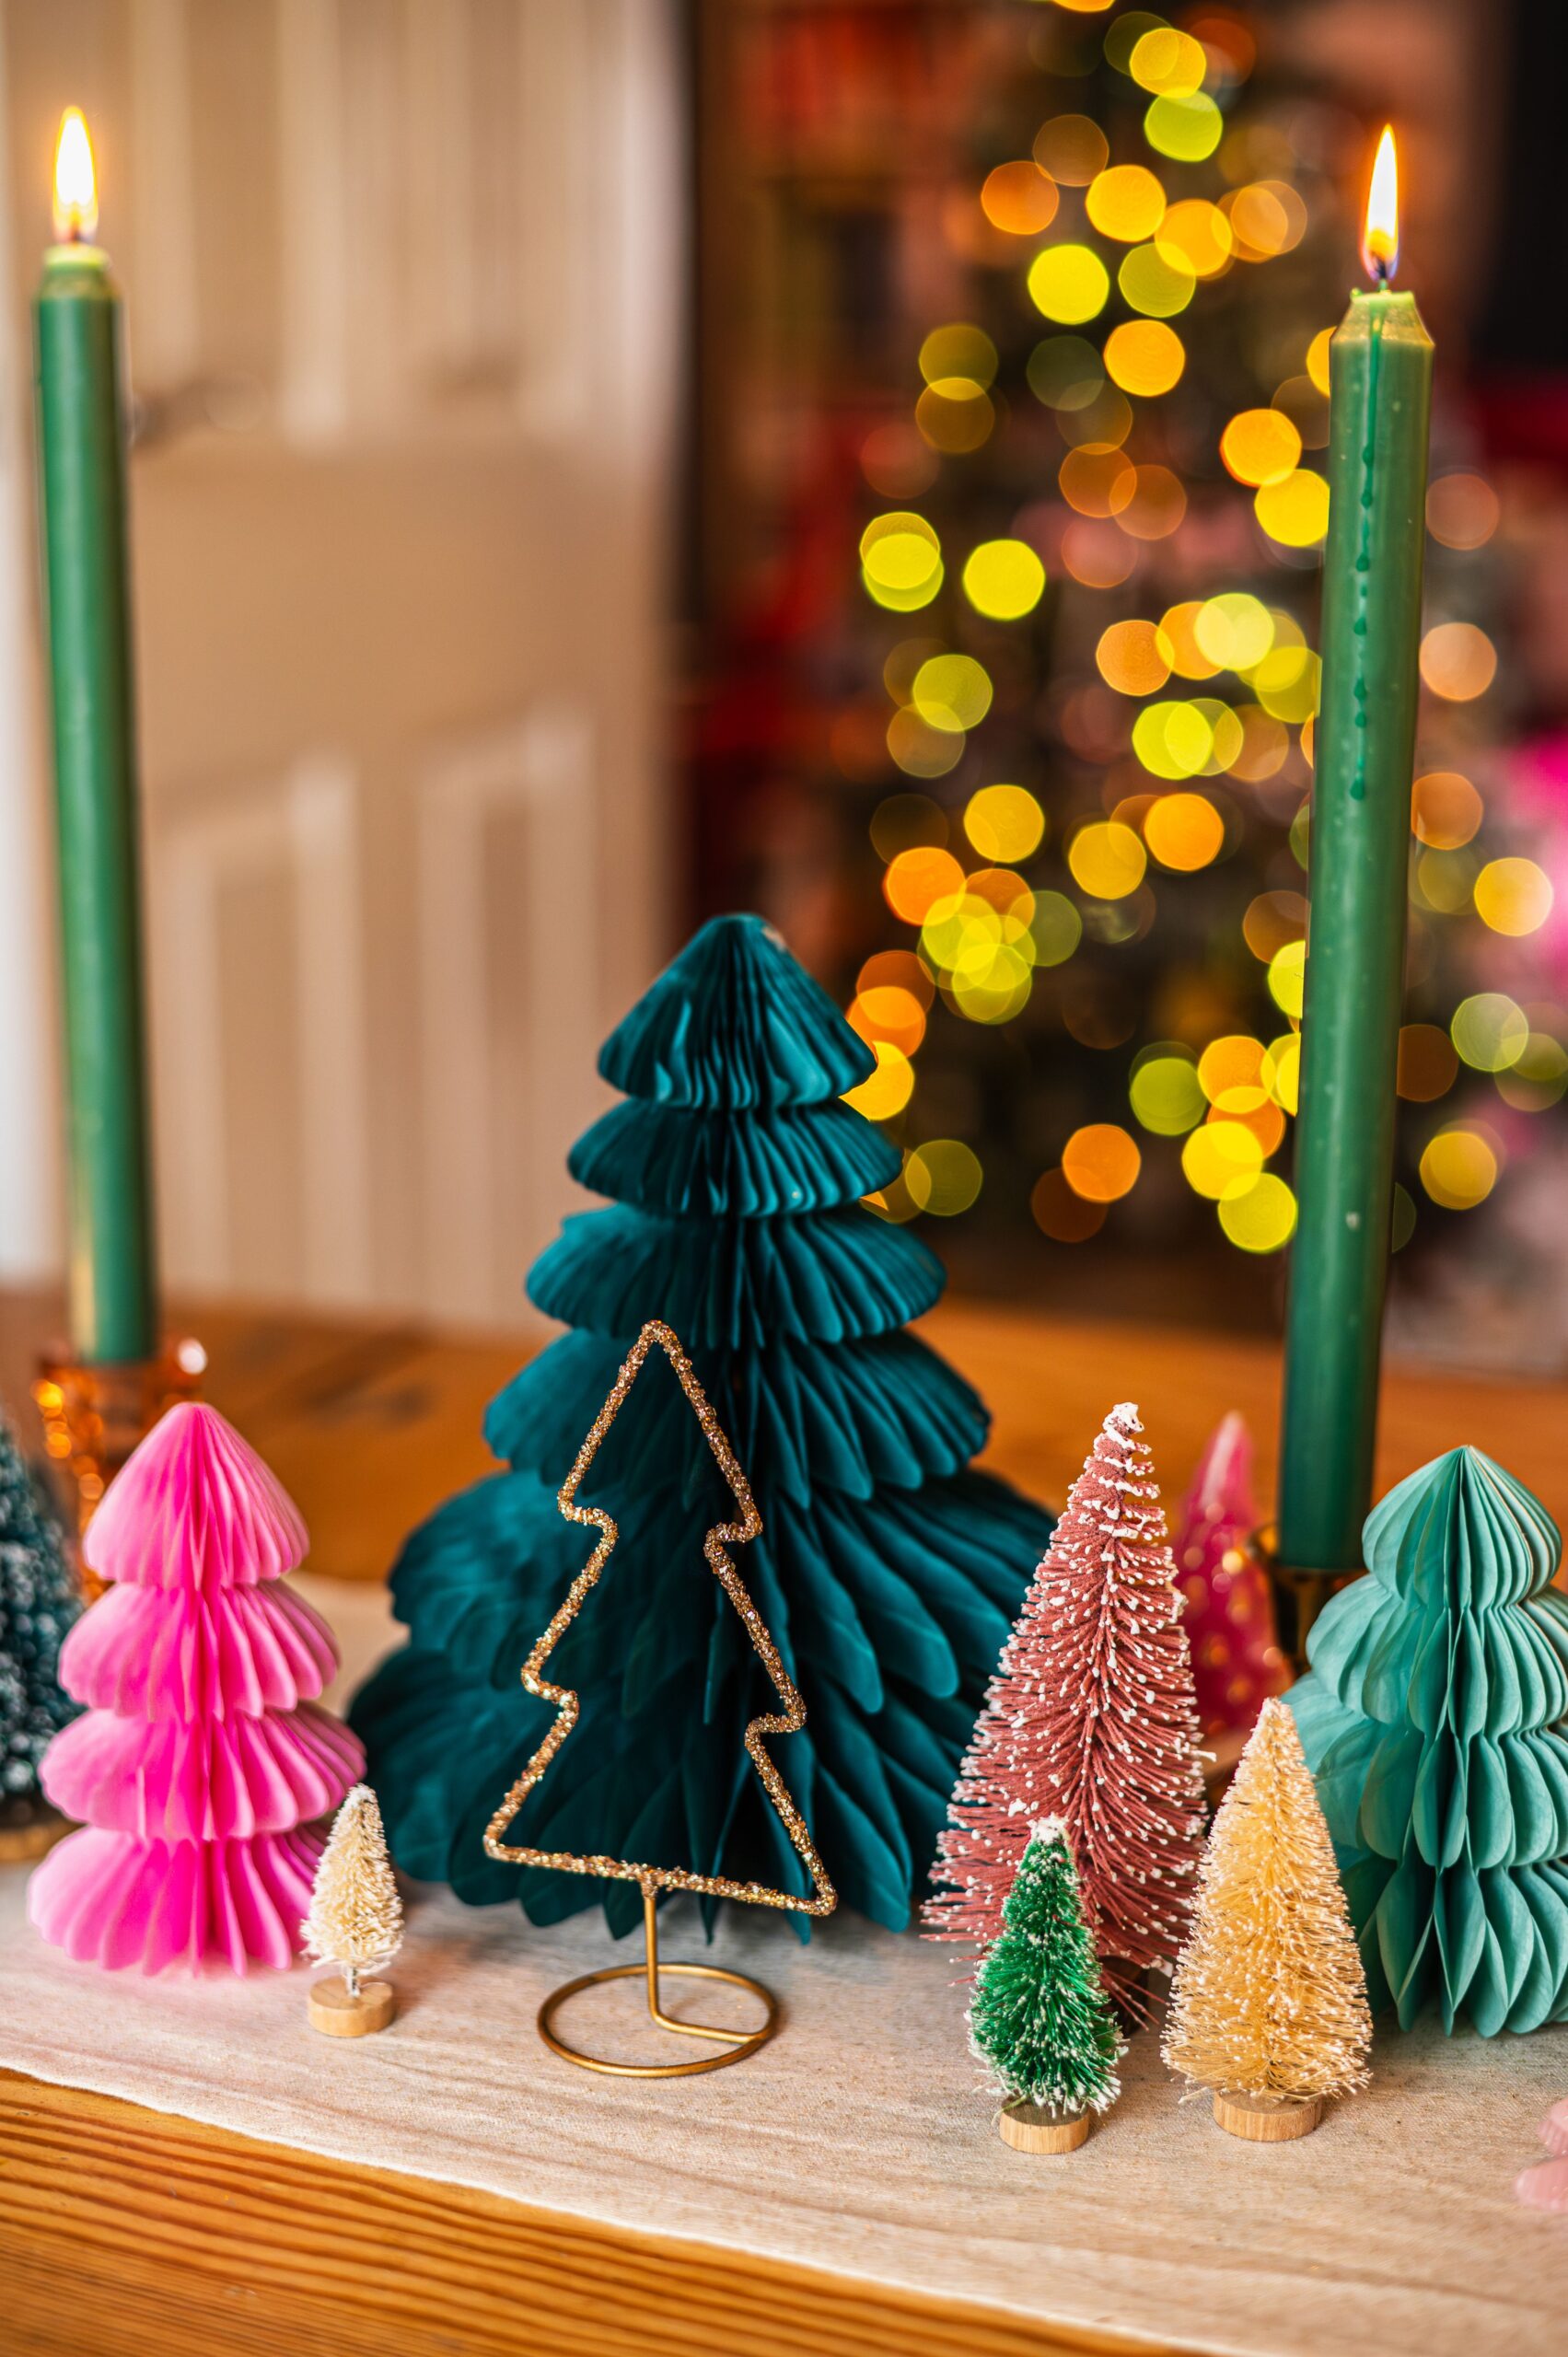
Paper Christmas table decor ideas work best when the paper pieces leave room for plates, serving dishes, and conversation. Start with the usable center strip of the table, then choose a runner, low centerpiece, stand-up figure, or layered accent that fits that space. A paper runner made from butcher paper and cardstock can cover a temporary table, while slotted cut-paper figures can stand as small focal points.
This is a planning guide, not a record of a completed holiday tablescape. No template was downloaded, printed, cut, or tested for this article. Make a full-size paper dummy before producing a set, especially when the table will hold hot dishes, glasses, or shared food.
Measure the usable center strip
Measure the table after allowing space for plates, cutlery, glasses, and the dishes that guests will reach across. The remaining center strip is the area available for paper decor. A long table may take a narrow linear arrangement, while a small round table may need one compact group near the center.
Check the view from a seated position at both ends and along the sides. A tall paper tree or layered figure can look balanced from above and still block the person opposite you. Keep the highest pieces low enough for guests to see across the table, or move tall accents to a sideboard.
Choose one main paper structure
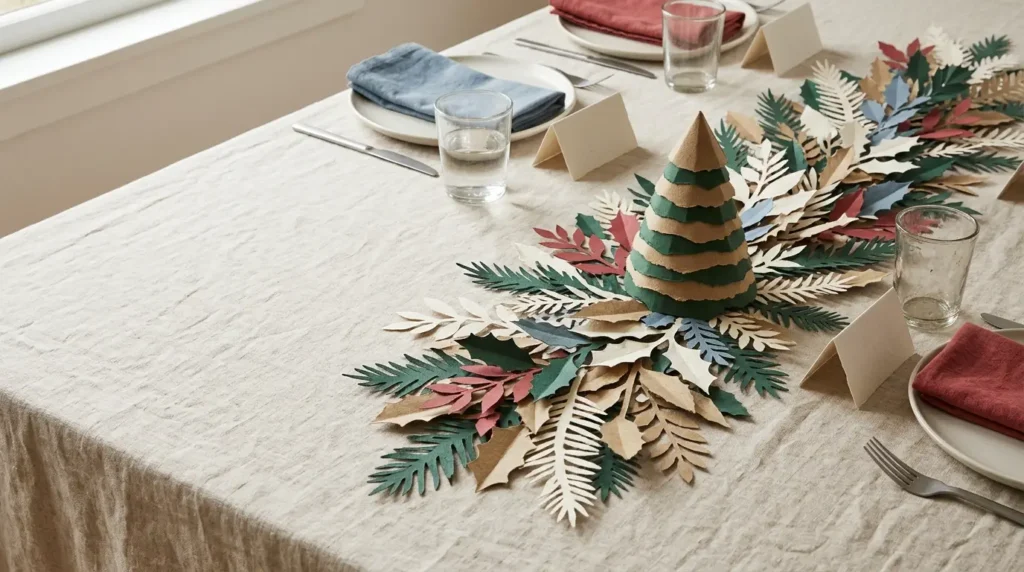
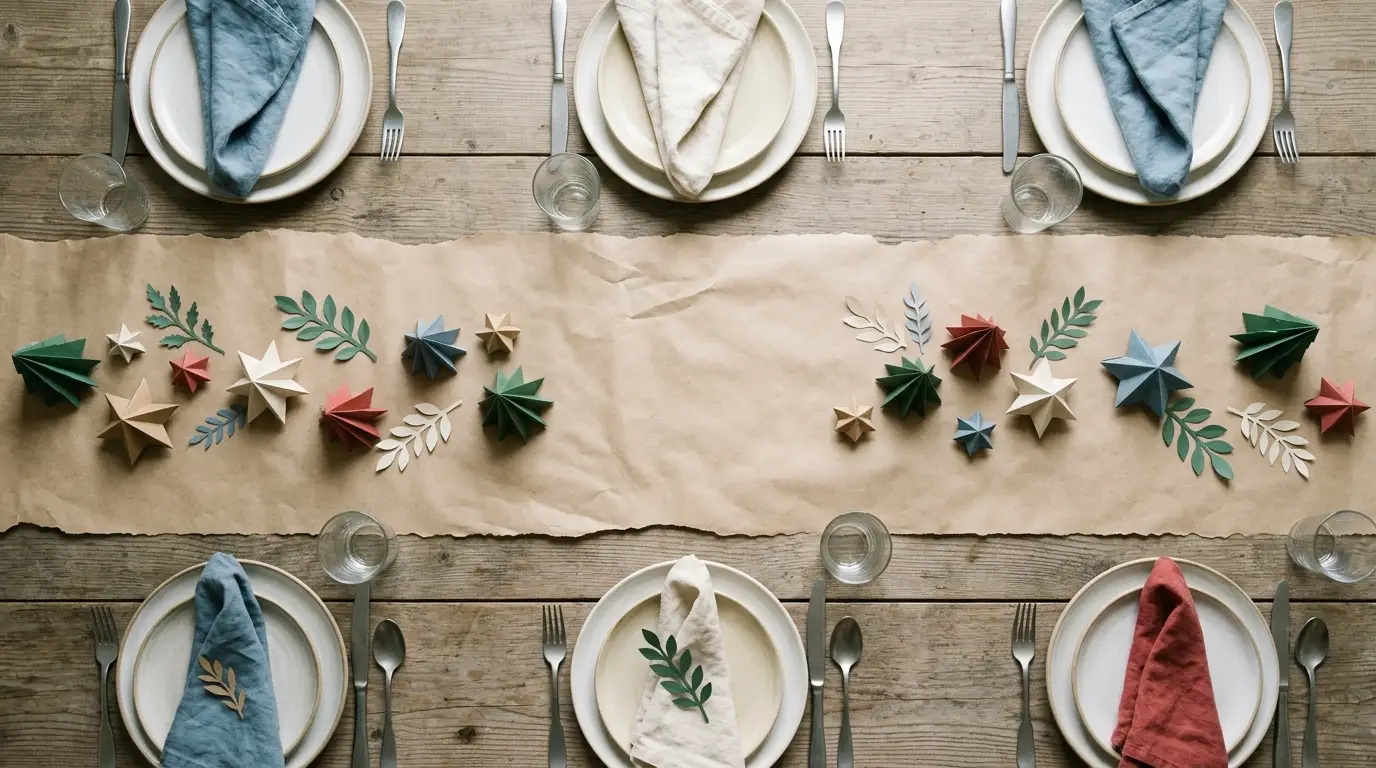
A paper runner gives the table a clear center line. A low garland creates a softer edge, and a set of slotted figures gives the decor more vertical shape without requiring a large base. Decide which structure carries the arrangement before adding small leaves, stars, berries, or folded accents.
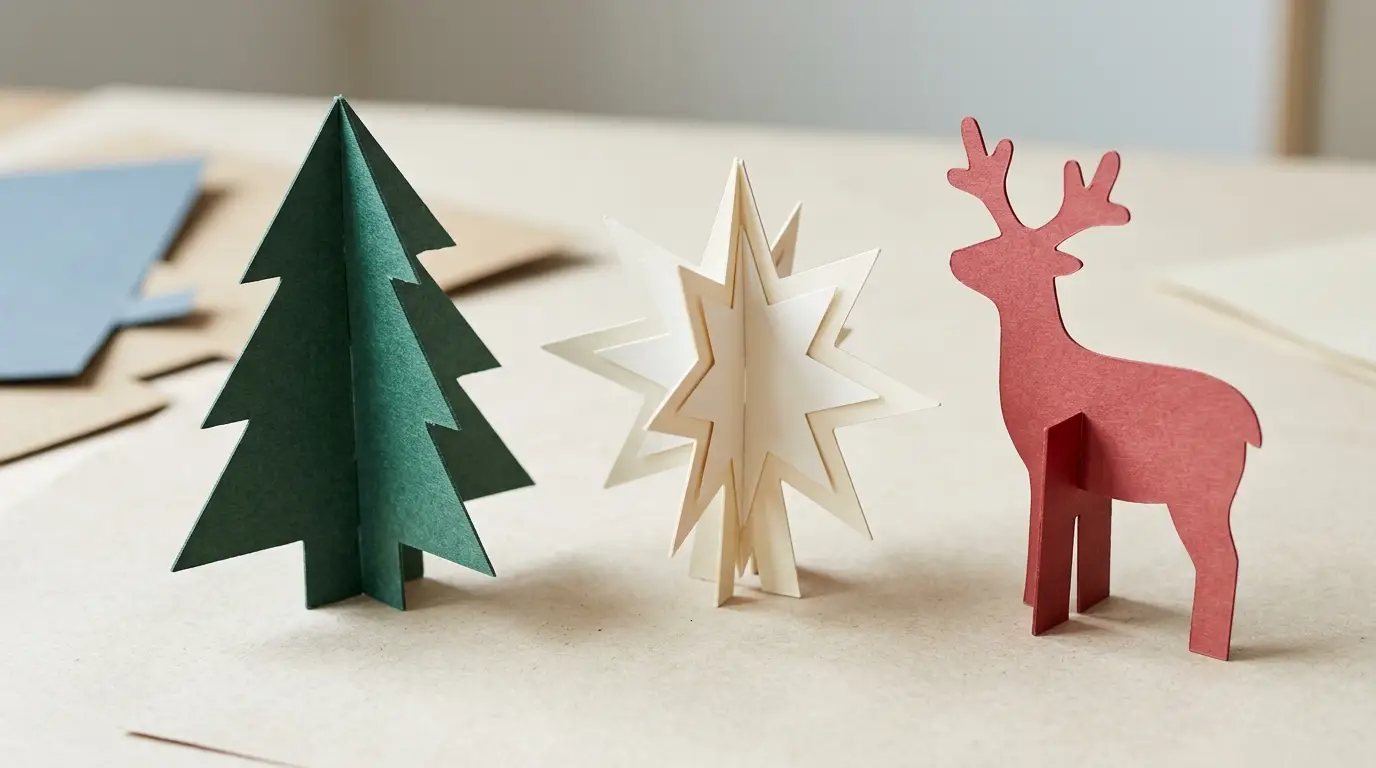
Lia Griffith’s paper table-runner project uses butcher paper with cardstock shapes, while a Cardstock Warehouse Christmas table project uses layered cut pieces with slotted bases. These formats have different production needs. A runner needs a clean outline and repeatable spacing; a freestanding figure needs a stable foot and a consistent slot.
Keep the centerpiece low
Paper leaves, folded bands, cut stars, and shallow rosettes can fill the center without adding much height. Place the largest form slightly off center, then distribute smaller pieces toward the ends. The arrangement should have open areas where a serving bowl or a hand can pass through.
Leave a gap between paper and anything that can spill, steam, or heat the material. Paper decorations belong beside the serving area, not underneath a hot dish or candle. If the table needs a light source, use a stable enclosed option and follow the product instructions for clearance.
Build a repeatable color system
Choose one base paper, one seasonal accent, and one darker or lighter contrast. Cream, kraft, evergreen, muted red, and metallic paper can be combined in different proportions without making every piece identical. Use the same color pair on the runner, place cards, and small table figures.
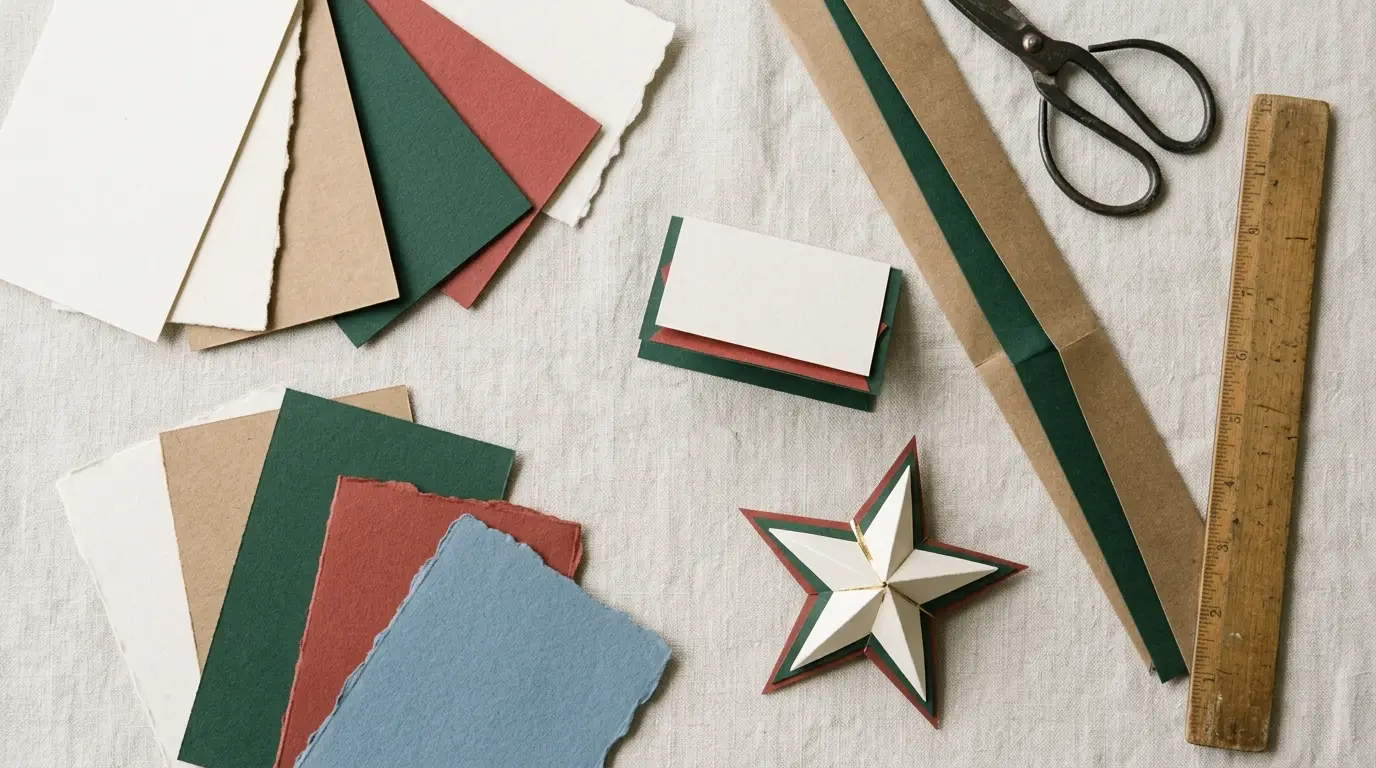
Make one finished sample before cutting the whole set. The paper may look different beside the tablecloth, plates, and glassware than it did on the craft desk. The cardstock guide explains why the planned layer count and fold matter when you select stock.
Add place cards and small accents last
Place cards should remain easy to move when the seating plan changes. A small folded card can sit at the top of a setting, while a flat name panel can attach to a napkin band or a paper ornament. Keep the name area separate from the most detailed cut edge.
Add small accents only after the table footprint works. A paper star, leaf, or berry can repeat the main motif, but a row of tiny pieces can make the table harder to clear. The paper Christmas place-card guide covers formats that stay visible at the setting.
Proof the entire table
Set out the plates, napkins, glasses, serving pieces, and paper decor together. Walk around the table and sit in the main seats. Check that the runner stays flat, slotted figures remain upright, and no decoration touches food or blocks a place setting.
Photograph the layout from standing height and seated height. Record the finished width of the center strip, the gap between repeated pieces, and the order of the color layers. Those notes make it easier to replace a damaged piece or recreate the arrangement next year. For a broader centerpiece plan, see the paper centerpiece guide.
Common mistakes
- Choosing a centerpiece before measuring the space left by plates and serving dishes.
- Using tall paper forms that block the sightline between guests.
- Placing paper under a hot dish, near an open flame, or where spills are likely.
- Cutting the full set before checking one sample beside the actual tableware.
- Adding many small accents when a simple runner or low group would leave the table easier to use.
Disclosure: This guide contains no affiliate links. It describes planning choices supported by the named sources and does not claim a completed or tested Christmas table decoration.