Paper holiday gift wrapping ideas become easier to repeat when the package is planned before the decoration. Start with the box shape, the opening seam, and the writing area for the tag. Then choose a paper band, cut-paper topper, layered bow, or small accent that can stay attached while the package is carried and stacked.
This is a planning guide, not a record of a completed wrapping batch. No paper pattern, bow, or package was cut, assembled, or tested for this article. Make one sample on a package with the same shape and paper before decorating every gift.
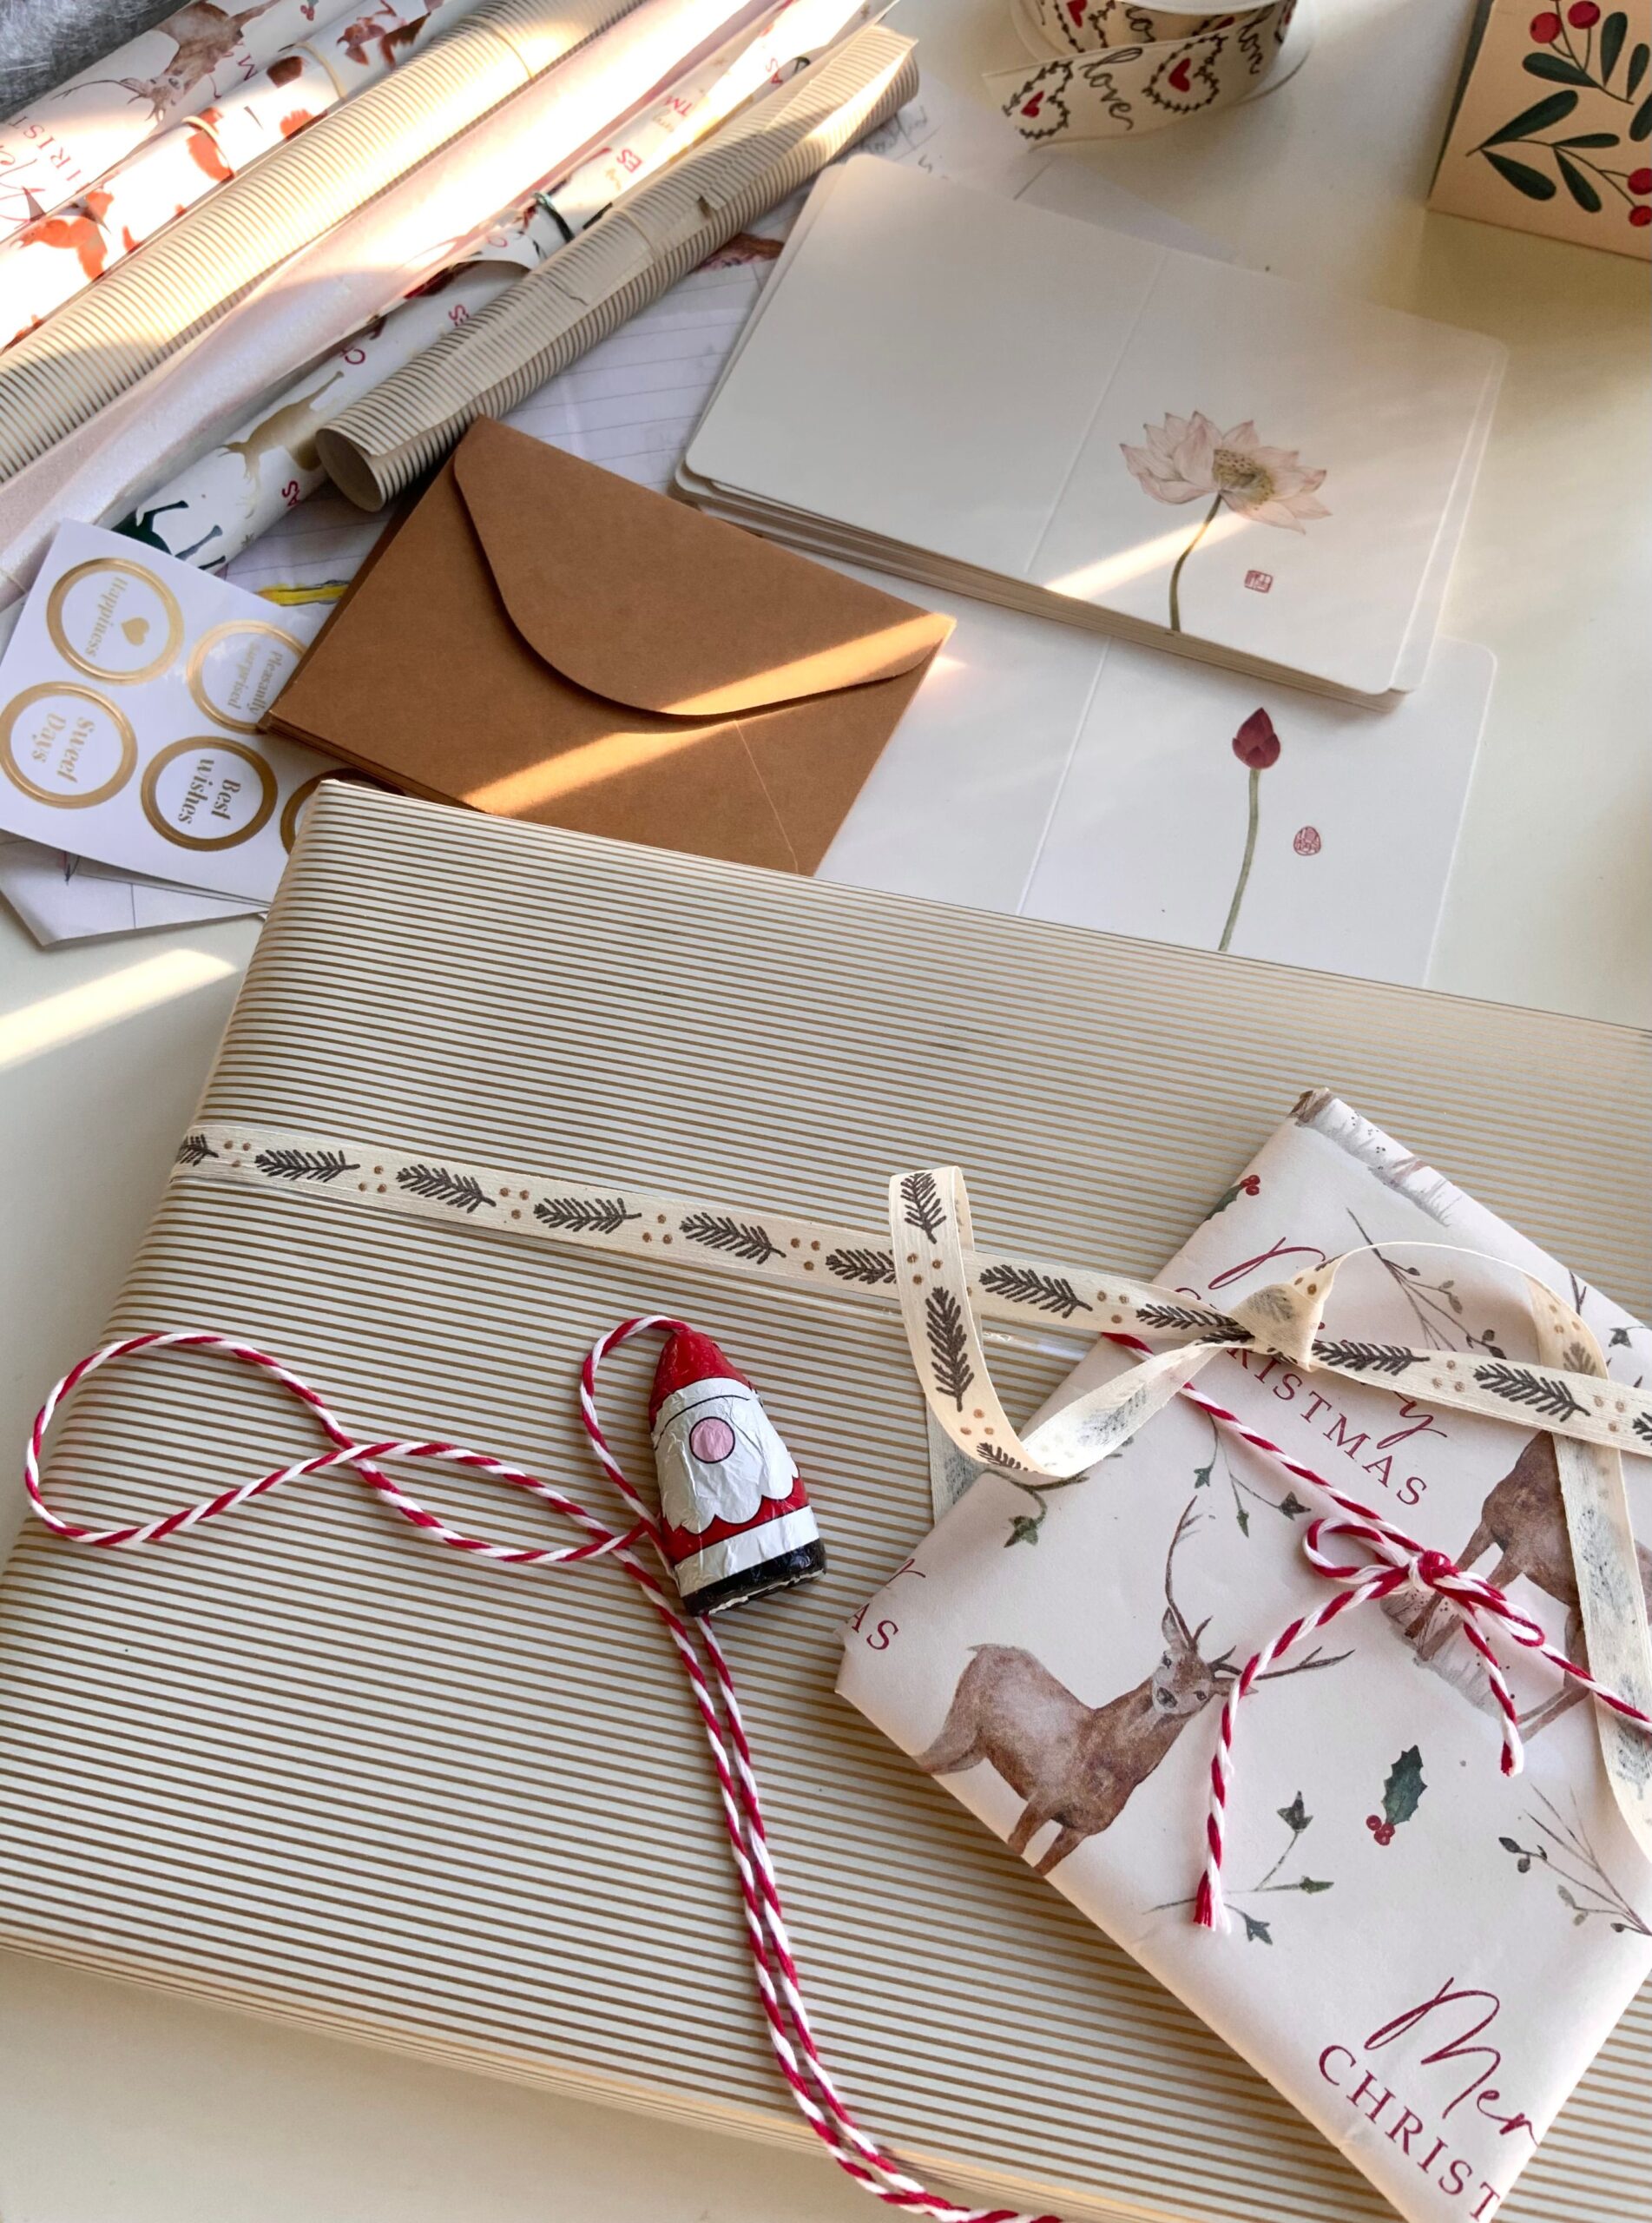
Start with the package shape
A rectangular box gives you a straight top surface for a band or layered topper. A soft parcel, bottle, or irregular gift needs a different attachment point. Measure the package after it is wrapped, then decide where the seam, tag, and decoration can sit without making the parcel harder to open.
Keep the bottom and side folds flat. A thick embellishment placed over a corner can make the paper lift, while a narrow band may slide toward the end of a rounded package. The size of the package should determine the scale of the bow or cut-paper motif.
Add a paper band
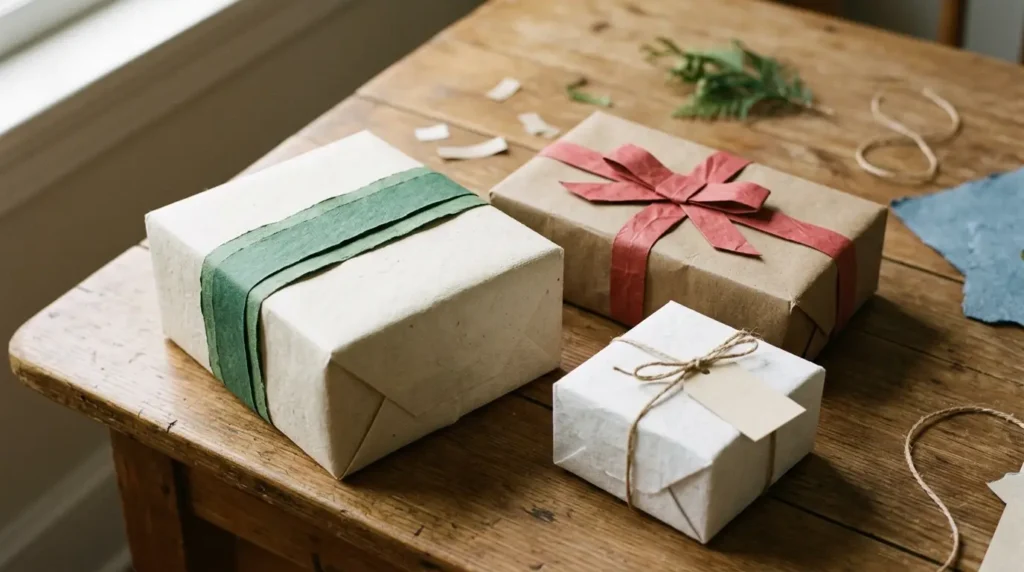
A paper band wraps around the center of a box and can hold a tag, a small branch shape, or a layered star. Use a strip wide enough to stay flat but narrow enough to leave the package surface visible. Measure the full path around the box, then add only the overlap needed for the adhesive.
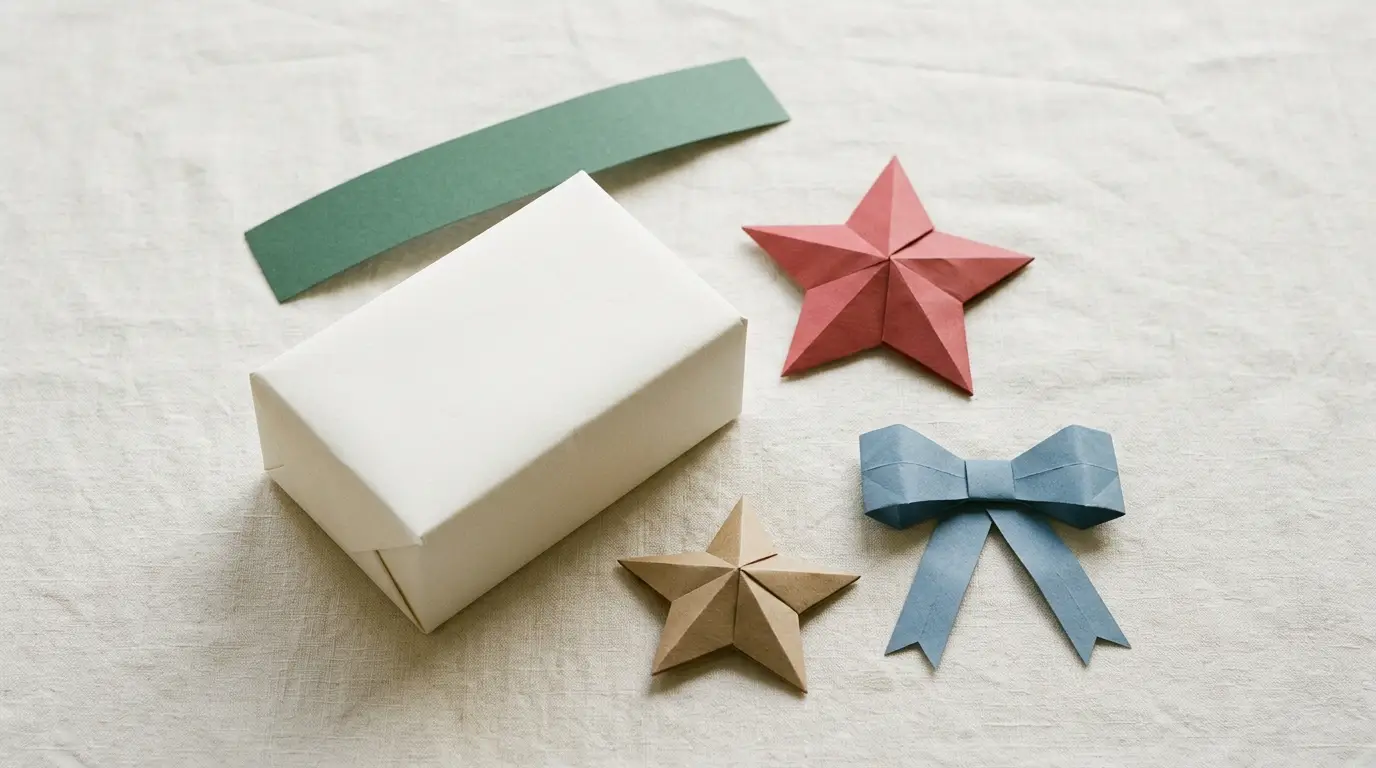
Paper can be plain, patterned, or assembled from two narrow strips. Martha Stewart’s gift-wrapping examples use paper fringe, streamers, confetti, and mixed finishes as bands or surface accents. Keep the band’s seam on the underside or beneath the topper so the package still looks neat when it is turned.
Make a layered topper
Cut one larger backing shape and one smaller front shape for a simple layered topper. A star, tree, bow, leaf, or ornament silhouette can work as long as its edges remain clear. Offset the layers slightly so the color or paper texture of the backing is visible.
For a paper bow, check the center join and the direction of the loops before attaching it to the package. Flat shapes need less clearance than dimensional bows. The paper bows guide covers the difference between flat, folded, and layered bow formats.
Keep the tag readable
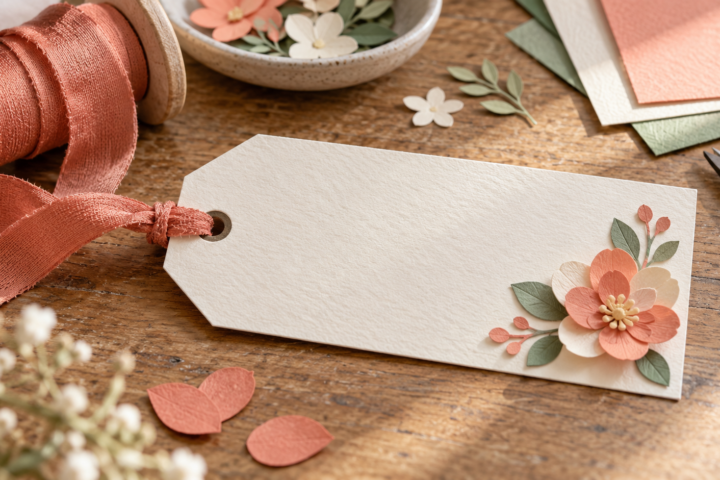
Place the tag where a recipient can see it without lifting the bow or turning the box. Leave the writing panel empty and broad enough for the chosen pen. A paper tag can attach to the band, ribbon, or a separate loop, but the loop should not pass through a narrow decorative cut.
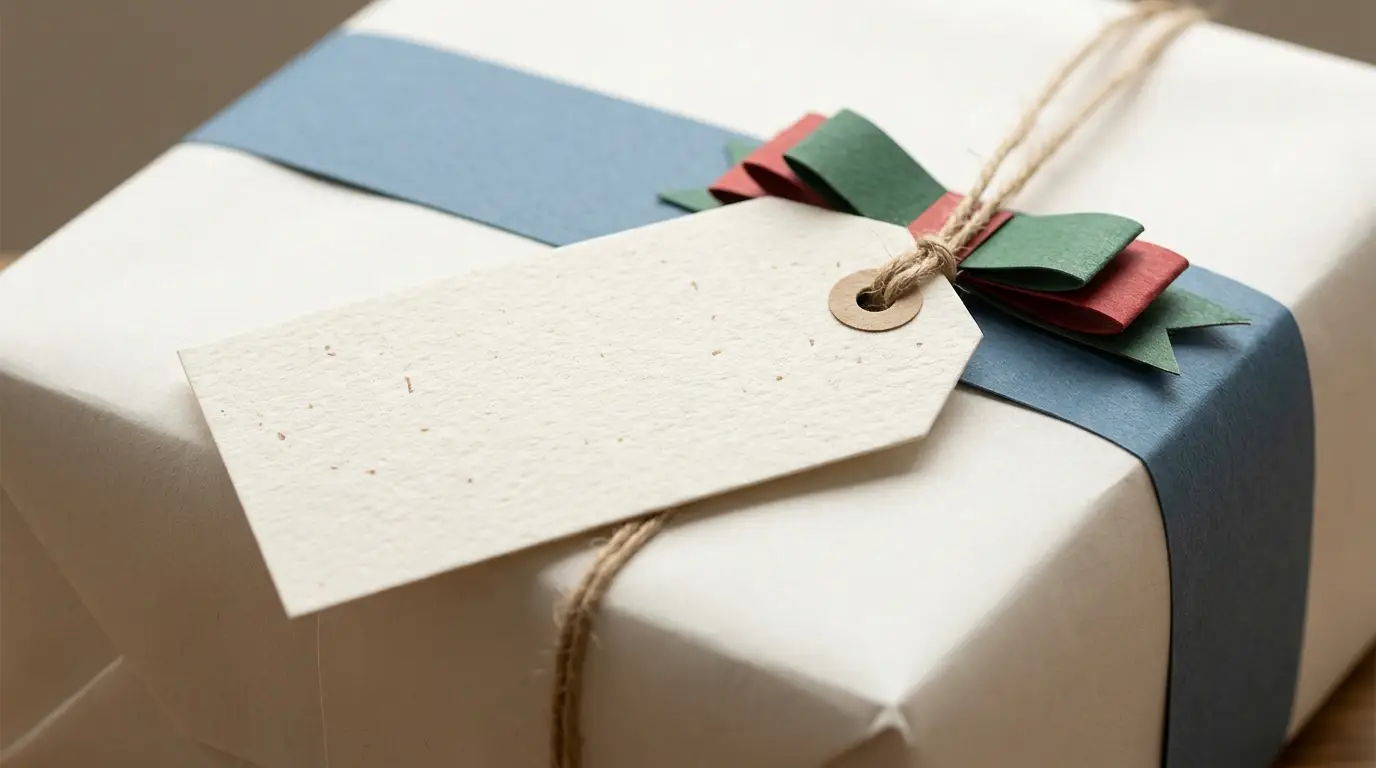
The paper gift tag guide covers shapes, layers, and attachment points. Repeat one color or motif between the tag and the topper, then stop adding details when the name area begins to compete with the decoration.
Choose a small color system
Use one wrapping base with two paper accents, or stay within one color family and vary the texture. Kraft, cream, evergreen, muted red, and metallic paper can support a seasonal set without forcing every box to look the same. Reserve the darkest or brightest tone for a small focal detail.
Check the papers beside one another in the room where the gifts will be displayed. A metallic sheet can overpower a matte band, and a patterned wrap can make a detailed topper disappear. The cardstock guide explains why layered pieces should be tested as a combined thickness.
Check the package before stacking
Lift the finished package by the sides and set it down beside another wrapped gift. Check whether the band slides, the tag folds, or the topper catches on neighboring packages. A decoration that looks good in a flat photograph still needs a secure, low profile when gifts are moved.
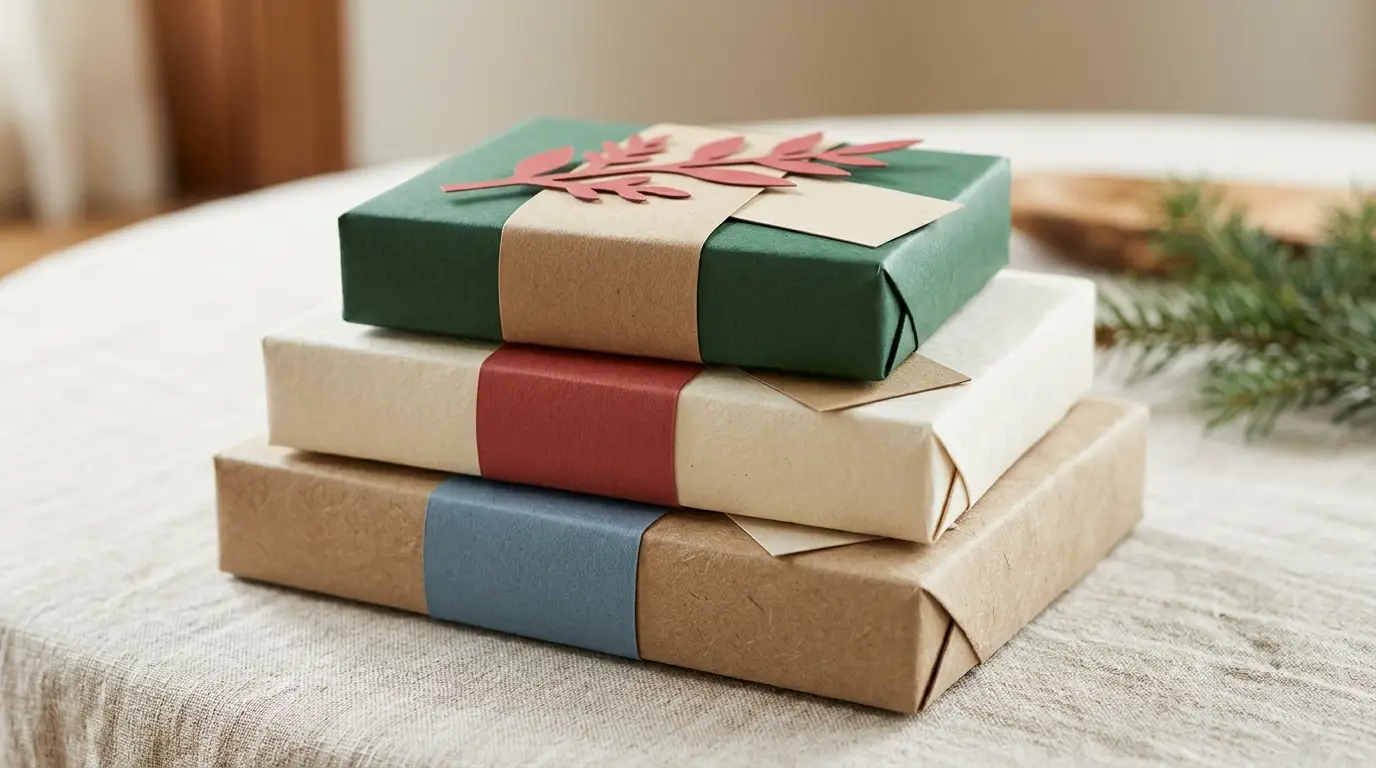
Record the band length, topper size, tag position, and paper order. Save one sample as a reference for the rest of the batch. If a package has a different shape, change the attachment plan instead of forcing the same decoration onto it.
Common mistakes
- Choosing the topper before measuring the package and its opening seam.
- Covering the tag or placing the writing area under a thick bow.
- Making a paper band too short to overlap or too loose to stay centered.
- Combining several patterned papers without a shared color or texture.
- Stacking gifts before checking whether the decoration bends, slides, or catches.
Disclosure: This guide contains no affiliate links. It describes planning choices supported by the named sources and does not claim a completed or tested holiday gift-wrapping batch.